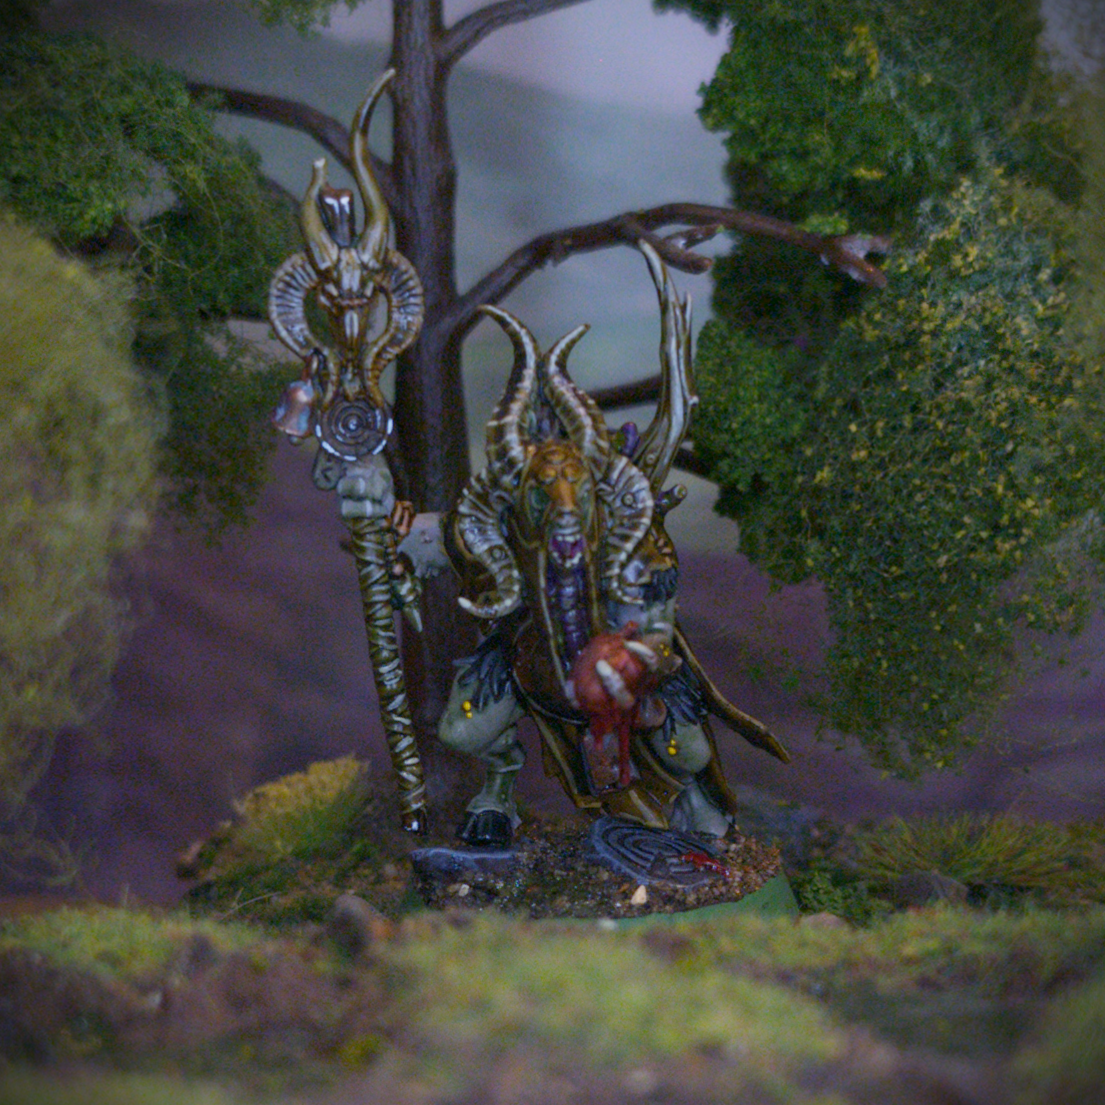
Warhammer Quest: Darkwater - Shaman Foulhoof
As I was putting together the Pestigors I figured that I may as well get Shaman Foulhoof assembled at the same time. He will have a similar paint scheme after all. I put the shaman together but left them separate from the base as their rags are more voluminous than their Pestigor brethren. Once he was together, I primed the model with Colour Forge Dead Animal Bits and the base with Hyrax Brown.
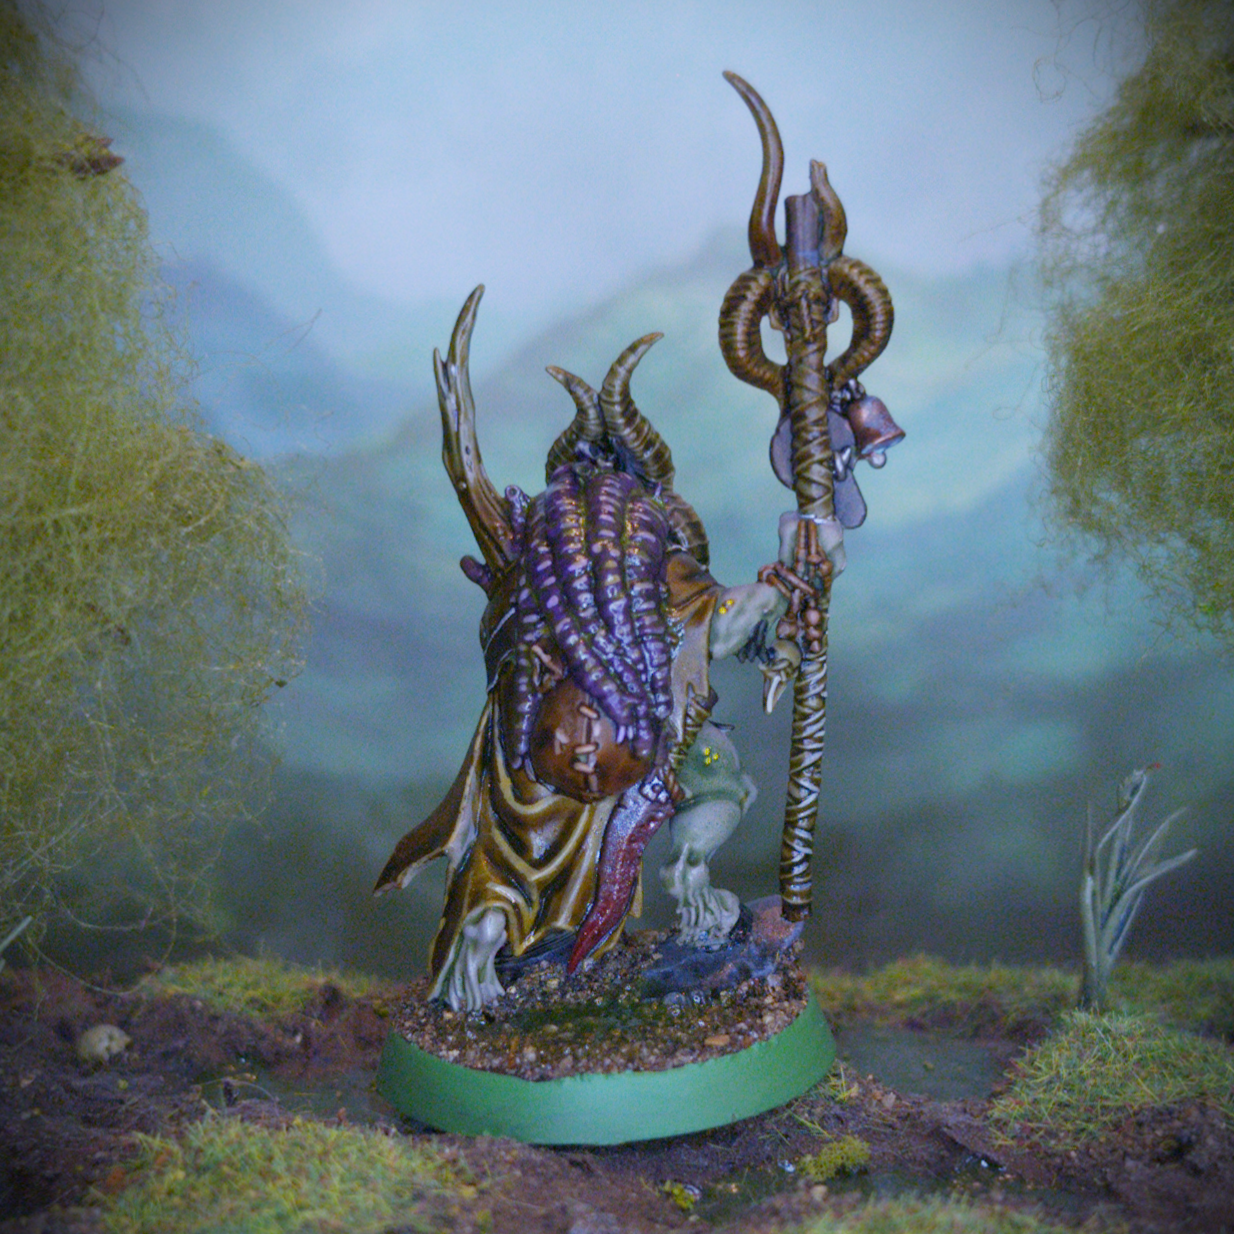
Initially, painting the shaman would follow the same method as the Pestigors. Which is to say I started by shading a few areas on the miniature with inks through my airbrush. I sprayed Daler Rowney Burnt Umber from below over the skull on the staff, Vallejo Violet Ink over the tendrils on his chin and down the back of his head. I then used a regular brush to paint his dagger with Daler Rowney Red Earth ink.
Backdrop by Jon Hodgson Backdrops
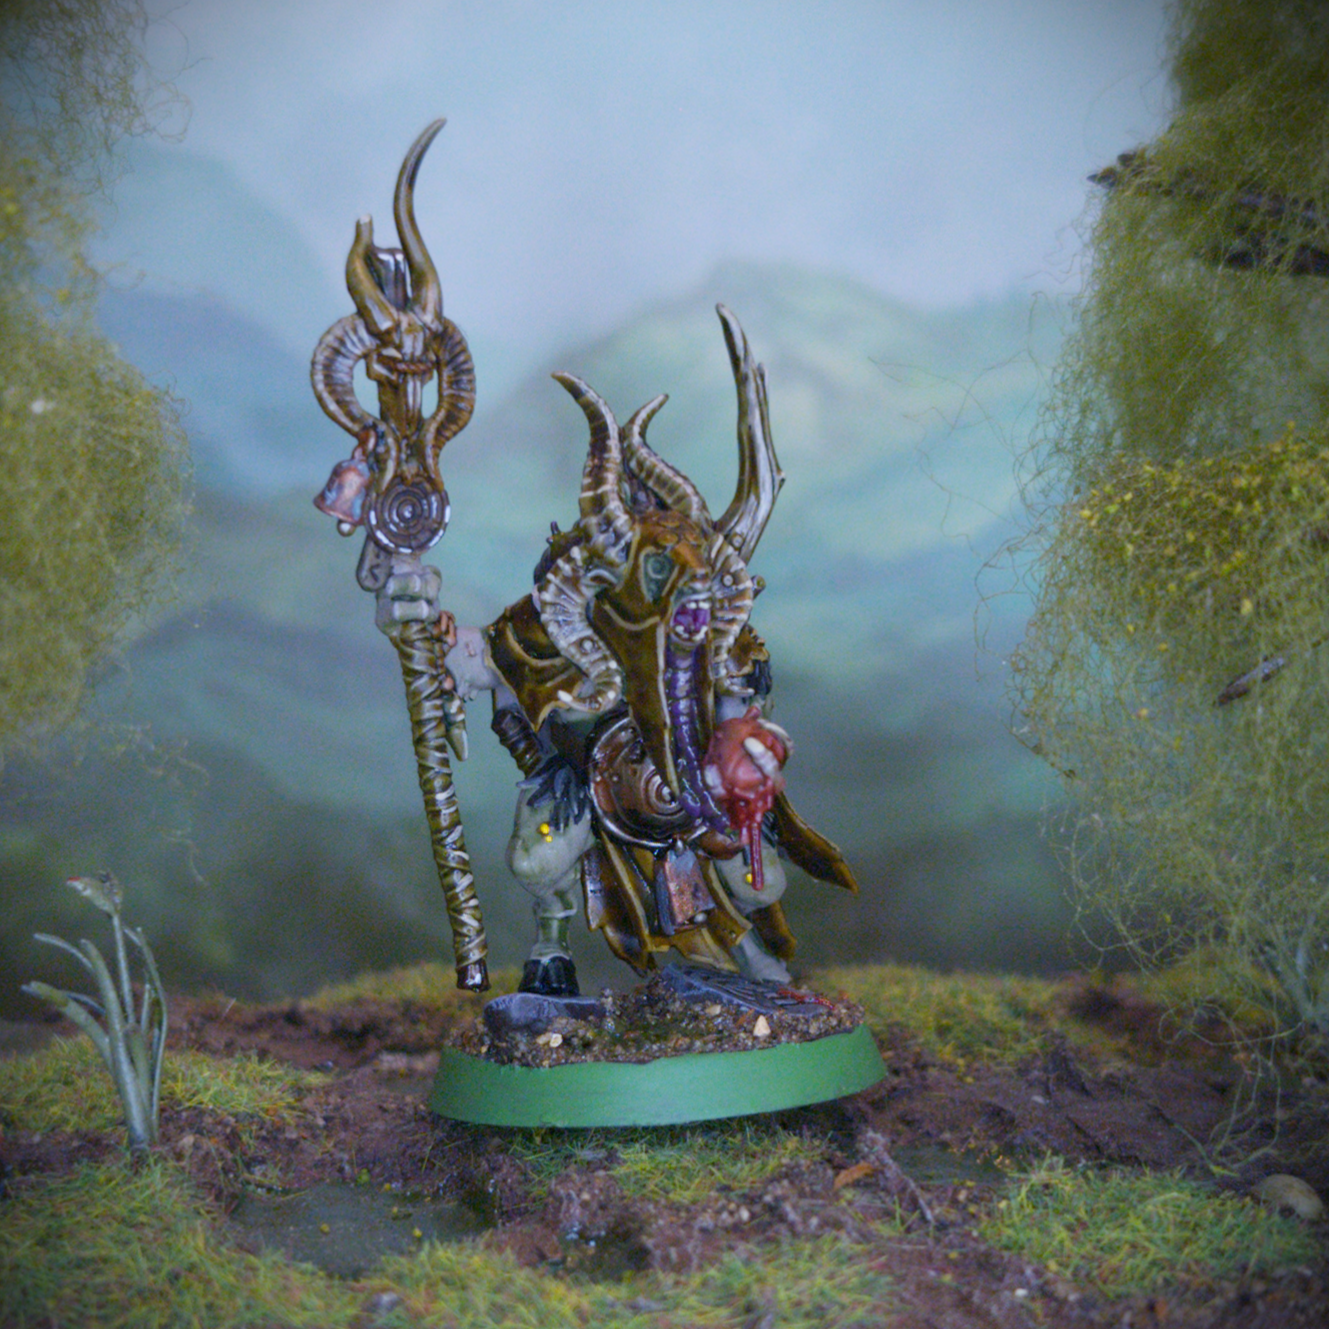
To tie everything together I gave him an all over wash of Kroak Green. I then painted his rags with Snakebite Leather, the straps with Garaghak’s Sewer, the leather bag with Gore-Grunta Fur, any wraps and bone details with Skeleton Horde, any hair with Black Templar and the tongue and inside of the mouth with Army Painter Speedpaint Familiar Pink. Foulhoof does have a couple of features that the Pestigors don’t, namely the fleshy tendrils and the heart (presumably not his own) he’s holding in his hand. The former area I painted with Army Painter Speedpaint Purple Swarm and the latter I painted with Blood Angels Red.
With the basecoats done I could move onto the highlights. For the Pestigors this would simply be an all over drybrush with Pallid Wych Flesh to catch the edges of the details. But as Foulhoof is a more prominent character I decided to take a different approach. Rather than give everything the same highlight, I instead mixed the base colour with Pallid Wych Flesh to create my highlight colour. So, for example I mixed Snakebite Leather with Pallid Wych Flesh and used that to pick out the edges of the clothing. I repeated this process with the other base colours, although to be honest it was a little hard going. Mixing them on my wet palette they absorbed too much water and mixing them on my dry palette they dried out too quickly. I struggled on but eventually gave up. In the end I switched to using Army Painter Skeleton Bone to highlight the wraps on the staff handle and for the teeth, and Army Painter Pale Sand on the wood details. For some final details I painted the blood vessels on the heart with Army Painter Basilisk Red and then painted on some thin layers of Army Painter Red Tone to wash up the arm to tint it red. I then went around the skin picking out all the boils with Yriel Yellow.
Backdrop by Jon Hodgson Backdrops
For the metallic details, I painted the dagger with a coat of Army Painter Speedpaint Broadsword Silver. The belly shield meanwhile I painted with Scale75 Thrash Metal as I wanted it to look distinct from the dagger. Lastly, I picked out the bells with Balthasar Gold. To make the metallic details look grimy I first gave the silver details a coat of Army Painter Dark Tone and then both the bronze and silver details a wash of Army Painter Strong Tone.
For the base, I started by giving the rocks a heavy drybrush with Two Thin Coats Dungeon Stone followed by a wash of Army Painter Strong Tone. Once that was dry, I gave it a lighter drybrush with Two Thin Coats Carcharodon Grey to pick out the edges. After that I picked out the blood spatter with some Evil Sunz Scarlet. I then covered the flat areas in PVA glue, slotted Mr Foulhoof into place and then dunked the base in a tub of Geek Gaming Scenics Base Ready Forest Floor. I then sealed the scatter in place with Geek Gaming Scenics Matt Sealant and painted the rim of the base with Warboss Green to match the rest of my Nurgle miniatures.
Backdrop by Jon Hodgson Backdrops
Ordinarily that would be the end of the painting process, but I had saved the best until last. And by that, I mean it was time to break out the effect paints. To start with I dabbed some Greenstuff World Liquid Pigments Light Rust onto the belly shield. I then painted some Nihilak Oxide onto the bronze details to give them a verdigris appearance. To reinforce the blood look on the arm, I gave it and the splatter on the base a coat of Blood for the Blood God technical paint. I then gave the tendrils a thin coat of Nurgle’s Rot, not enough to change the colour too much but enough to give it a glossy and gross appearance. Lastly, I dabbed some puddles of AK Interactive Swamp Water gel onto the base.