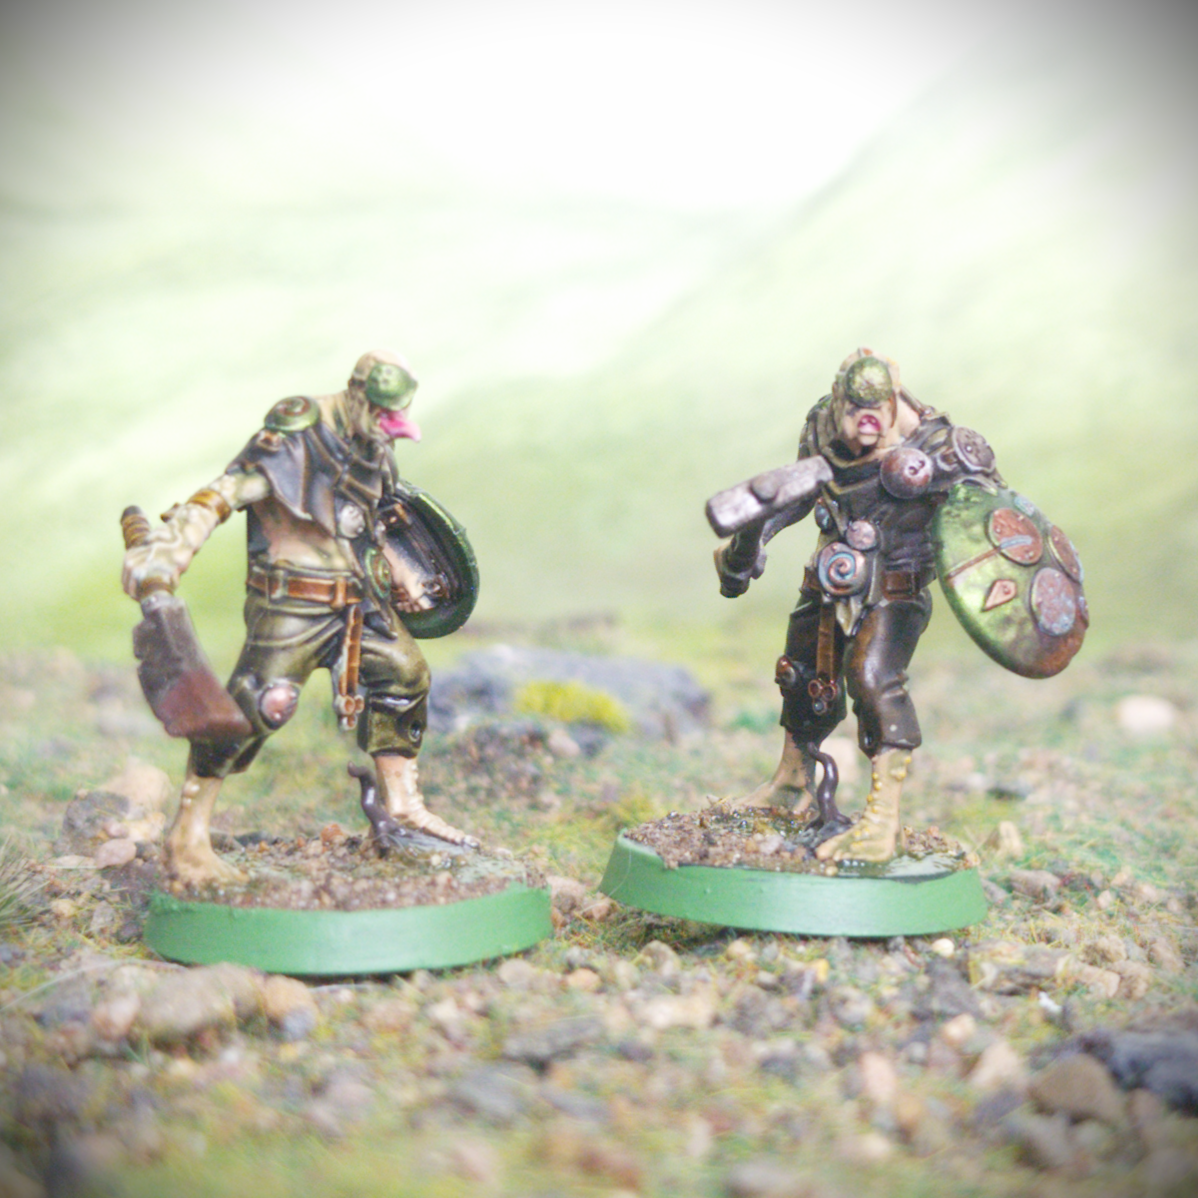
Warhammer Quest: Darkwater - Pox-Wretches
With the Pestigors done I moved onto the other large mob of enemies in the Darkwater box. As there are fourteen of them, these will be the lion’s share of the models in the box. Which is one of the reasons I decided to get them done fairly early into the project, nothing worse than getting all the fun stuff done and realising you have then slog through the chaff. But with my slapchop-esque painting style, this won’t even be a slog.

Backdrop by Jon Hodgson Backdrops
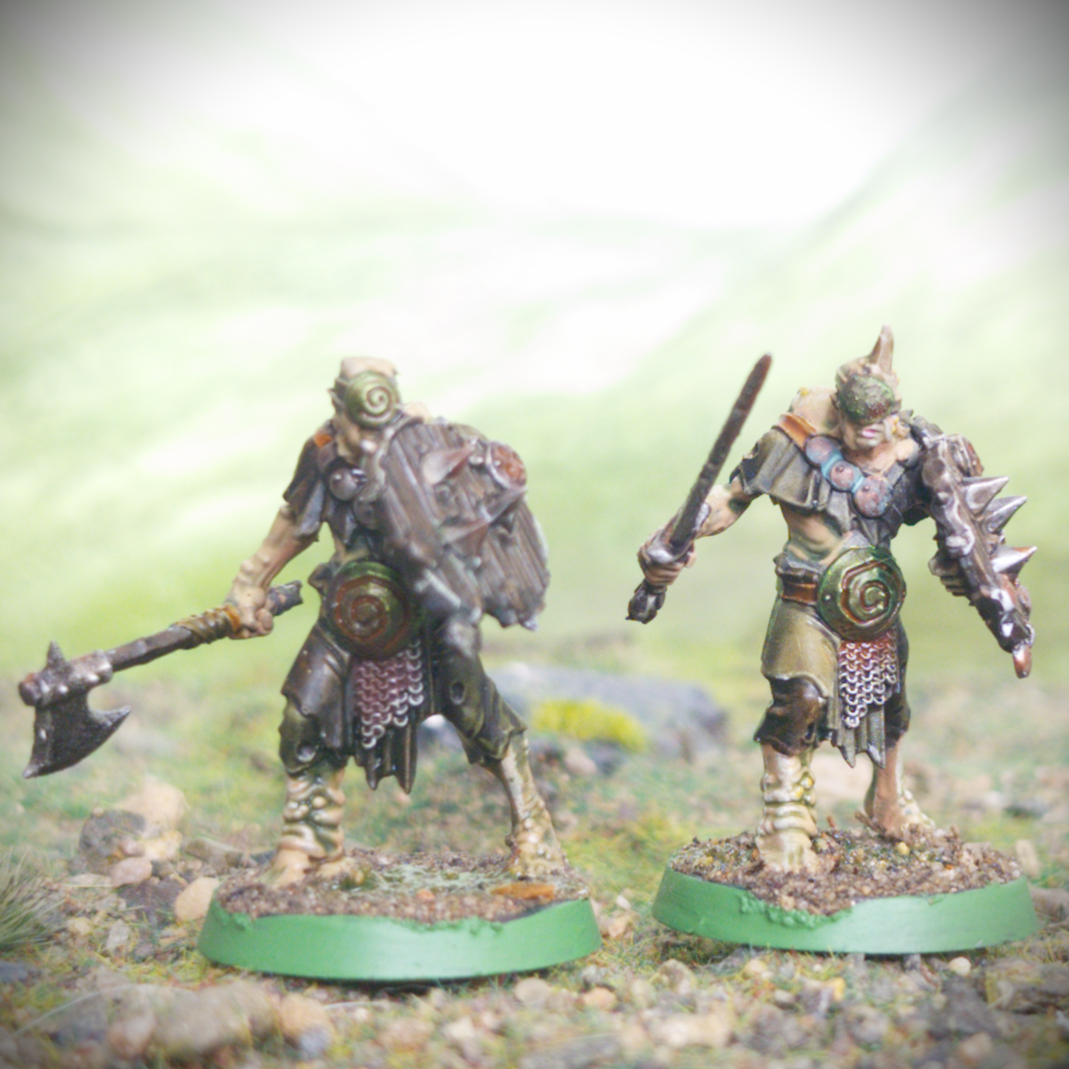
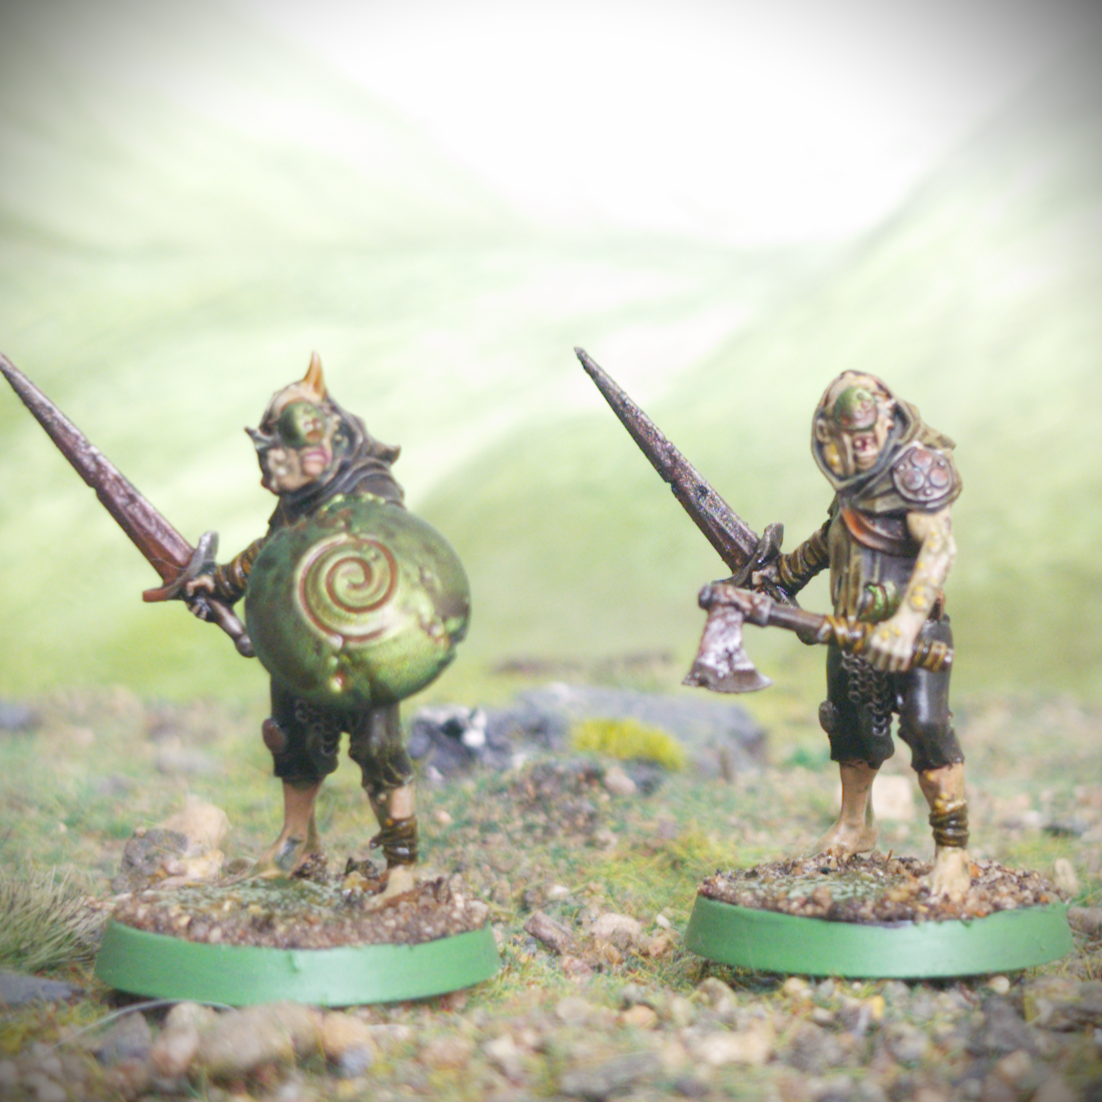
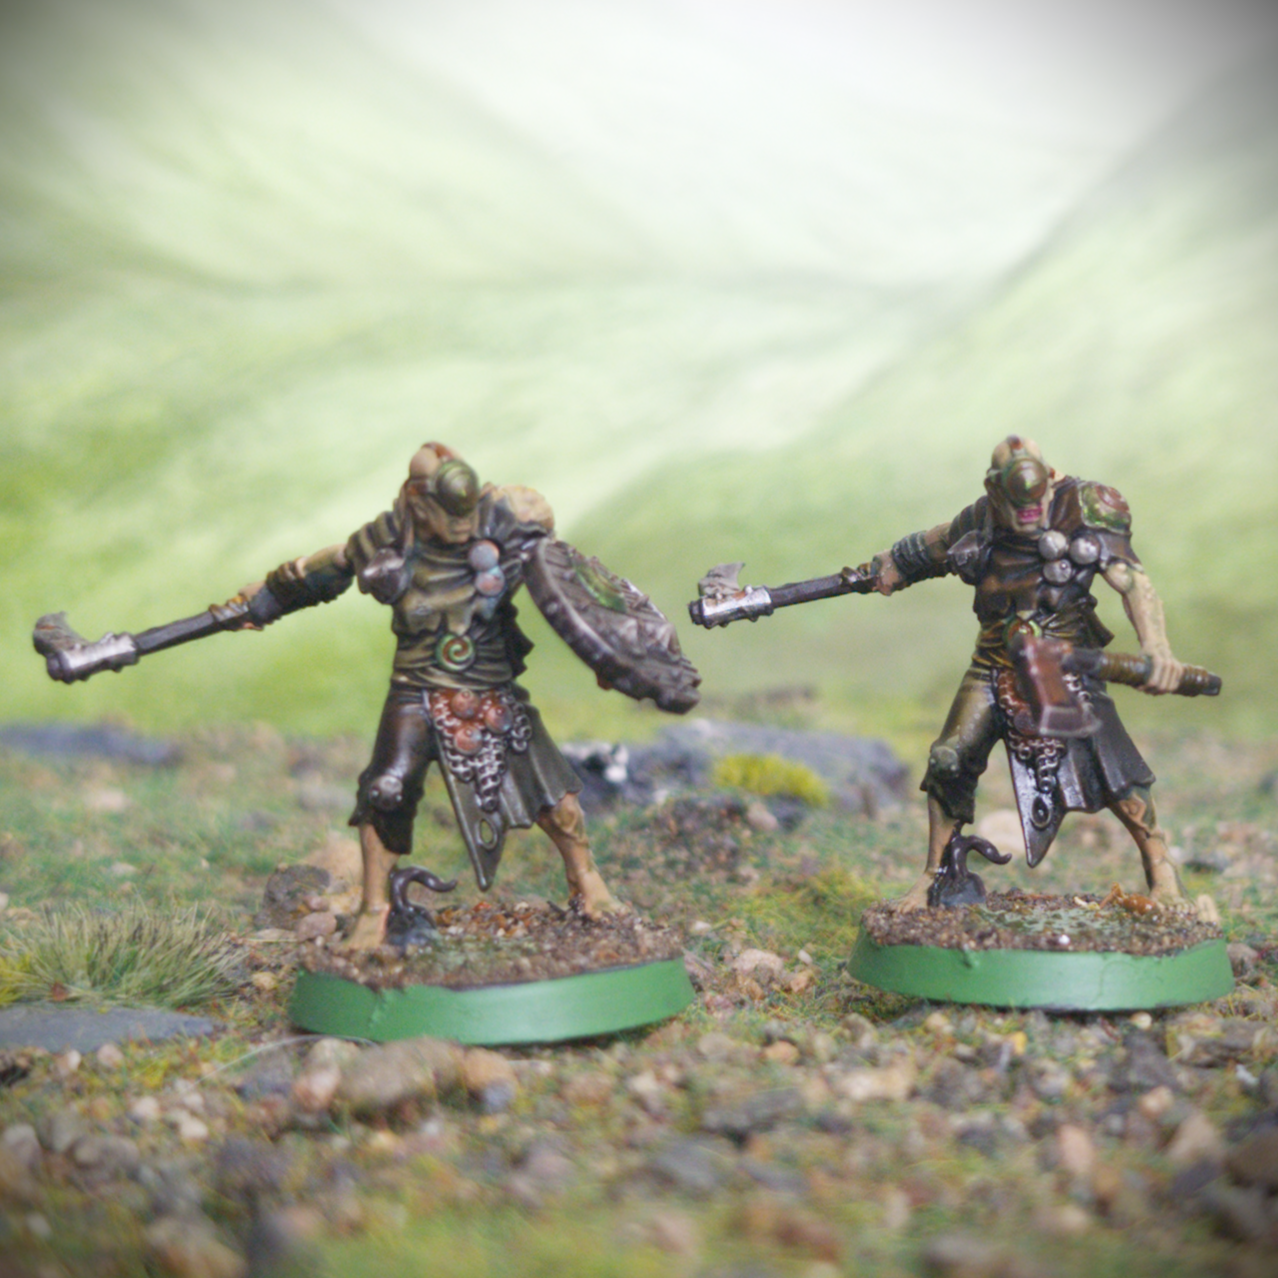
Like the Pestigors the Pox-wretches there are two identical sprues for the models, and each model has two build options. As such I took the opportunity to make one of each of the options to get as much variety in the group as possible. As always with push-fit miniatures I found that clipping down the pegs and slots made the models go together easier. It does mean one needs to use plastic glue but I was using it anyway to fill gaps. As with a lot of my Nurgle miniatures I gave the weapons a coat of Typhus Corrosion, to really sell that rusted look.
Once everything was assembled it was time to get to the painting. As these are largely standalone models I decided to do some experimentation. My slapchop-adjacent painting style is great but having the undercoat being either grey or black does tend to wash out the colours a little. So, let’s do something different.
Backdrop by Jon Hodgson Backdrops
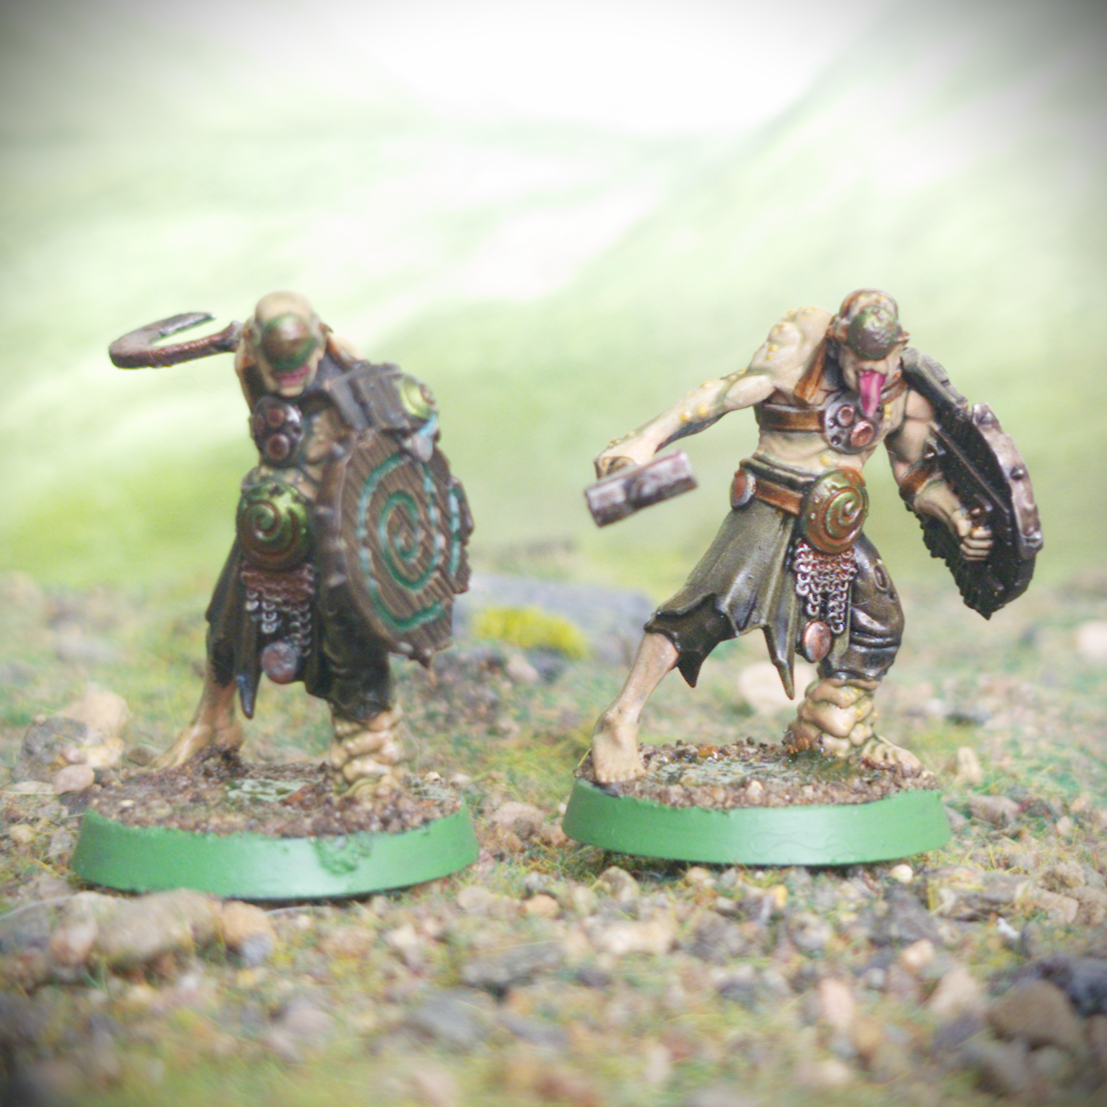
As these models will have a lot of natural colours like greens and browns I primed the models with Colour Forge Hyrax Brown. From there I painted any exposed skin with a couple coats of Two Thin Coats Dwarven Skin, tidying up any spillage with Two Thin Coats Cuirass Leather. I then gave each model a zenithal highlight with Daler-Rowney Flesh Tint ink. It turned out a little more yellow than I would have liked but it worked for the sickly Pox-wretches. Finally, I gave each model a drybrush of Pallid Wych Flesh.
Backdrop by Jon Hodgson Backdrops
Moving onto the actual colours for the miniatures, we return to familiar territory. I started by giving the skin a wash of Kroak Green as I do for most of my Nurgle miniatures. The live ones at any rate. For the clothes, I used Garaghak’s Sewer and Army Painter Speedpaint Desolate Brown. Both of which I have used extensively on other Nurgle miniatures. For the various bandages and wraps I used Snakebite Leather, which is a nice dirty yellow colour. For any leather details, such as pouches or straps, I used Gore Grunta Fur. And for any wood details I used Wyldwood. For the final details, I picked out any waggling tongues with Army Painter Speedpaint Familiar Pink and a couple of them have bony protrusions that I painted with Skeleton Horde.
Backdrop by Jon Hodgson Backdrops
For the metallic details I painted the swords, axe blades and little buckles on the clothing with Scale75 Thrash Metal. The belly buckles, face masks and non-wooden shield I painted with Vallejo True Metallic Metal Amber Green Base. Historically I have used Scale75 Peridot Alchemy for my Nurgle/green metals but there are reasons for switching to the Vallejo True Metallic Metal range. I’ll not get into it here but it will become apparent once I get to the Blight Templars. Lastly for the metal base coats, I painted the bronze details with Balthasar Gold. In particular I picked out bronze details that were on a green background, so that they stood out better. For the washes, I gave all the silver details a coat of Army Painter Dark Tone, and once that was dry, I gave every metallic detail a coat of Army Painter Strong Tone.
Backdrop by Jon Hodgson Backdrops
At this point the models were mostly done, they just needed a few extra details before I could move onto the bases. Firstly, and most tediously, I picked out the boils with Vallejo Heavy Goldbrown. Next was all the rust details, for which I used Greenstuff World’s Liquid Pigments range. Starting with Dark Rust, I stippled this onto some select areas on the metals, feathering it out as best I could. I then added some Medium Rust in a smaller area and finally some Light Rust in an even smaller area. For the bronze details meanwhile, I used Nihilak Oxide to give them a look of built-up verdigris.
Backdrop by Jon Hodgson Backdrops
For the bases there were a few details that I needed to pick out first. Any rocks I picked out with Two Thin Coats Dungeon Stone and any bits of wood with Two Thin Coats Scorched Earth. A couple of the models have some little beastie on their bases, which seem to be smaller versions of some of the tokens in Darkwater. In any case I first gave one of these a coat of Militarum Green and one a coat of Creed Camo, for no other reason than to see the difference. I then painted the tentacles with Army Painter Speedpaint Purple Swarm and carefully dotted the oversized eye with Vallejo Heavy Goldbrown.

Backdrop by Jon Hodgson Backdrops
With that done I then painted the flat areas of the base with Caliban Green. Once that was dry, I then covered the bases in PVA glue and dunked them in a tub of Geek Gaming Scenics Base Ready Forest Floor. If I missed any areas then it would simply show the dark green, which is not the end of the world. Once the glue was dry, I locked the scatter in place with some Geek Gaming Scenics Matt Sealant. I then dabbed on some AK Interactive Swamp Water gel. And to finish things off I painted the rims of the base's Warboss Green to match the rest of my Nurgle forces.