Warhammer Quest: Darkwater - Pestigors
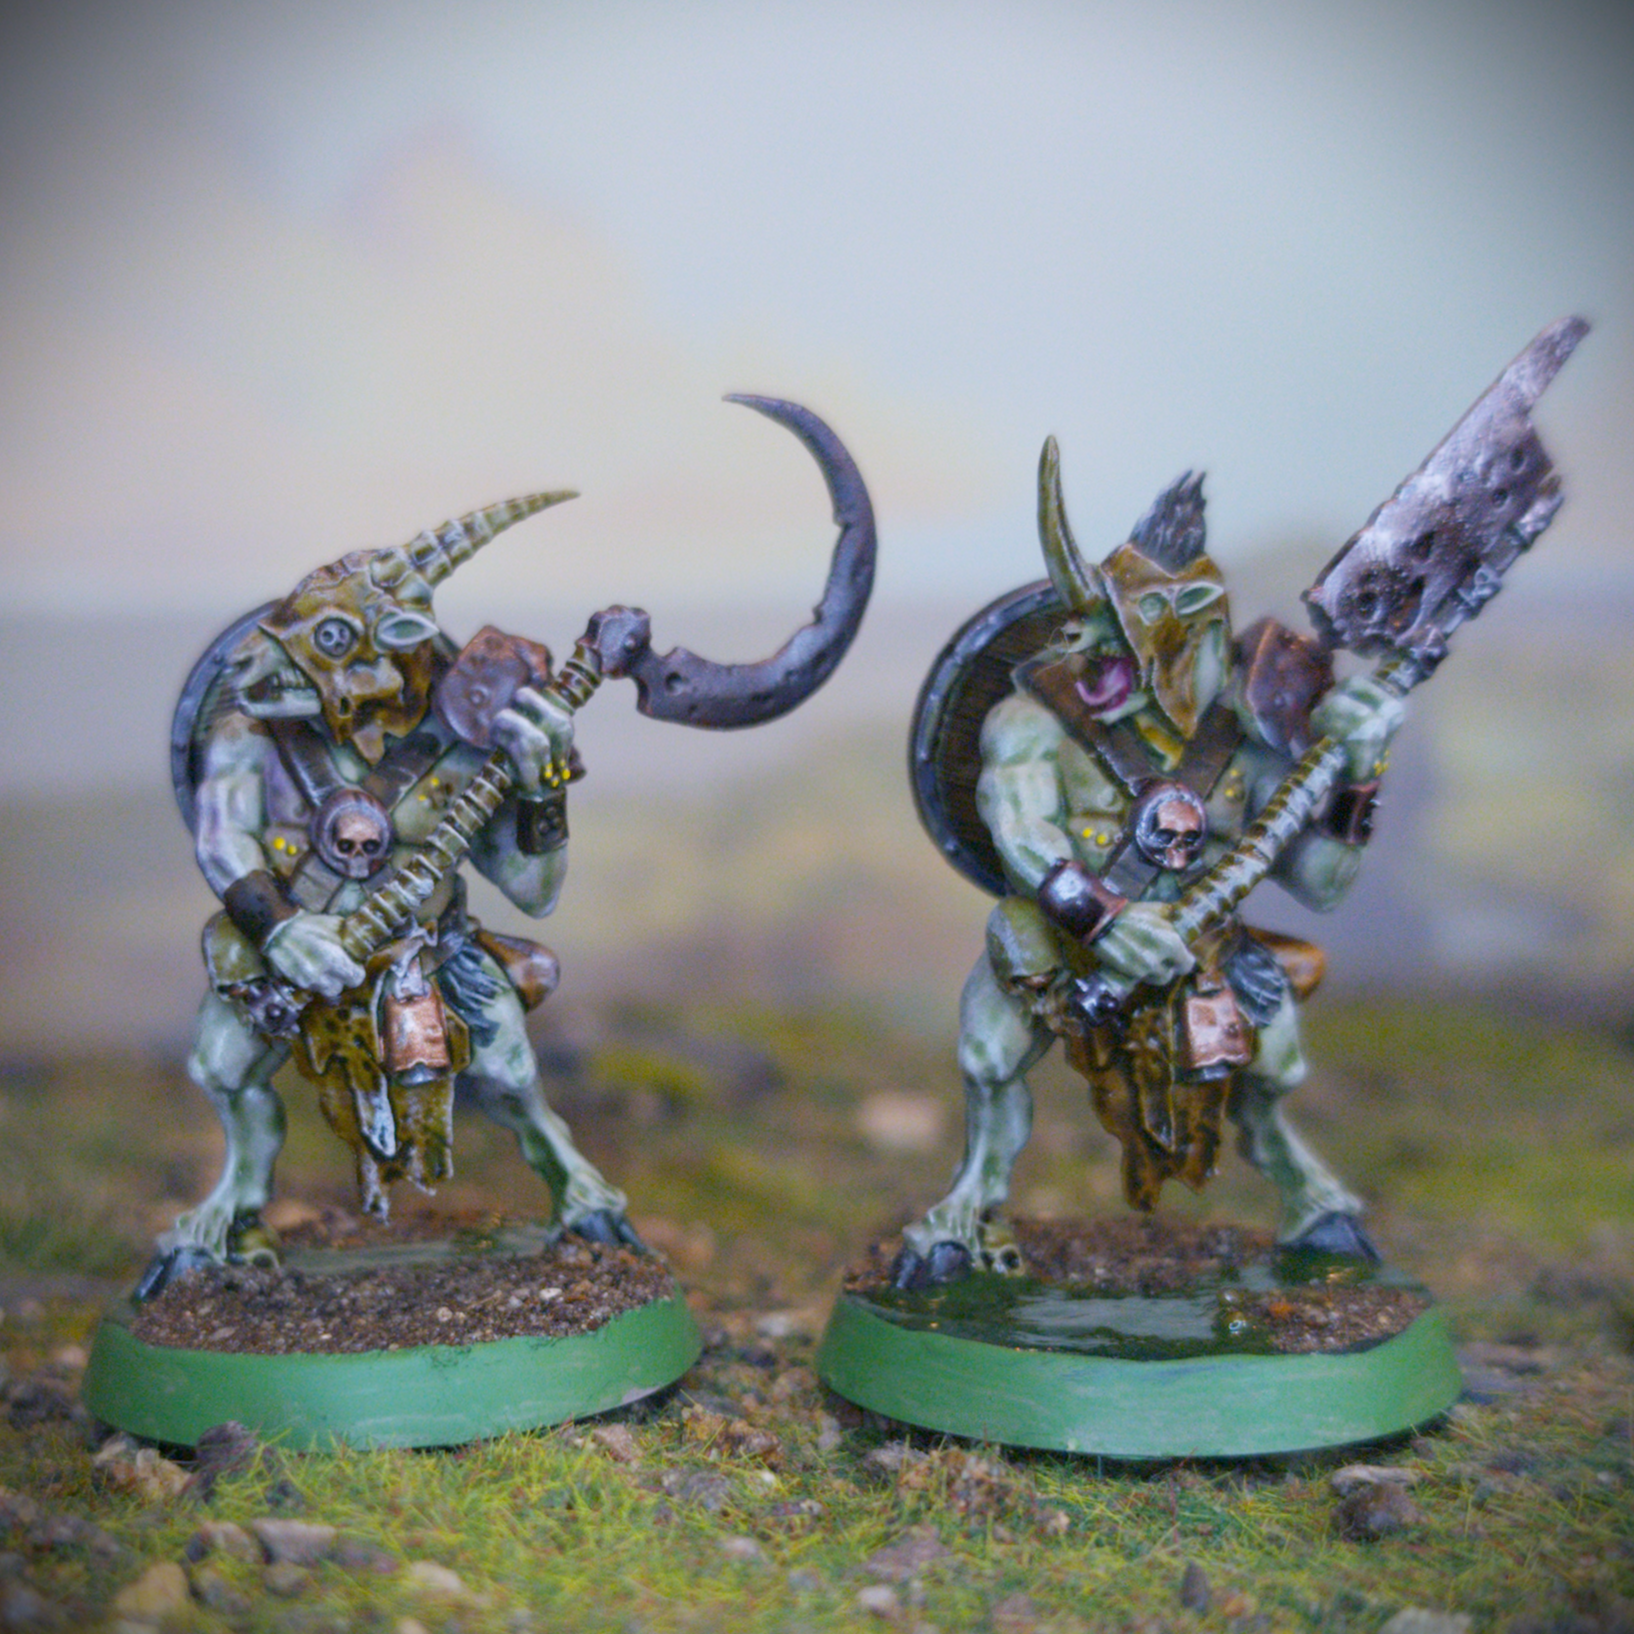
As soon as Warhammer Quest: Darkwater was revealed I knew I had to have it. You know I love my Nurgle miniatures. Especially as all the fleshy bits can come together quite quickly with washes and drybrushes. Of all the models in the Darkwater box I figured that the near nude Petigors would be some of the quickest to get painted.
To get things started, I first had to get them built. All of the models in the Darkwater box are push-fit, which I’m personally not a fan of but I understand why they do it for boardgames and the like. To make the models go together a little easier I would typically clip out a section of the hole at the push-fit pegs go into, if not clip down the peg as well. It was just less chance of having to use plastic bending force to get the models to go together, and as I would be gluing the parts together, I wasn’t worried about them falling apart again. Each of the Pestigors has two assembly options so I built one of each, making sure to take the parts from one of the two sprues. That way any spares would be all together on a single sprue.
Backdrop by Jon Hodgson Backdrops
Once I had everything but before priming, I dabbed some Typhus Corrosion technical paint onto the flat areas of the weapons and belly buckles. A touch more visual interest and texture never hurt anyone. Once that was done, I primed them with Colour Forge Dead Animal Bits and then gave each of them a zenithal highlight with Liquitex Titanium White acrylic ink through my airbrush. Admittedly this didn’t make much difference as Dead Animal Bits is already quite a light colour. What does make a difference is various highly pigmented inks. I used Sap Green and Burnt Umber, both from Daler-Rowney, as well as Vallejo Violet inks to add some shading to the Pestigors. Again, I used the airbrush for this as it let me get all eight miniatures done quickly. Lastly for the pre-shading, I painted a layer of Daler-Rowney Red Earth over the metallic details like the weapons, bracers and shields. For added control, I used a brush for this step.
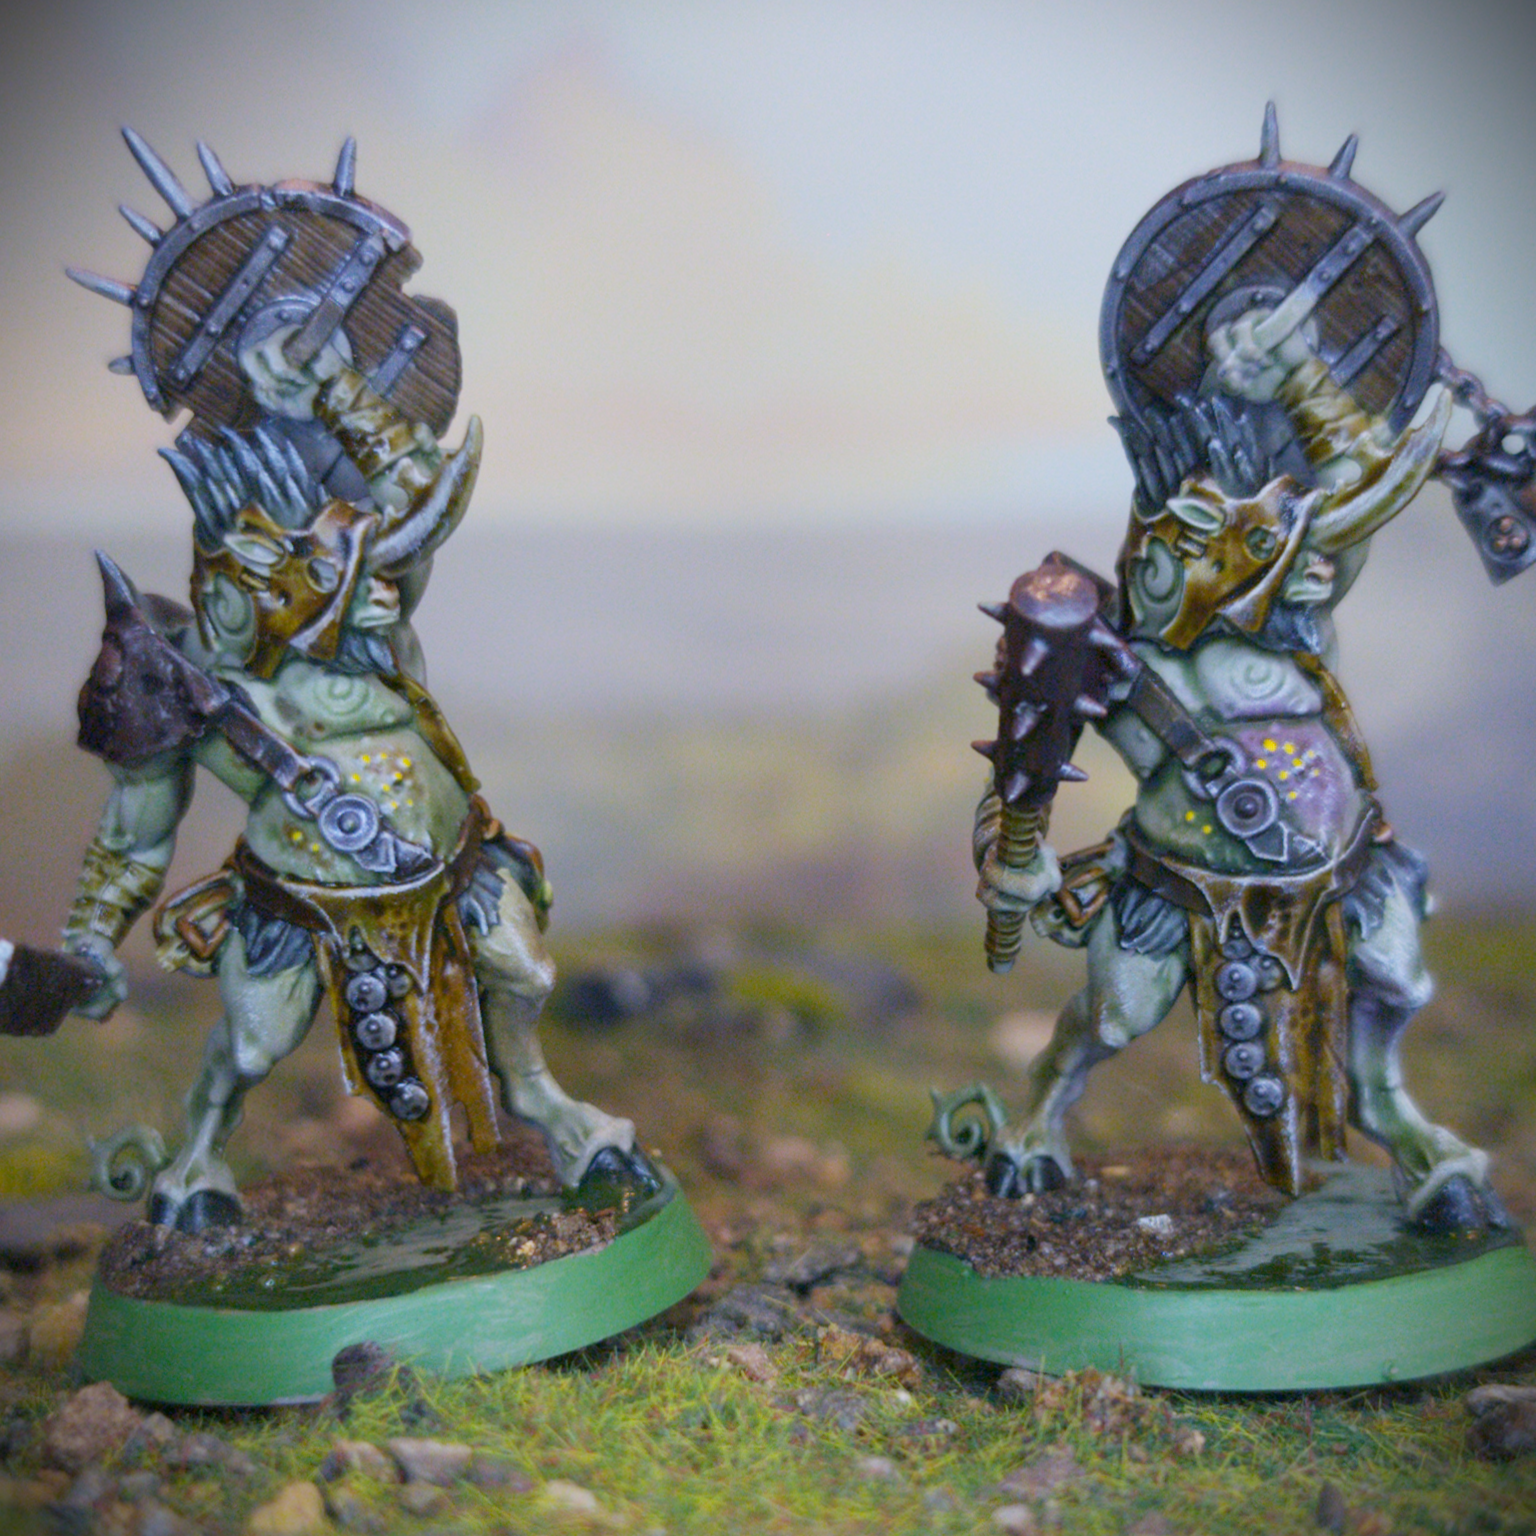
At last, it was time to take advantage of all that setup we had done and to kick things off I gave everything but the areas I had painted Red Earth a wash of Kroak Green. This is mainly for the skin but adding a green tint to the remainder of the model will help to tie everything together. Sticking with the skin for a moment, to make some areas like the boils look a bit sorer and more irritated I gave them a coat of Guilliman Flesh. The hooves and tufts of hair meanwhile, I painted with Black Templar.
Backdrop by Jon Hodgson Backdrops
Moving away from the skin for the time being, I painted the loincloths and hoods with Snakebite Leather. The leather details, except for the small straps on the skulls, I painted with Garaghak’s Sewer. These smaller straps meanwhile I painted with Gore-Grunta Fur to make them stand out a little more. For the skulls themselves, and indeed any other bone details like teeth and horns, I painted with Skeleton Horde. I also used this for any wraps on the handles of weapons or around wrists. I then painted any wood details with Wyldwood, one of my favourite paints. I then painted the severed heads with Army Painter Malignant Green to make them look rotten. Before moving onto the metallic details, I tied everything together by giving the models an all over drybrush of Pallid Wych Flesh. Doing it now makes things easier to tidy up with Red Earth ink. At this point, as I was done with the skin, painstakingly picked out all the boils with a dot of Yriel Yellow.
Backdrop by Jon Hodgson Backdrops
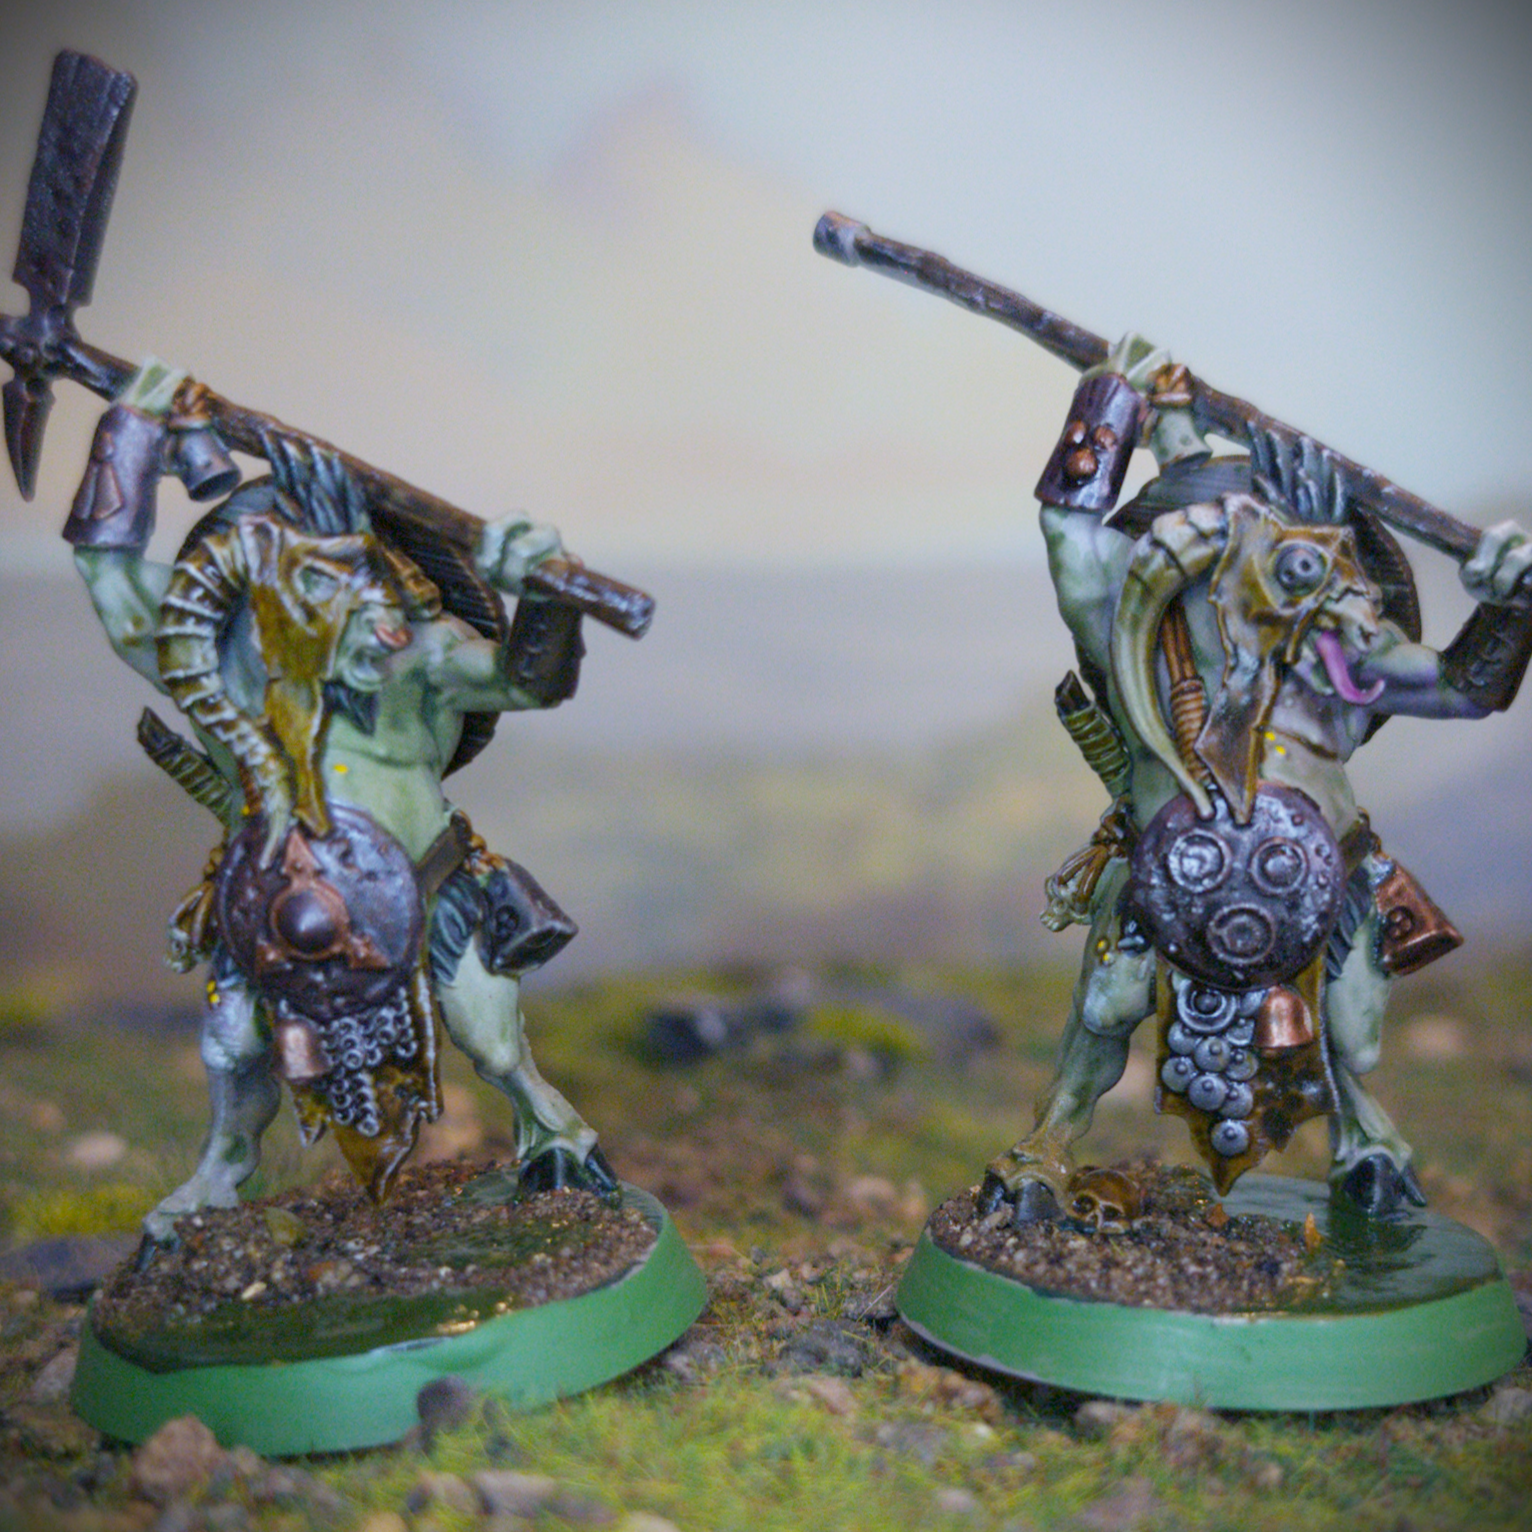
For the much-vaunted metallic details, I painted them with Army Painter Speedpaint Broadsword Silver. It goes nicely over any of the smaller areas I had left the basecoat Dead Animal Bits and over the Red Earth ink it produces a nice rust tinted effect. To break up all the silver I then picked out the odd detail with Balthasar Gold. For half of them the metal areas were then given a wash of Army Painter Dark Tone. This turned out alright, but I did feel that these needed a little something extra. I didn’t want to give them a drybrush as I felt all this would do is cover up any exposed rust were the Speedpaint had pulled away from the raised details. I ended up sponging on a little Scale75 Speed Metal. For the other half, I gave them a wash of Sonic Sledgehammer’s Marine Juice, which did a nice job of shading the metal areas without darkening them too much.
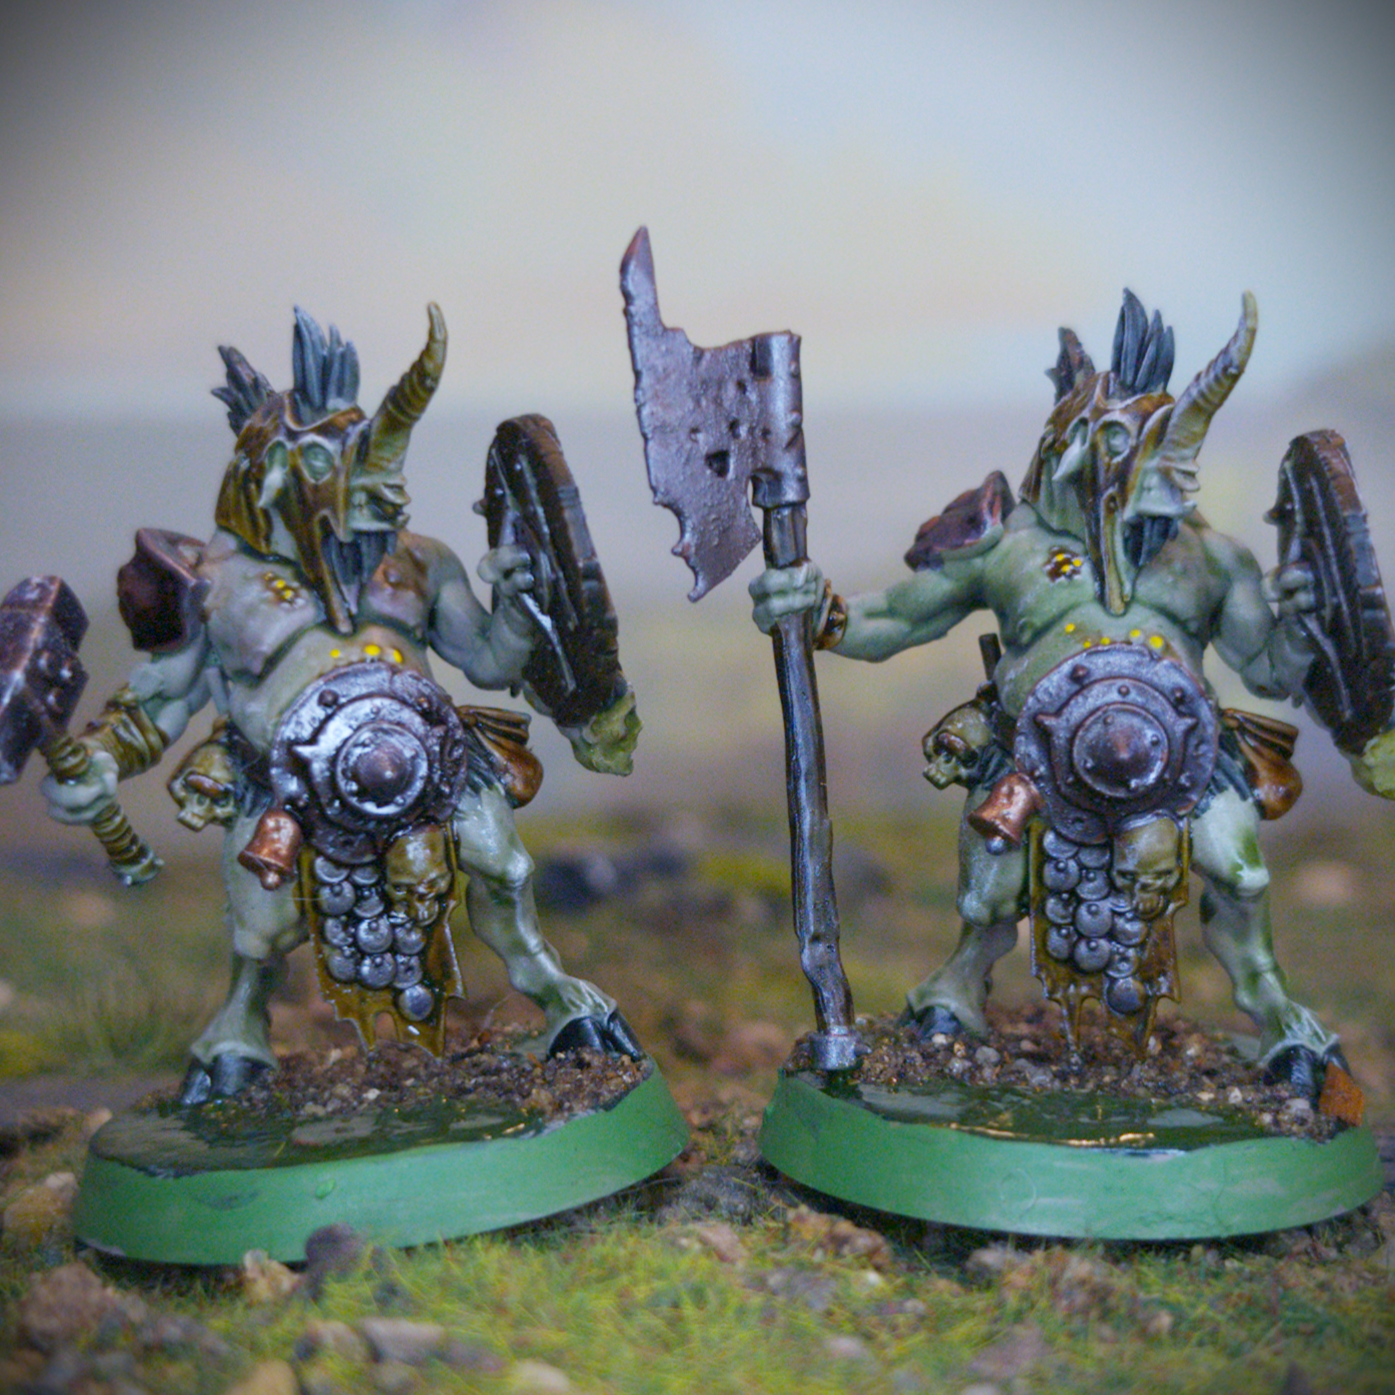
Lastly it was time for the bases. I have realised that my existing basing scheme is way too long winded. Between the texture paste, wash, drybrush, forest scatter, sealant, static grass and swamp effects it’s a lot of waiting for things to dry. So, for Darkwater I decided to simplify things greatly. For my simplified scheme I started by painting the base with Caliban Green. From there I jumped straight to the forest scatter. I dabbed some PVA glue in patches and then dunked the bases into a tub of Geek Gaming Scenics Base Ready Forest Floor. I then sealed this in place with some Geek Gaming Scenics Matt Sealant. On the remaining exposed areas of Caliban Green I painted on a thin layer of AK Interactive Swamp Water Gel. It’s important to keep the layers thin to maintain some transparency. The result was alright, I think moving forward I will cover the base in scatter then add puddles of swap water. Lastly, I painted the rims of the base with Warboss Green to match my other Nurgle forces and the first models for Darkwater were done!