Testing Painting Techniques - Yellow Armour
Obviously yellow armour is not a technique but calling it something like “that thing where you do the shadows with pink so that the yellow on top of it comes out orange” is a bit long for a blog title. I have wanted to give this a go for a little while and Commander Amadi from the Zombicide Invader Civilian Extras stretch goal provided the ideal opportunity to give it a go.
With a plan in mind I glued some rocks to the base and primed them grey. I then gave it a zenithal highlight with white ink. And as described above I gave the Commander a reverse-zenithal with some Vallejo Squid Pink.

With that done I painted everything except his head and weapons with a layer of Iyanden Yellow contrast paint. In hindsight, I should have used an airbrush to apply it as using a brush the contrast paint does what it was designed to do and gather in the recesses. Not the end of the world though, I am quite pleased with how it turned out. To make the armour pop a bit more, I gave each of the rivets a dot of Flash Gitz Yellow. In the more orange areas of the armour, I additionally used the Flash Gitz Yellow to edge highlight the panels. In the more yellow areas, I used Vallejo Pale Sand. To help separate the armour panels, I ran a thin line of Wyldwood contrast paint between them.
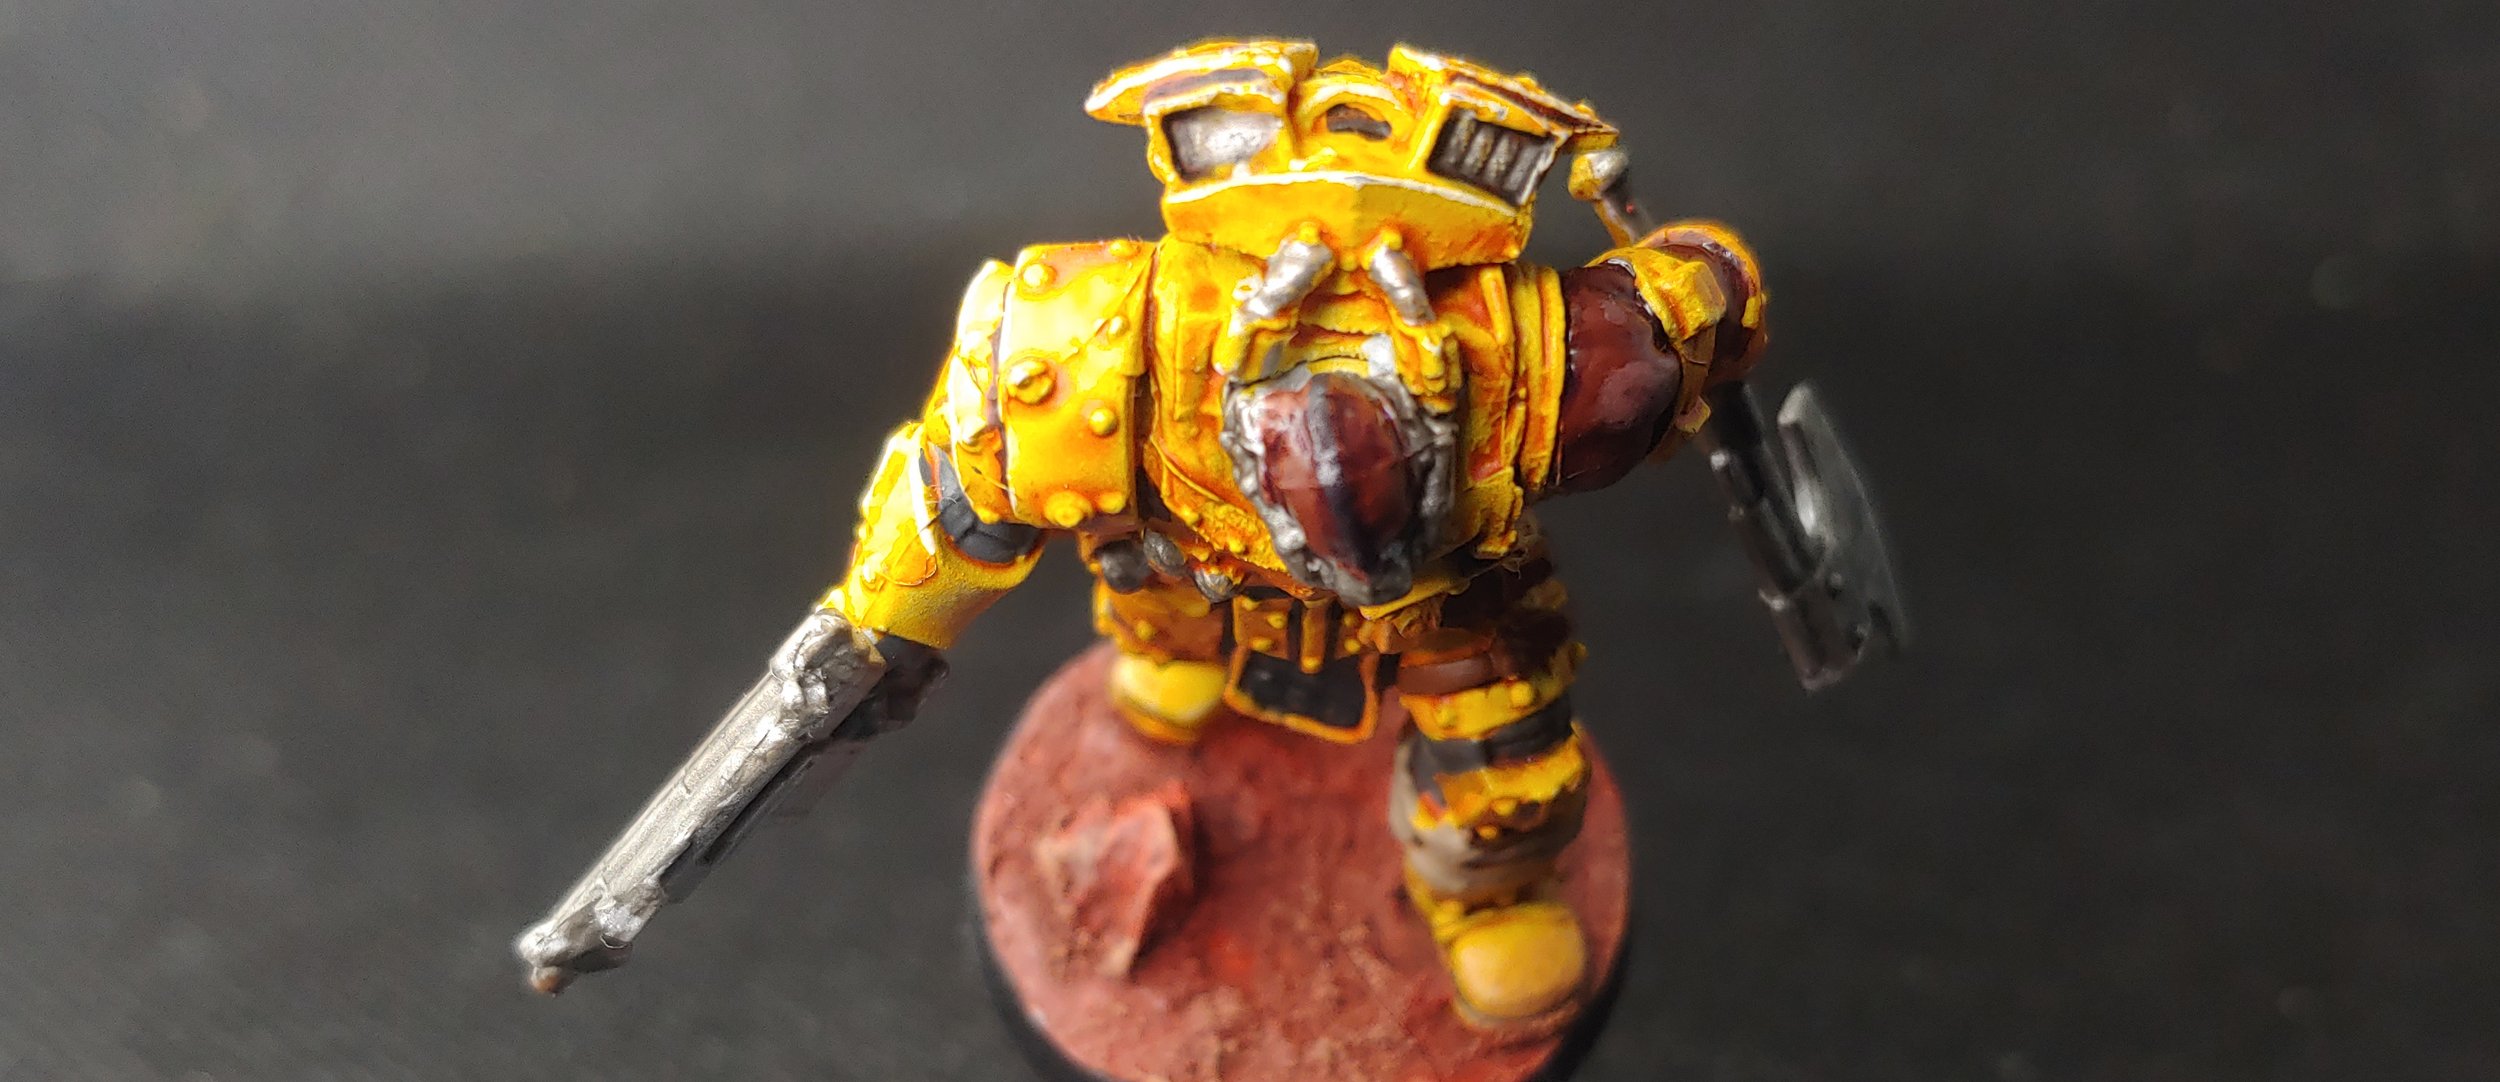
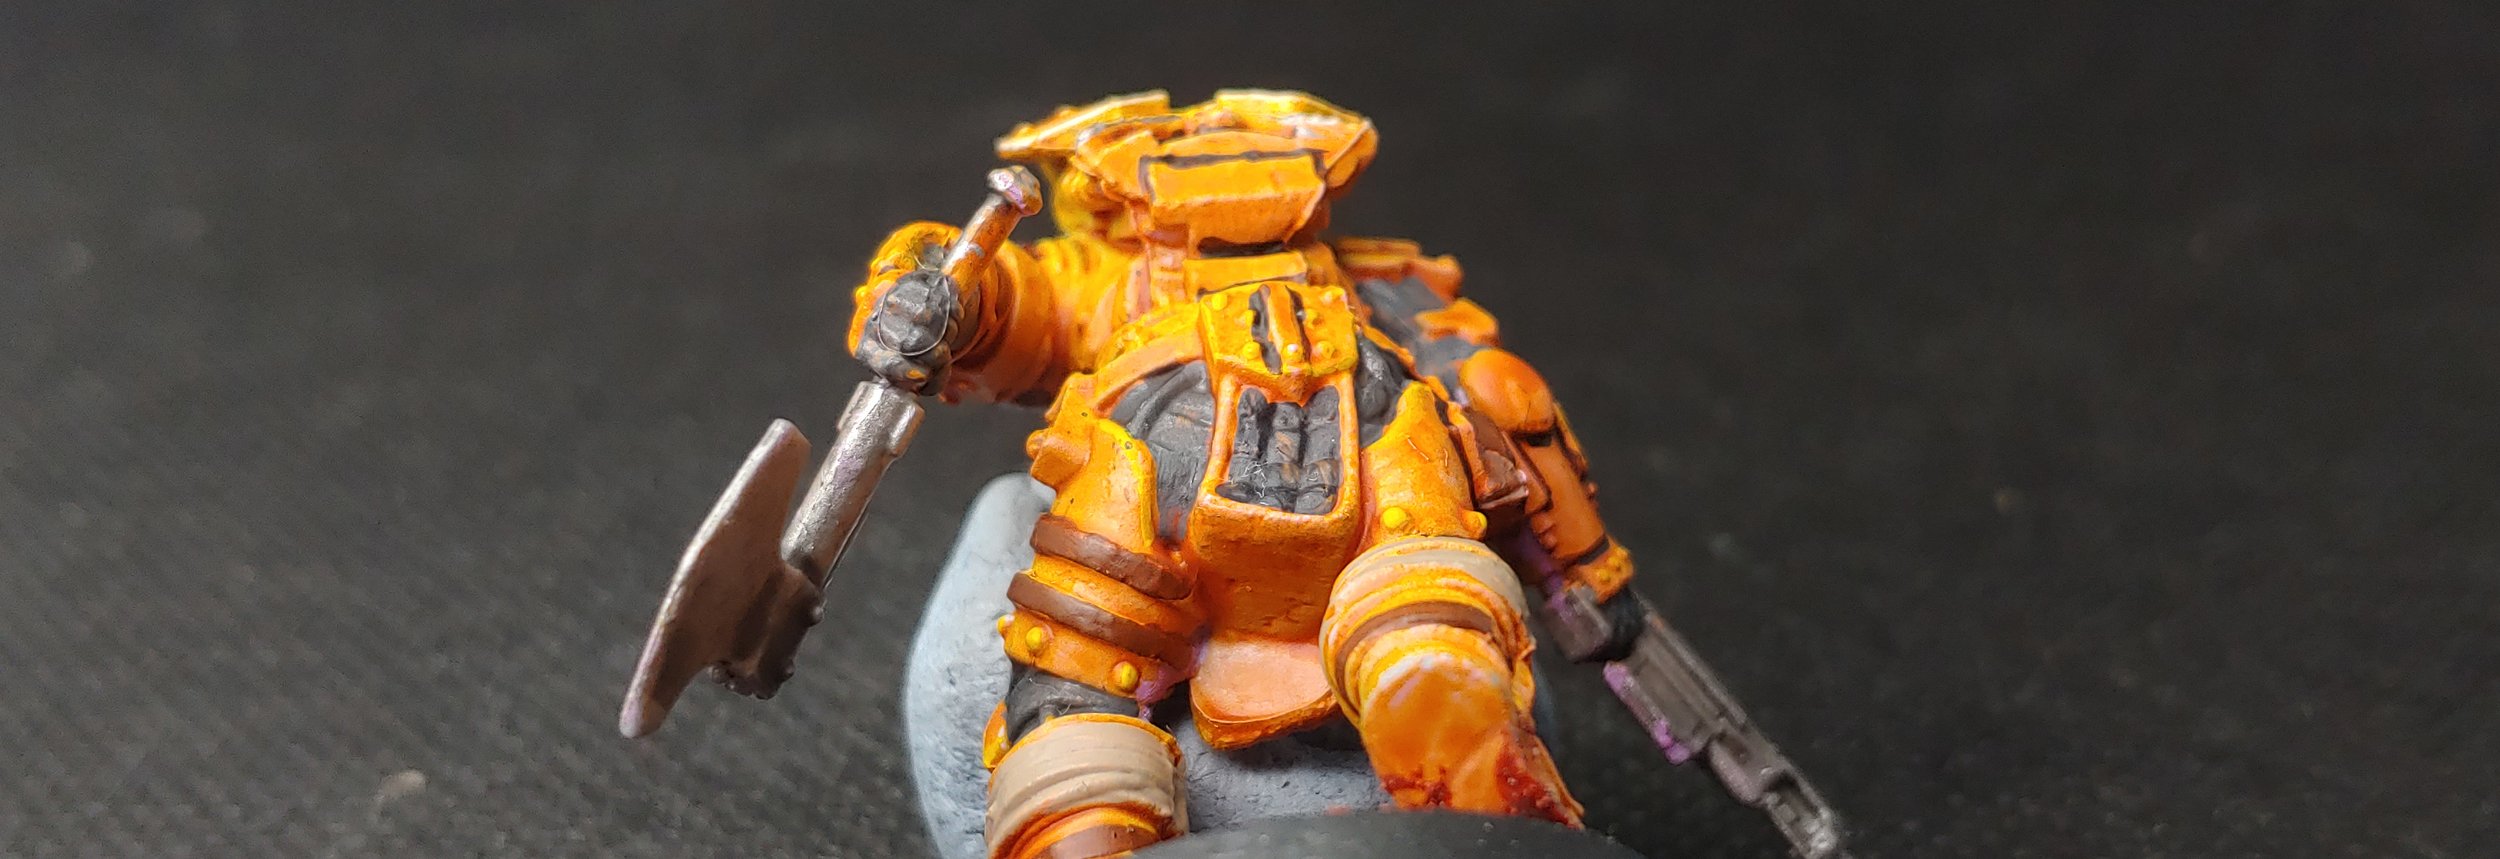
The armour done I could then start to carefully add the remaining base colours. To start with I painted the undersuit with Two Thin Coats Dungeon Stone, I felt that the neutral grey offset the rich yellow of the armour. The pouches I picked out with Skrag Brown and the wraps around his boots with Vallejo Khaki. The exposed skin I painted with a couple thin coats of Dark Fleshtone. Lastly, I picked out all the metallic details like his mask and weapons with Scale75 Thrash Metal.

The undersuit and weapons I then washed with Nuln Oil. The leather details with Army Painter Strong Tone. For his skin, I gave that a wash with Army Painter Purple Tone. I don’t recall where I learnt it, but dark skin works better with a purple wash. Once the washes were dry I layered his skin with Dark Fleshtone, then mixed Dark Fleshtone with a bit of Kislev Flesh for a few highlights.
Finally the base was done in the same way as the rest of the Zombicide Invader models. I painted the rocks with Vallejo Fire Red before spreading some Vallejo Red Oxide texture paste on the base. Once that was dry I washed it with Reikland Fleshshade and drybrushed it with Kindleflame. Lastly, I painted the rim of the base with a matt black.
Overall I’m pretty pleased with how it turned out. I think next time I try it I might firstly use the yellow paint through an airbrush to keep it from pooling in the recess. And secondly, I have a feeling I might get better results with the new Imperial Fist contrast paint.