
Forgotten World - Living Dead Peasants
In my recent Prologue game, whilst I had artificially inflated the difficulty, I did actually run out of zombie miniatures. I thought I’d be OK with twenty Deadwalkers and a similar number of Poxwalkers, but it would seem not. So, before I got into the campaign proper, I was going to need to pump those numbers up. Salvation would come in the form of a box of Living Dead Peasants, part of the Forgotten Worlds range by Fire Forge Games. I have not used one of their kits before, but I have been eyeing up their webstore for a little while now.
With nothing to lose I got stuck into the assembly. The models themselves are fairly simplistic; in that the bodies are complete pieces with separate arms and heads. They might lose some dynamism from the largely static poses, but they came together very quickly, and it was dead simple to swap parts out. Case in point, I gave a couple of them bits from the Frostgrave Cultists kit to help add some variety to the models. I also use a couple of arms from the Stargrave Automatons kits to help ground them in the forty-first millennium. Overall, I was really pleased with how this kit came together and honestly my only real complaint is that I would have preferred a few more overtly female heads in the box, a lot of my female zombies ended up being bald.
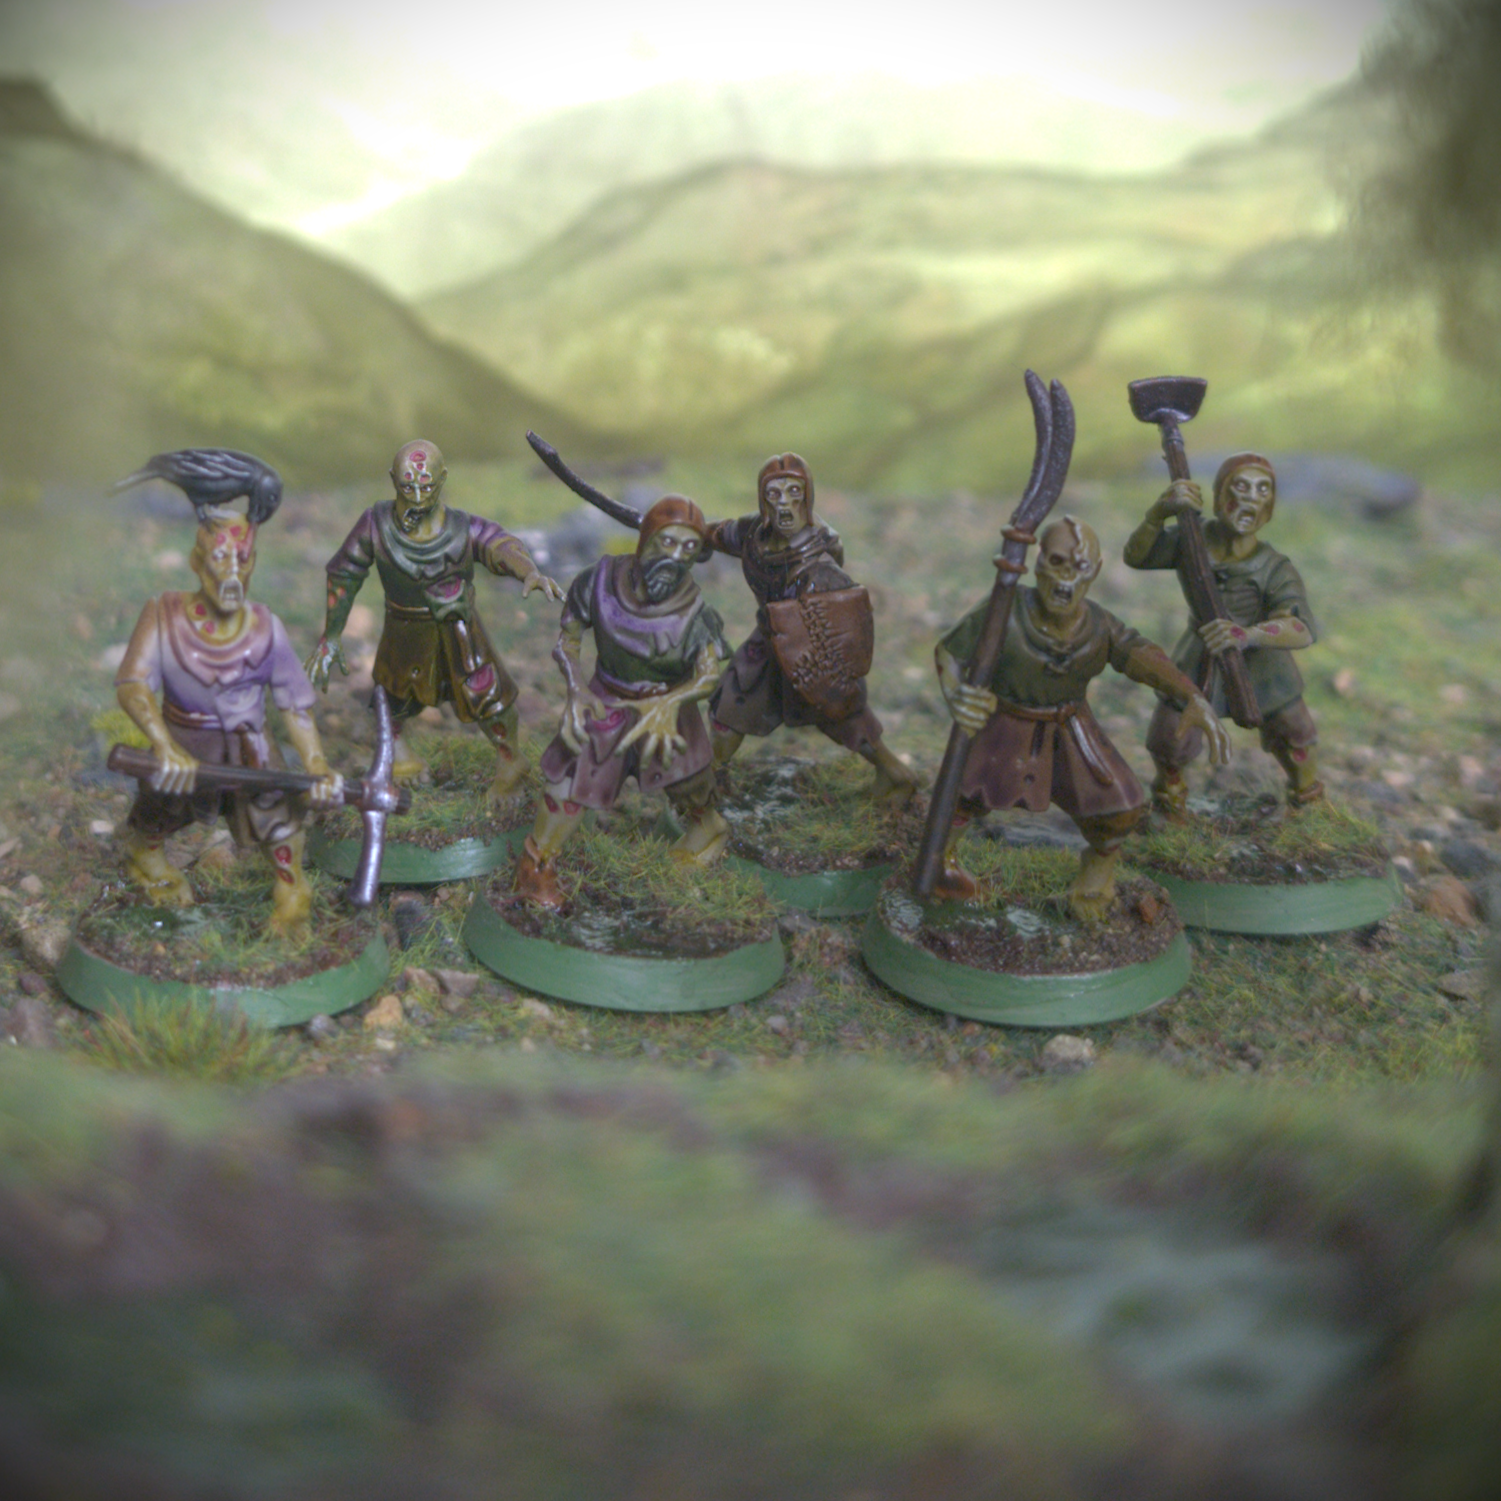
Backdrop by Jon Hodgson Backdrops
Before priming the miniatures, I gave the weapons and metallic details a coat of Typhus Corrosion. I was tempted to do a little more, like add some boils in the same way that I did for my Deadwalkers, but I liked how they looked already and I was already kind of on a time crunch. So, without further ado I primed them with Colour Forge Dead Animal Bits. At this point I also skipped giving them a zenithal highlight with white as I figured Dead Animal Bits is already quite a bright colour, and so a highlight wouldn’t make much difference. Spoiler, it definitely does and I definitely should have taken the short amount of time it would have taken to give them a highlight. Especially as I broke out the airbrush anyway for the pre-shading. For said pre-shading I would load up the airbrush with a vibrant ink and spray it haphazardly on the models. The colours I used were Vallejo Violet Ink, Army Painter Speedpaint Raging Sea, Daler-Rowney Forest Green and Burnt Umber inks. I didn’t use every colour on every model but each zombie did have at least two different colours on them. With the airbrush done I used a regular brush to give the metallic details, like weapons, a coat of Daler-Rowney Red Earth ink.
With the groundwork done I could move onto slapping down contrast paints with reckless abandon. I started with the skin, giving it a coat of Army Painter Speedpaint Malignant Green and Citadel Skeleton Horde for any exposed bone. I picked out any hair, and the crow, with Black Templar and any wounds in the skin with Army Painter Speedpaint Familiar Pink.
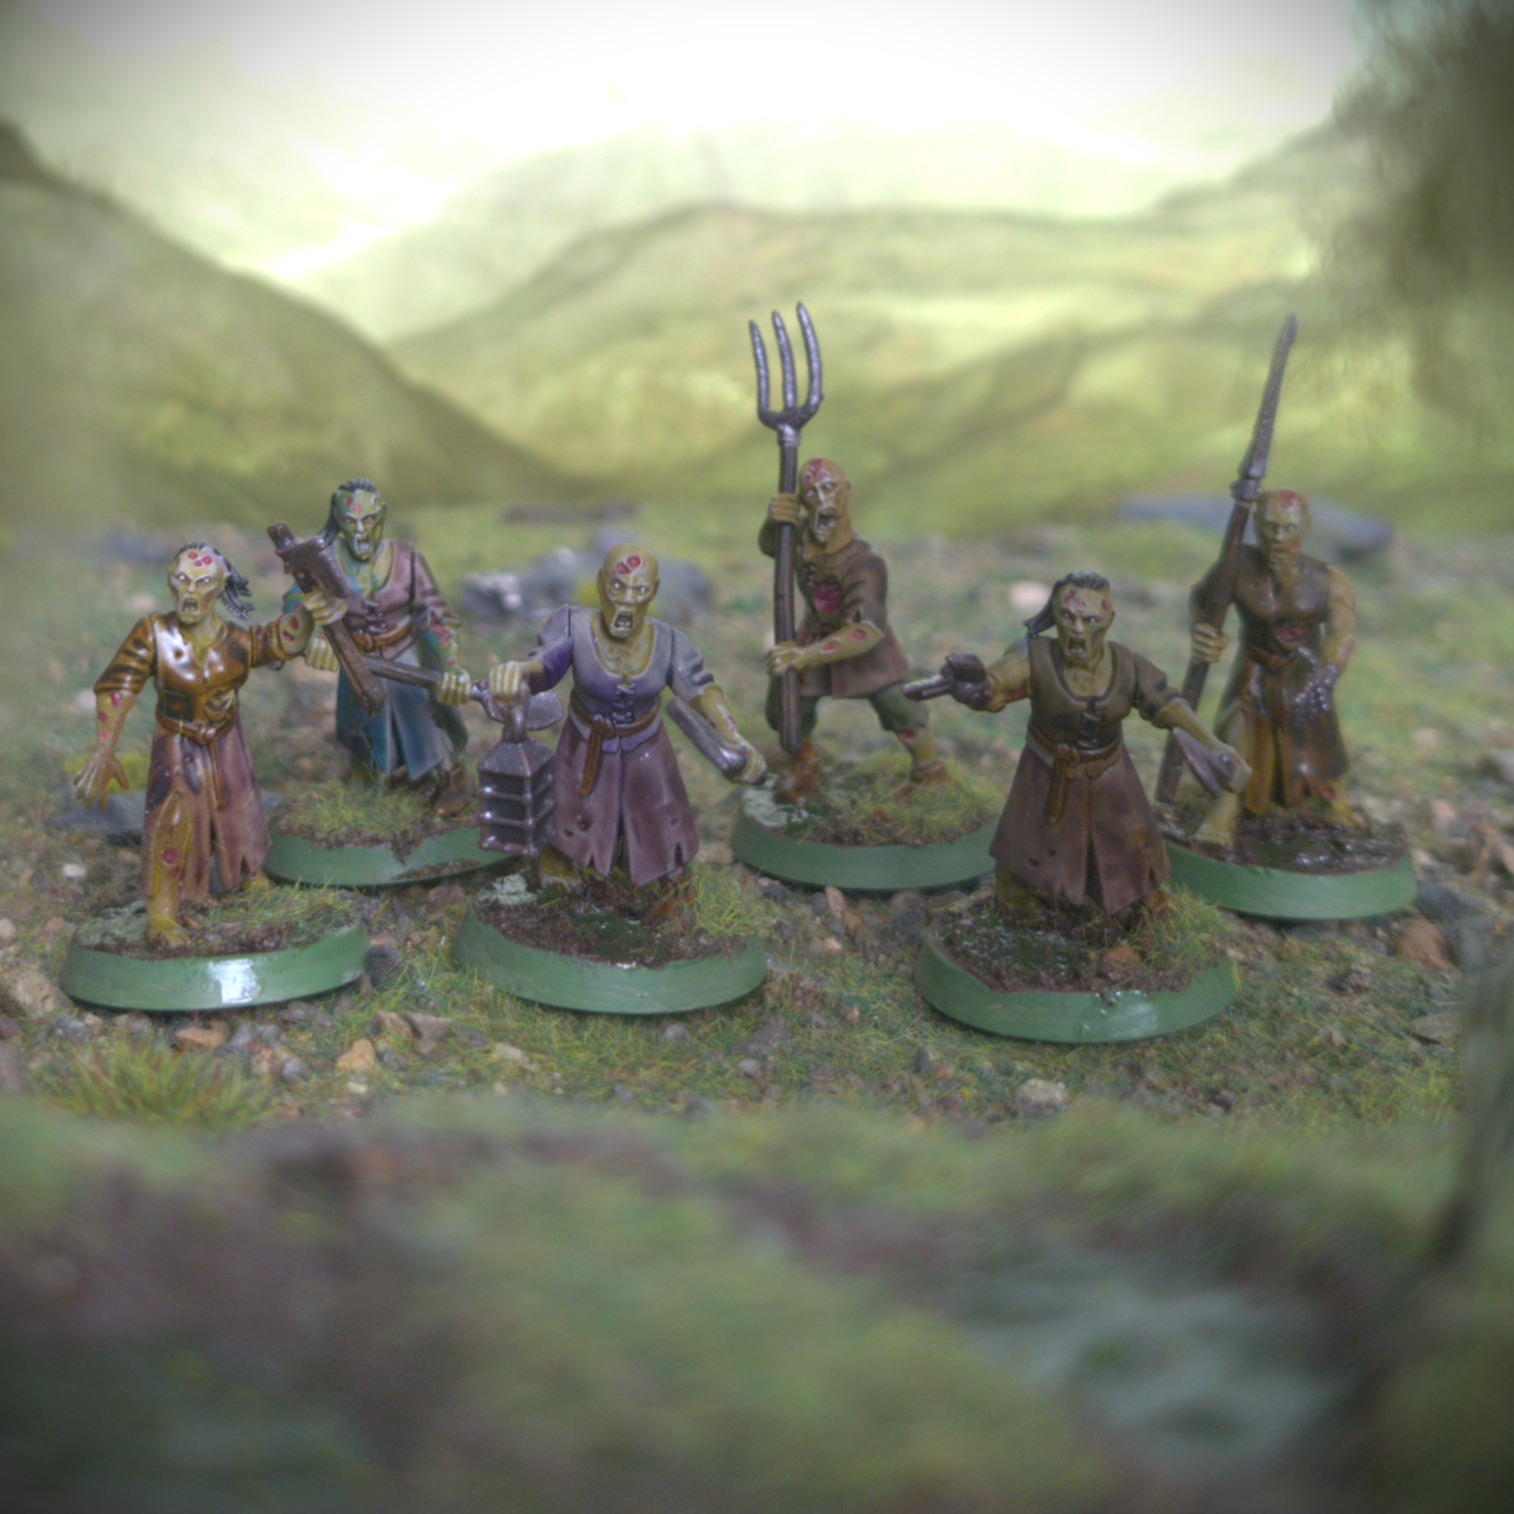
Backdrop by Jon Hodgson Backdrops
For the clothing, I again got out an array of paints that I could randomly choose from. The paints I chose were:
Army Painter Speedpaint Desolate Brown
Army Painter Speedpaint Runic Grey
Army Painter Speedpaint Gravelord Grey
Scale75 Instant Colour Arcane Purple
Citadel Contrast Snakebite Leather
Citadel Contrast Cygor Brown
Citadel Contrast Creed Camo
Some of them are quite bold and punchy colours like Cygor Brown, and others, like Runic Grey, are softer that will show the pre-shading that I did earlier. I randomly pick out items of clothing to paint with these colours, the only real rule being not to have the same colour next to each other. With this method I got the clothing, and therefore the bulk of the models, done in no time.
All I have left are the last few details. To that effect, I painted any leather details such as belts, boots and skullcaps with Gore Grunta Fur. I then picked out any weapon handles with Wyldwood and the metallic details with Army Painter Speedpaint Broadsword Silver. The latter, being somewhat transparent, shows the underlying Red Earth ink, giving it an overall rusted appearance.
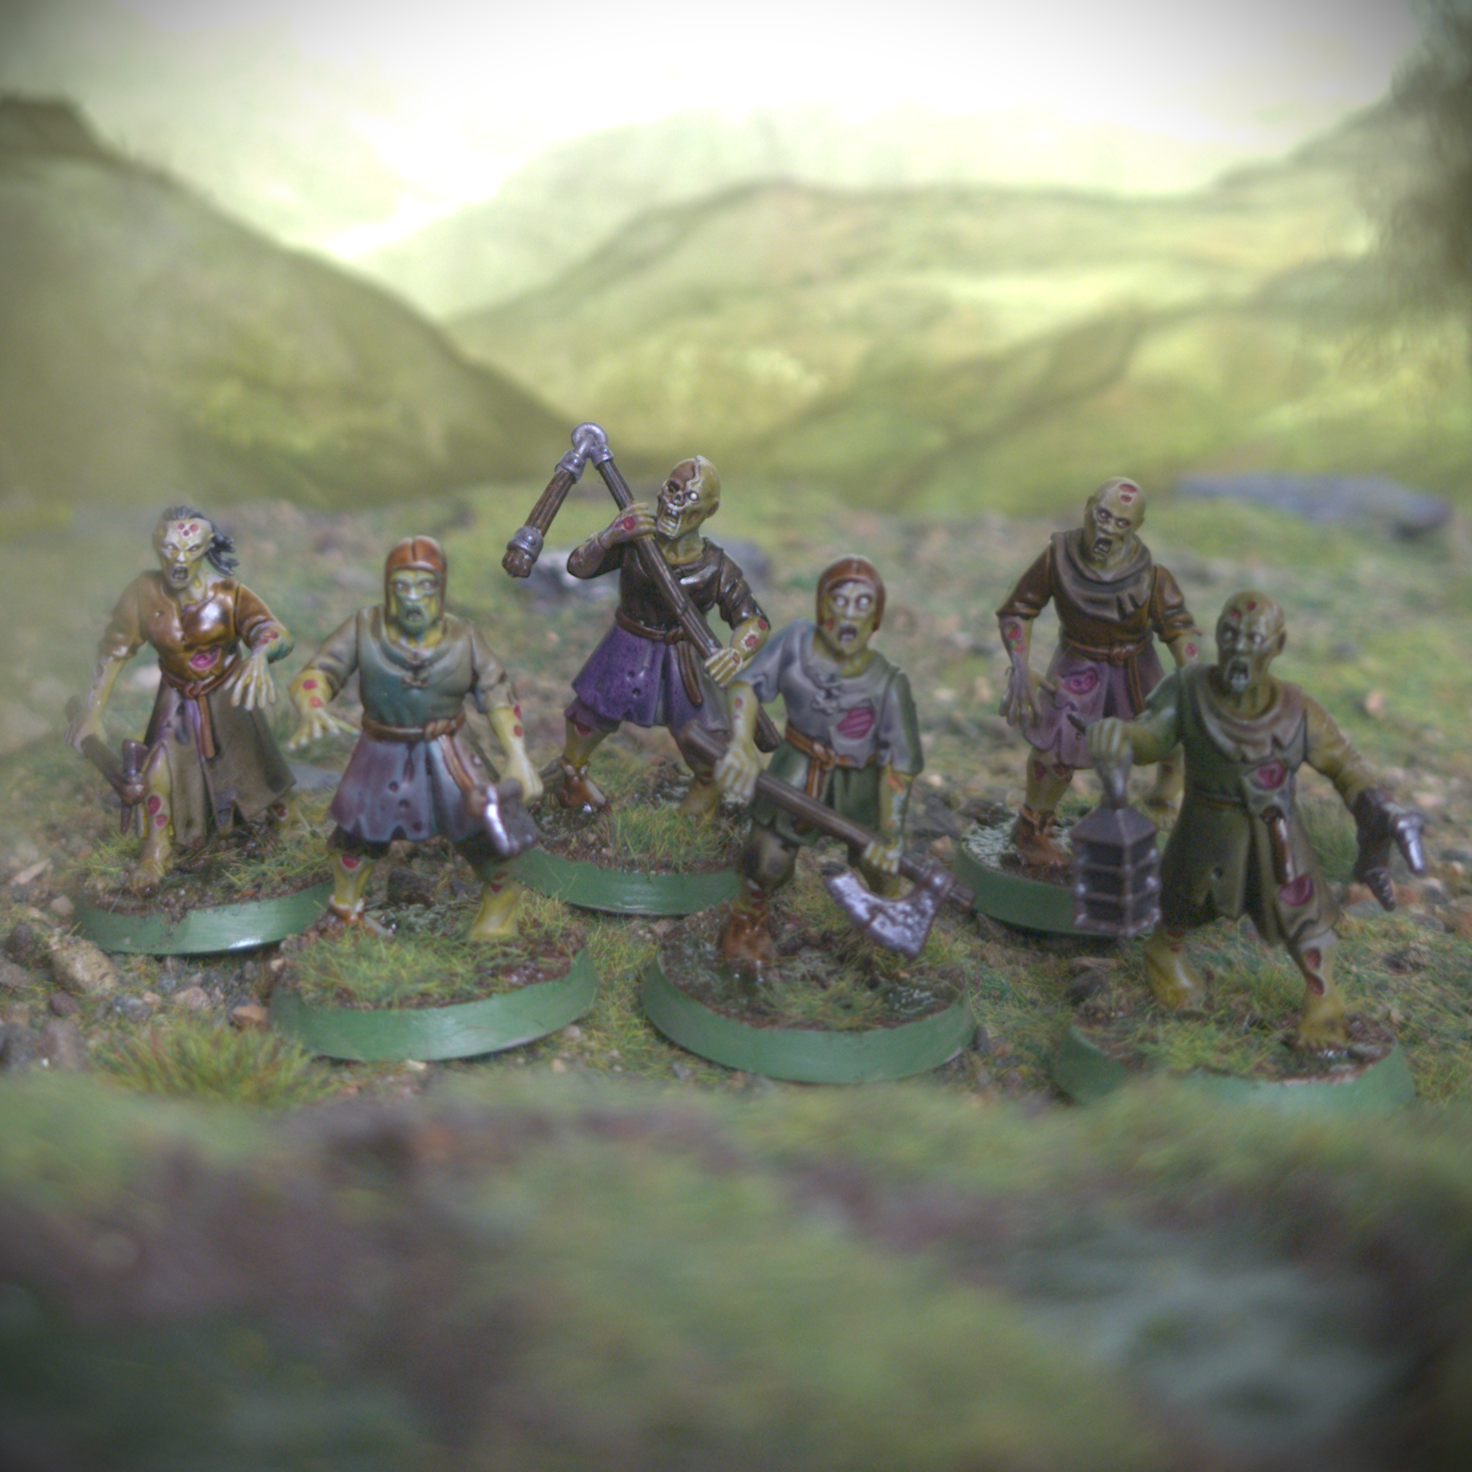
Backdrop by Jon Hodgson Backdrops
For the final details, to make the faces pop a little more, I dropped some Army Painter Military Shade into the mouths to darken them and Scale75 Instant Colour Arcane Purple around the eyes to make them look more sullen. I then drybrushed the skin on the faces and hands with Pallid Wych Flesh. Lastly, using the same colour to carefully dot the eyes.
With the models done I moved onto the bases, which will be the same swampy theme that I use for the rest of my Nurgle miniatures. I started by covering the bases with Vallejo Thick Brown Mud. Once that was dry I gave it a wash with Army Painter Military Shade. At this point I painted the rims with Warboss Green, easier to do it now rather than when I had covered the bases in scatter. Speaking of, I dabbed on some patches of PVA glue and sprinkled on some Geek Gaming Scenics Base Ready Forest Floor, which I then sealed in place with some Geek Gaming Scenics Matt Sealant. Once that was dry, I dabbed on a bit more PVA glue, this time sprinkling on some static grass. Lastly, I dabbed on some AK Interactive Swamp Water gel in thin layers to create puddles of toxic goo. And with that I had another eighteen zombies ready to go for my campaign. Let’s hope that I now have enough to last through my games!