
Warhammer 40,000 - Biosigns Terminated
I have to say, I’m rather enjoying these Commemorative Series models that are essentially little dioramas. And despite not being a Genestealers or Tyranids player I knew I had to pick this model up for my local store’s anniversary.
For the assembly, I kept the model separate from the base but otherwise fully assembled it. In hindsight I should have kept the Genestealer separate from the Terminator to make painting a little easier. All the arms and legs did get in the way somewhat.
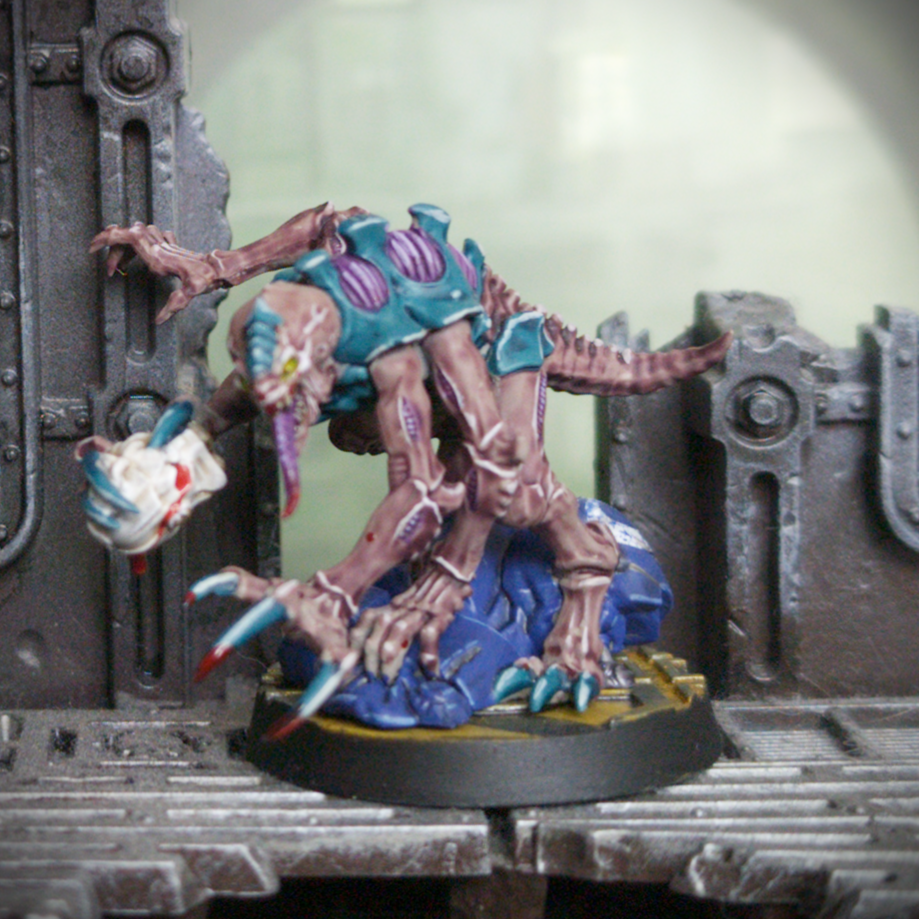
To get things started I primed the model with Colour Forge Standard Grey and then dug through my paints for all the purple colours. I initially picked Vallejo Malefic Flesh, but it didn’t seem to look right to me. It was a bit too dark and muted for my liking. I then tried with Vallejo Purple Shadow, the complimentary colour to Malefic Flesh, but again it just didn’t work for me. Even colours like Amethyst Rayne and Sorcerer’s Cloak from the Two Thin Coats range just didn’t quite gel for me, they were just a bit too bright for a horrifying alien monster. I know the look and feel of a model can change a lot from the basecoat to the final product, but I wanted to start on the right foot. I felt that had I used one of the above paints as my starting point I would have had to work extra hard to get the model to where I wanted it to be.
Backdrop by Jon Hodgson Backdrops
It doesn’t happen often, but sometimes you just have to throw in the towel and start again. I dunked the model in some Biostrip and used an old toothbrush to gently scrub the paint off. It was at this point I had wished that I had kept the Genestealer separate from the Terminator, getting to the underside of the model with a chunky toothbrush was not easy. I then thoroughly rinsed the model, including letting it sit in a jar of water for a day or so to make sure that I had removed all the Biostrip. Attempting to paint over gelatinous paint stripper will not go well.
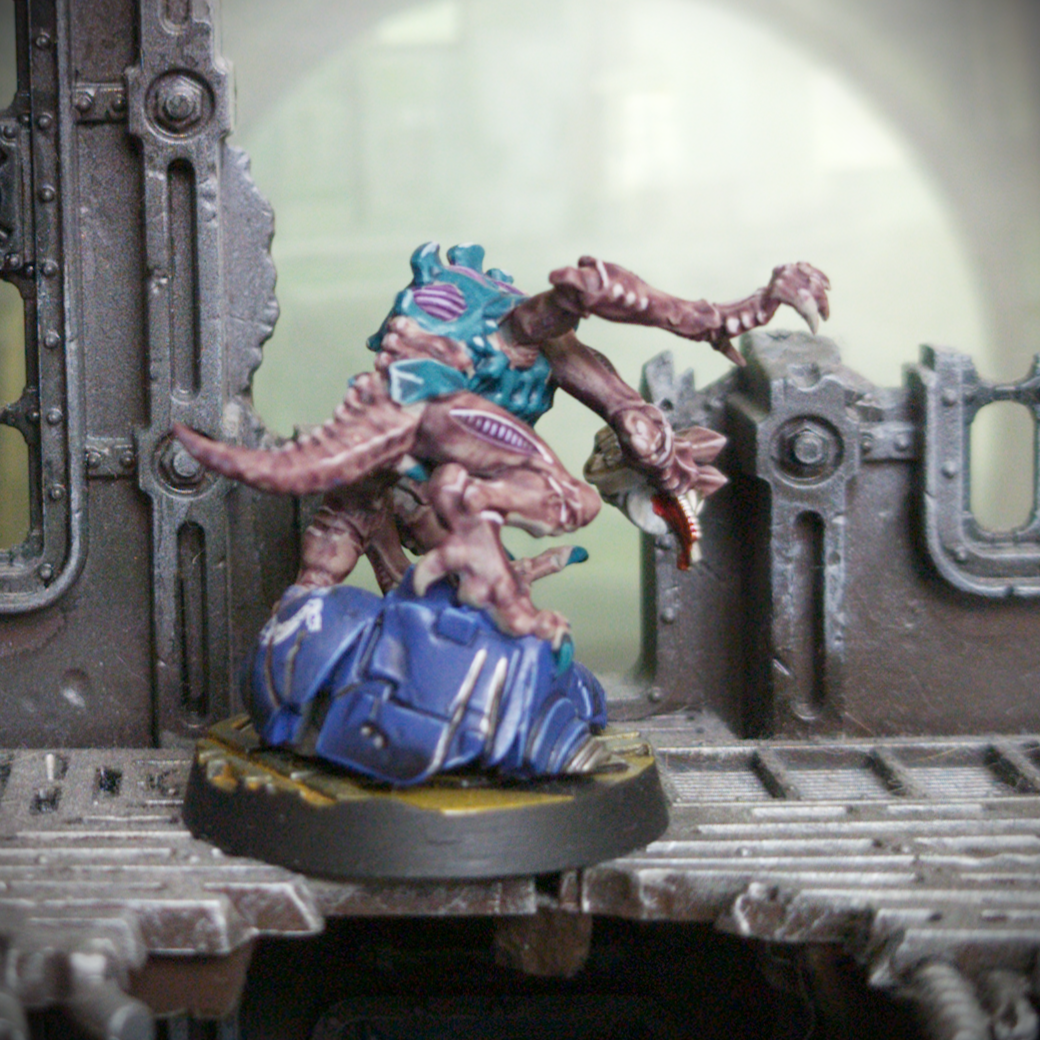
Once I was sure the model was free of paint stripper, I then reprimed the model this time with Colour Forge Dead Animal Bits. This time I had a plan. In my above tests, I had painted a portion of the skin with Two Thin Coats Griffon Claw, which is equivalent to Colour Forge Dead Animal Bits, before giving a coat of Scale75 Instant Colour Arcane Purple. I liked how it looked, it wasn’t too muted or too bright and being a contrast-like paint, it nicely shaded the skin. With that in mind, I painted the skin on my newly primed model with Arcane Purple. The armour on the torso and the claws I painted with Army Painter Raging Sea. This is quite a poppy colour but I liked how it contrasted the skin. For the various gills (vents?) that Tyranid models have on their backs and on some of the limbs I carefully picked these out with Army Painter Speedpaint Purple Swarm.
From there I moved onto the highlights. As Arcane Purple is quite transparent it does show through a bit of the underlying Dead Animal Bits. To this effect, I mixed the aforementioned colour equivalent Griffon Claw with AK Interactive Pastel Violet to give it a purple tone and used that to highlight the edges of the skin. I also used this colour to carefully pick out the eyes. For the armour and claws, I employed similar reasoning mixing Griffon Claw with AK Interactive Pastel Blue. For the areas that I had painted with Purple Swarm meanwhile, I highlighted those with Two Thin Coats Runic Purple.
Backdrop by Jon Hodgson Backdrops
For the final details, I painted the teeth with Army Painter Skeleton Bone before giving them a quick wash of Army Painter Dark Tone to darken them down. For the eyes, I mixed Imperial Fist and Warp Lightning contrast paints in a two-to-one ratio to make this electric green colour, which I then applied to the eyes. The bright green stands out nicely against the blue-purple tones of the rest of the model.
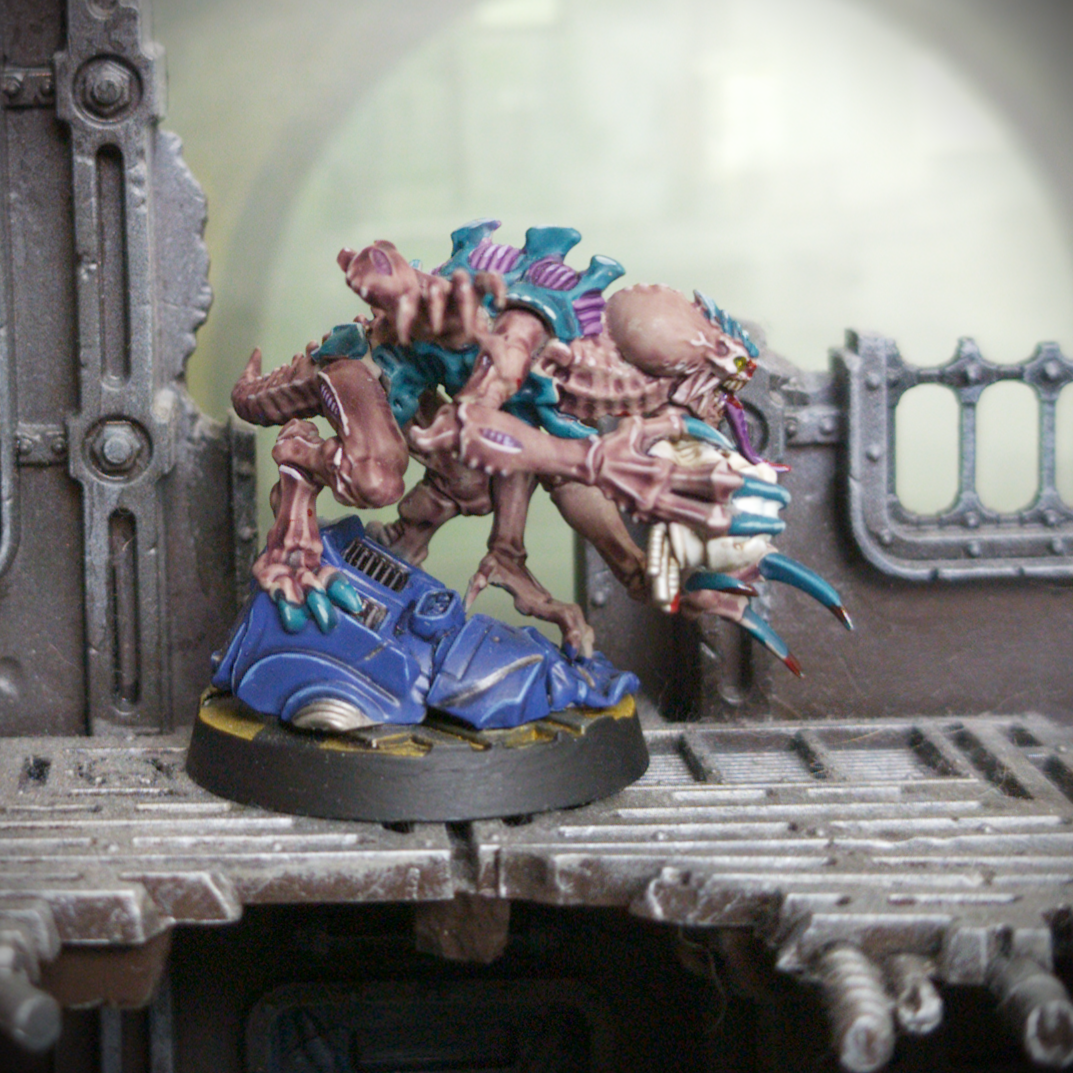
At last, we come to our fellow in Tactical Dreadnought Armour that has met a rather sticky end. After some thought and consulting with others, I decided that painting him up in the livery of the Ultramarines would work best. The blue armour wouldn’t clash with the blue-purple tones of the Genestealer and any blood effects would show up nicely. So, to get things started I painted the armour with, unsurprisingly, Macragge Blue and the helmet with Archive-X Reefer White. The joints, vents and cables meanwhile I painted with Scale75 Thrash Metal.
As there is a mostly intact shoulder pad, it would be remiss of me not to at least attempt some heraldry for our deceased Terminator. I gave the shoulder pad a coat of gloss varnish before rummaging through my collection of transfer sheets. I had forgotten that I had given my brother my collection of Space Marine transfer sheets for his burgeoning force of Dark Angels, but thankfully I still had one the newer Ultramarines transfer sheets lying about. I cut out one of the chapter symbols and soaked in some water until the decal was loose enough that I could slide it from the backing paper and onto the model. I then gave it a coat of Micro Sol, a mild solvent that softens decals. I gave it a minute to work its magic then firmly pressed the transfer into the model with a damp paper towel. I repeated this once more to make sure the decal conformed to the shape of the model, in particular the gouges that run across the shoulder pad. Once I was happy with it, I sealed it in place with some Vallejo Matt Varnish. To really integrate it into the model I then took a bit of sponge which I dipped the tip into some Macragge Blue before dabbing away the excess, and then lightly tapping it over the decal to create a chipped effect.
Backdrop by Jon Hodgson Backdrops
Returning to the model as a whole, I painted a line of Thrash Metal into the gouges and rents in the armour. I then thinned some Army Painter Dark Tone with some Vallejo Matt Varnish and used this to give the Terminator and his helmet a wash. By thinning it slightly, it won’t darken the model too much. And I used Matt Varnish as the Army Painter washes can be a little glossy at times. I finished him off by edge highlighting the armour with Two Thin Coats Celestial Blue and the helmet with Army Painter Matt White.
For the base, as I had a spare 40mm Necromunda base I figured that would be perfect to sell the scene as being on a space hulk. With that in mind I primed it with Colour Forge Raven Black before giving it a drybrush of Scale75 Thrash Metal. I then masked off the raised area in the middle and sponged on some Vallejo Heavy Goldbrown. Once that was dry, I laid some masking tape across it diagonally and sponged on Two Thin Coats Death Reaper to create some quick and easy hazard stripes. I then gave the base a wash of Army Painter Dark Tone followed by a drybrush of Necron Compound. For a more worn appearance I then dabbed some Army Painter Grim Rust onto the metallic areas, but it ended up being a bit too opaque for my liking, so I wiped the excess away with a damp paper towel.
For the final touches I glued the Genestealer and Terminator to the base with a few drops of super glue. There were a few gaps but that wasn’t the end of the world. I then broke out the Blood for the Blood God and added some blood effects to the helmet and some splatter effects on the face. The key was not going overboard with the blood, it’s a Genestealer not a World Eater. Lastly, I painted the rim of the base with matt black.