
Age of Sigmar - Nexus of Grief
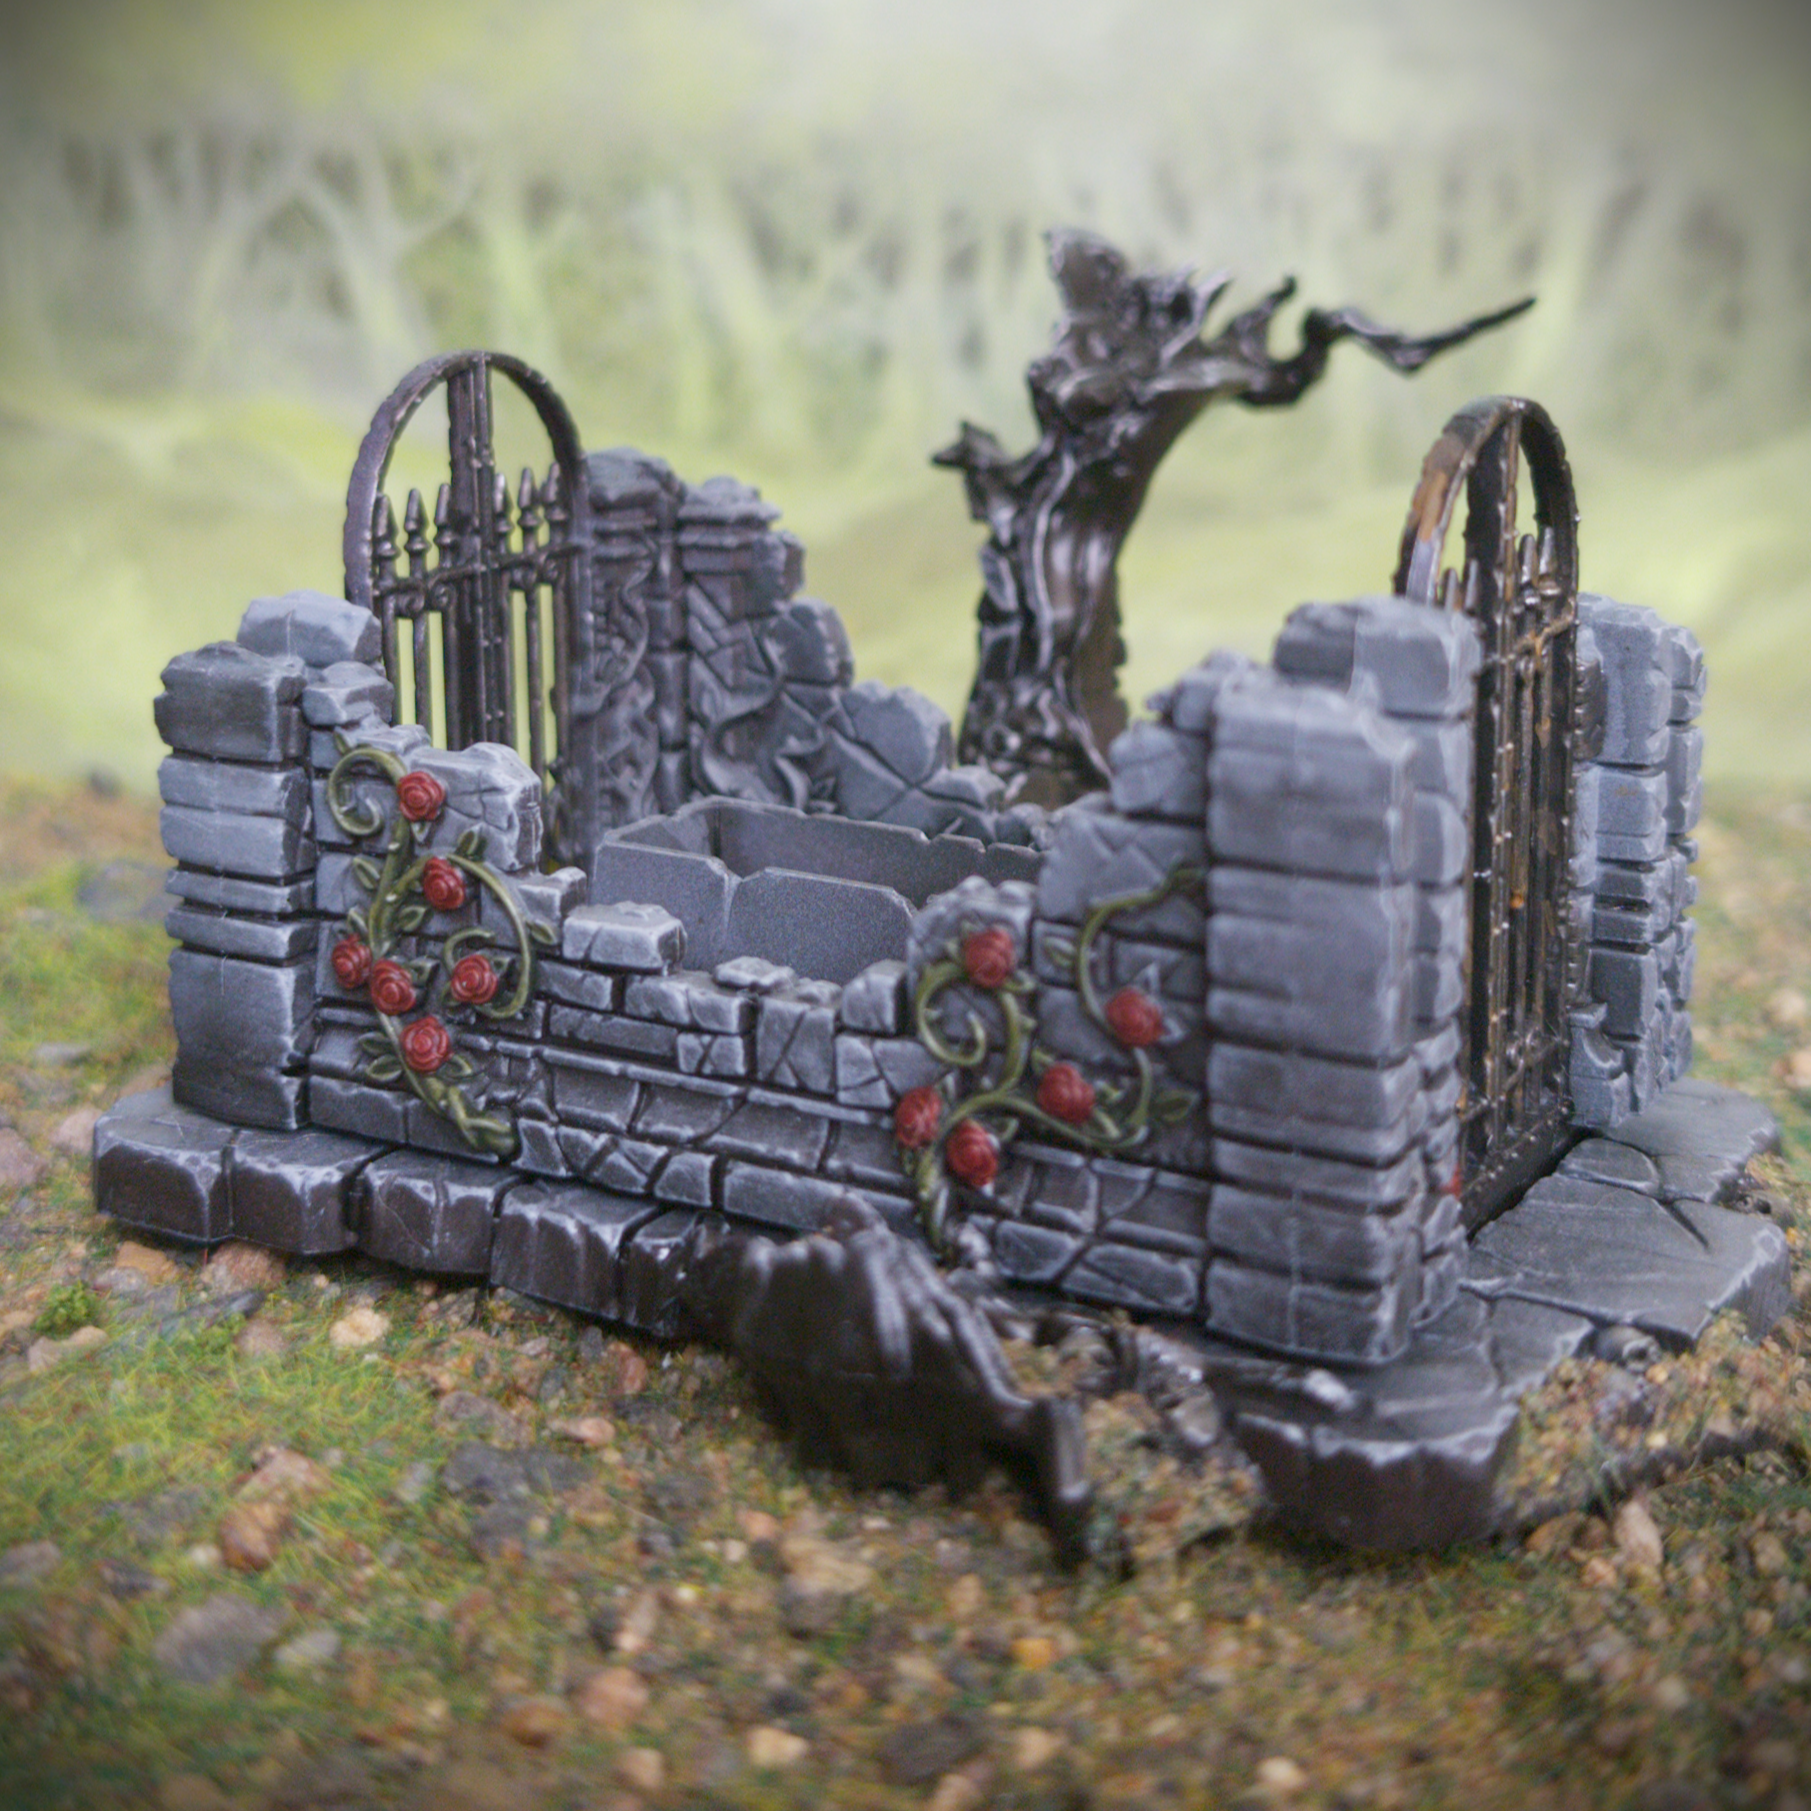
The setting for my upcoming campaign, Rest Eterna, is one of the Imperium’s Cemetery Worlds in which the interred dead come back to life and wreak havoc on the Imperial forces. As such, I felt that I needed to get some mortuary themed terrain and when the Cursed Sepulchre was released it looked ideal for my purposes. Honestly, Age of Sigmar terrain is miles better than the boring ol’ ruins you get for Warhammer 40,000.
Backdrop by Jon Hodgson Backdrops
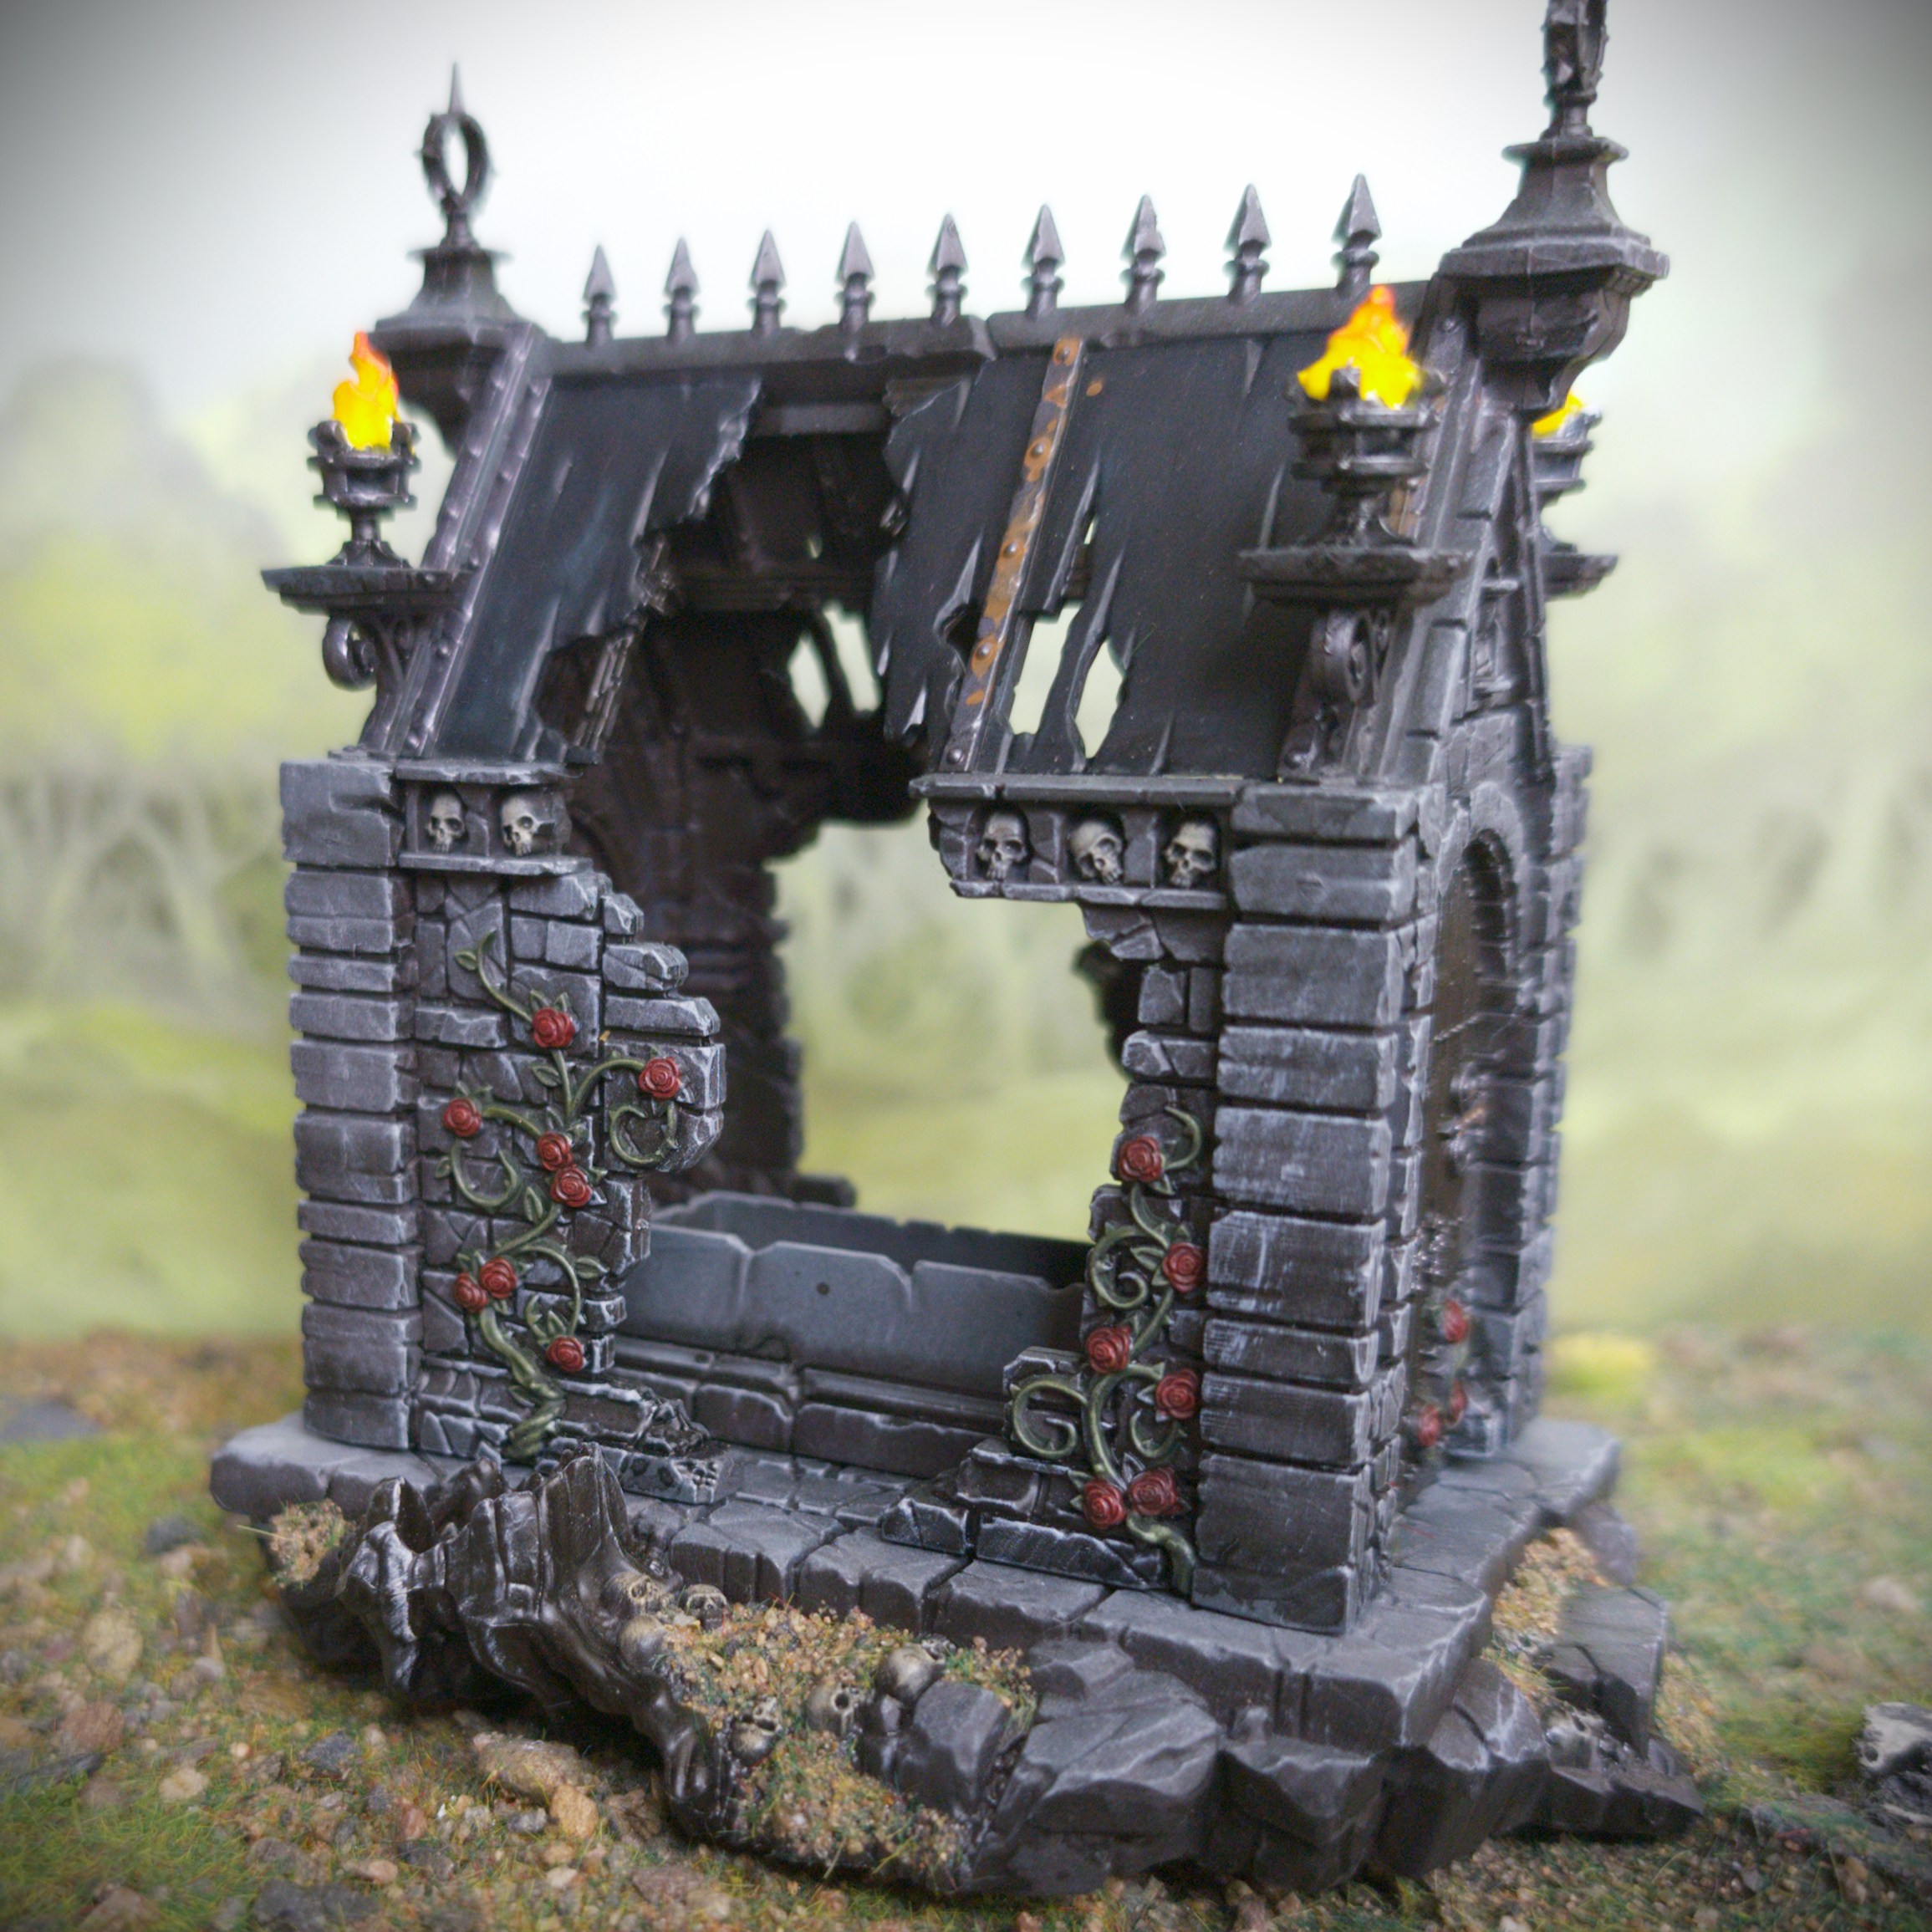
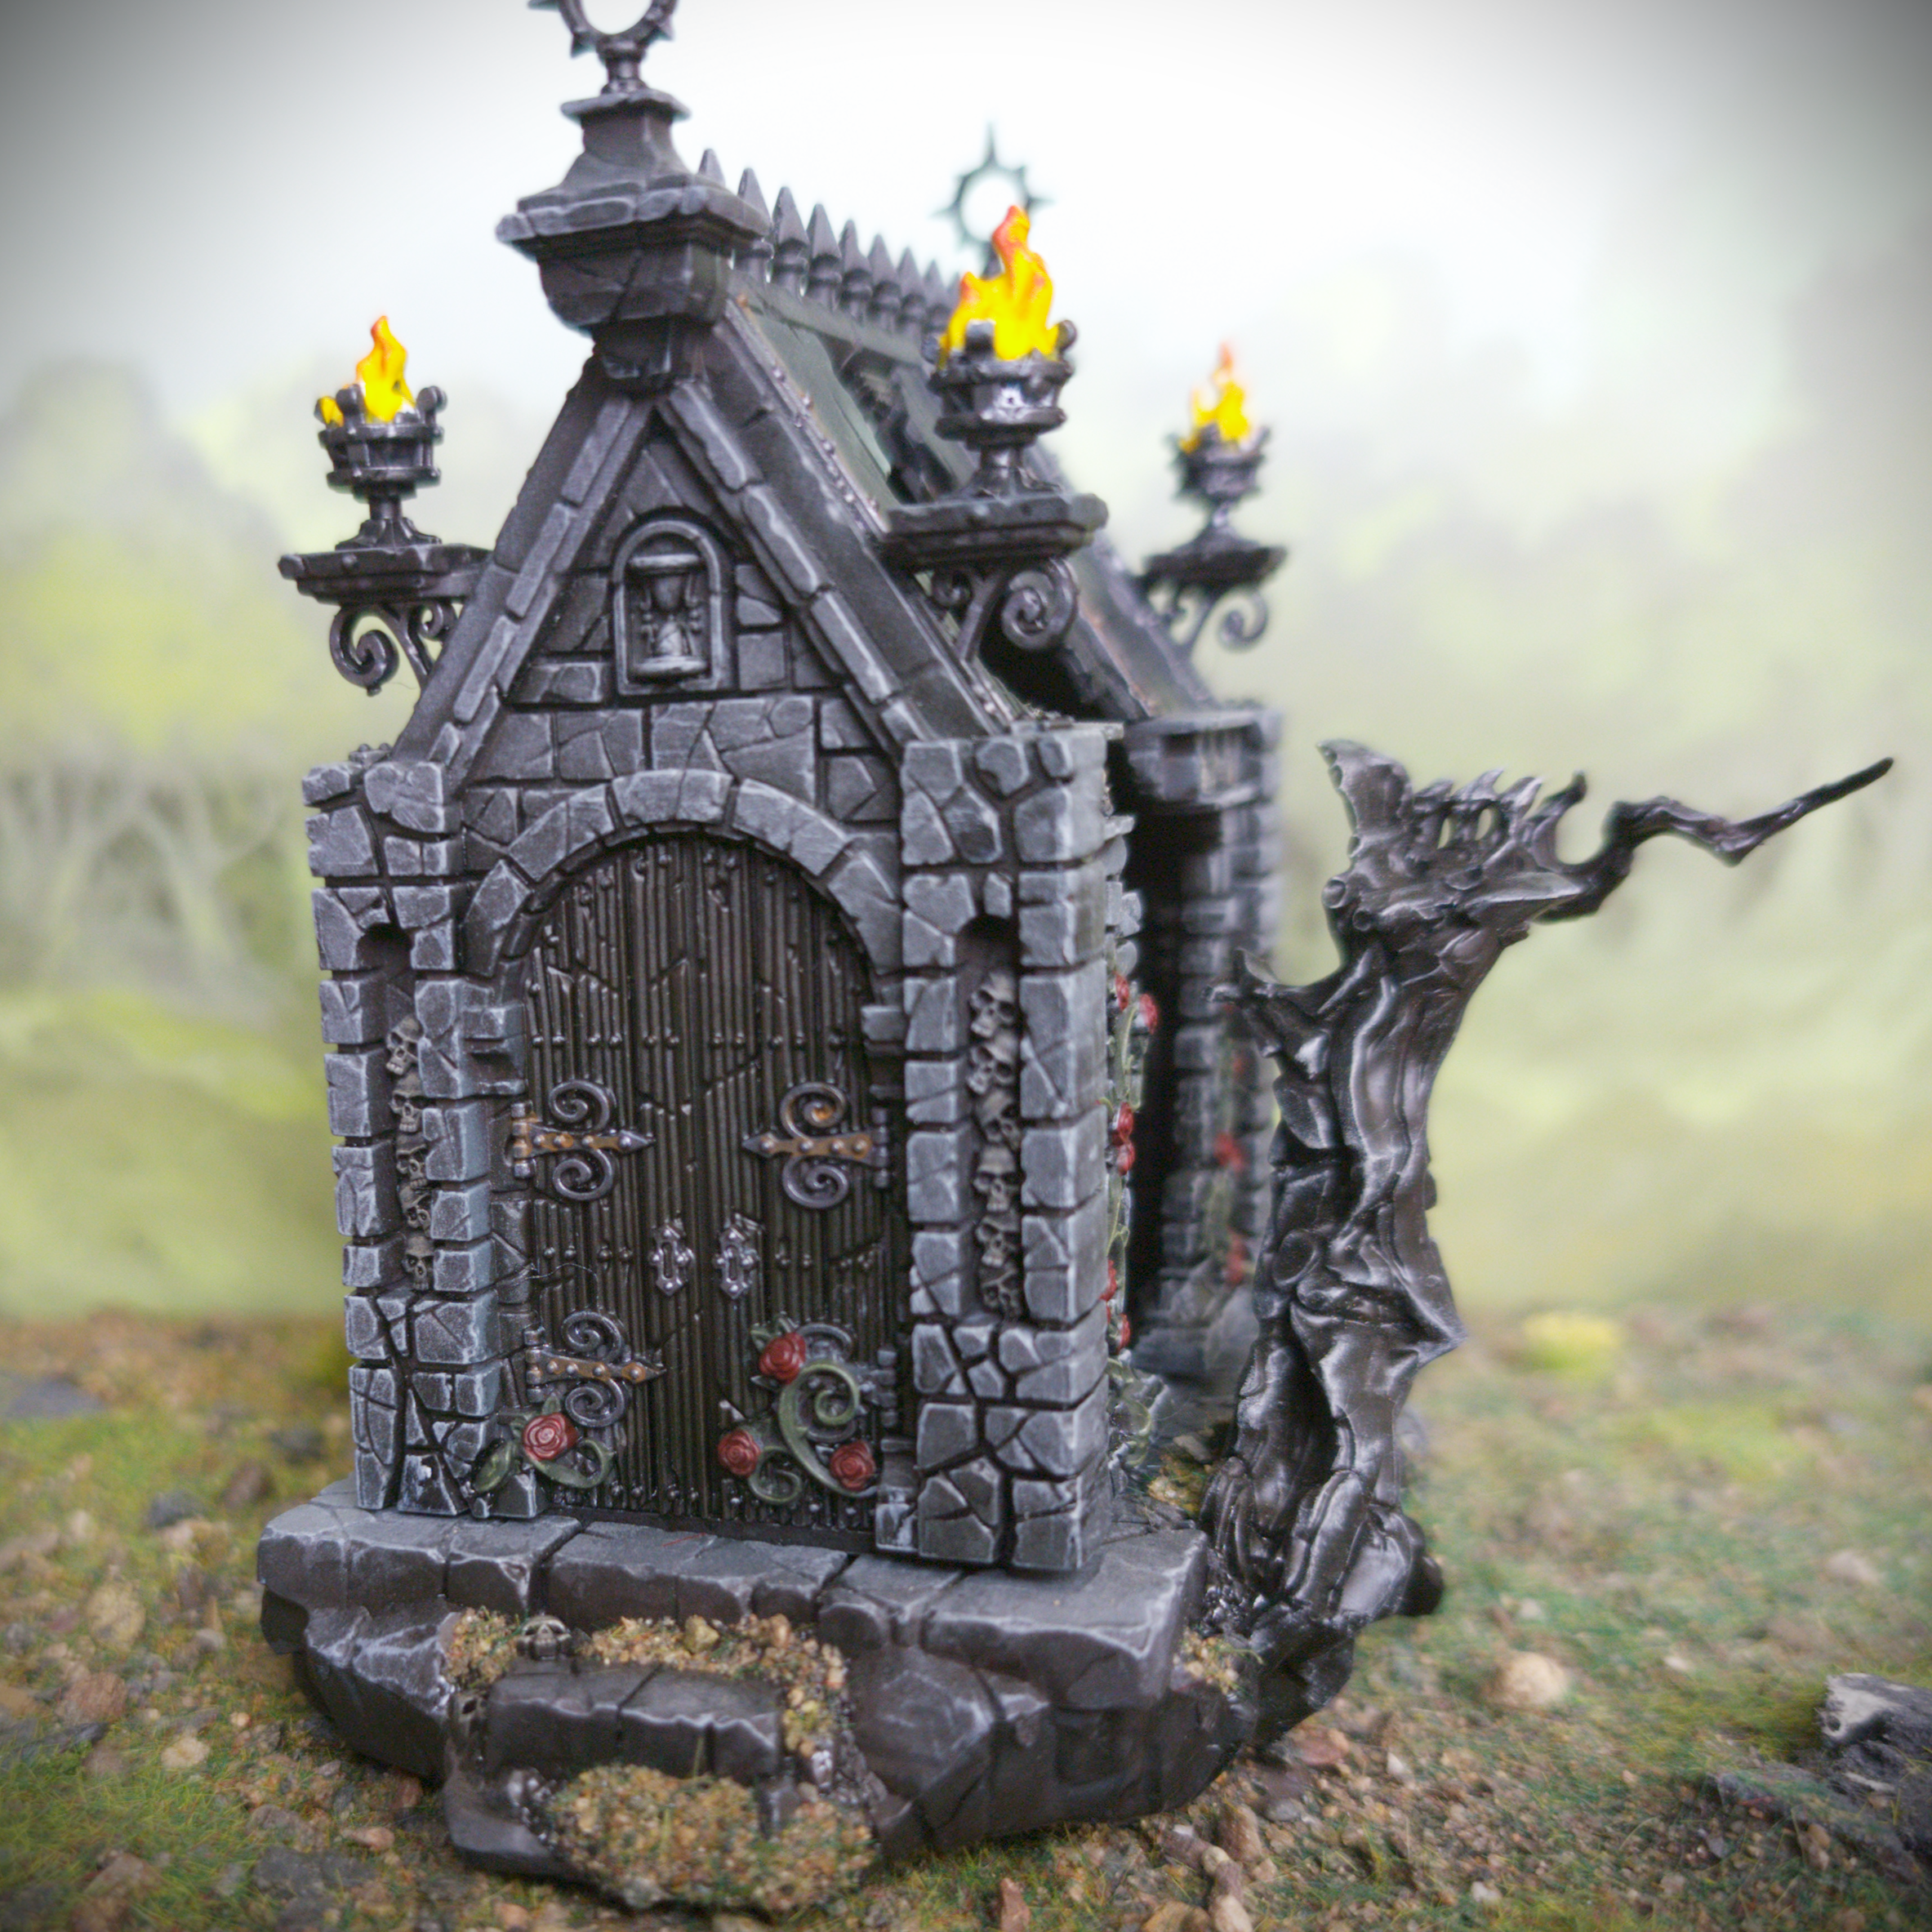
For my terrain I was a little tempted to stick the buildings to some plywood and blend them into the ground with Geek Gaming Scenics Modelling Compound, but I decided against it. Partly because I’m running low on compound and secondly because then I’d be able to use the terrain in a greater variety of locales. So, I set about assembling them as free-standing buildings. The kit is rather clever to be honest, it is technically a dual build kit, and the terrain can be assembled as either a Cursed Sepulchre or a Nexus of Grief. Presumably these do different things in game, but as I won’t be using them in games of Age of Sigmar I was free to pick whichever I liked the look of more. And in this case the brickwork and creeping roses of the Nexus of Grief took my fancy. Whilst I did assemble the kit as per the packet instructions, the buildings are entirely modular and could in theory be assembled however one wishes.
Backdrop by Jon Hodgson Backdrops
For ease of painting and to maximise modularity I left the buildings and coffins separate from the base plates. I primed the bits with what little remained of my can of Rustoleum Espresso Brown before completing coverage with Colour Forge Hyrax Brown. From there I then use Colour Forge Standard Grey to spray each part from above. This left them mostly grey with deep brown shadows. To further this effect, I broke out the airbrush and highlighted the tops of the buildings and edges of the baseplates with Vallejo Cold Grey. The successive layers of grey had covered up some of the sculpted earth details on the models, so I carefully used the airbrush to paint in the earth areas with Two Thin Coats Scorched Earth. I could have used a normal brush for this but using the airbrush helps to blend things together. Lastly, I gave the model an all over coat of AK Interactive Ultra Matt Varnish. I was going to use some washes and contrast paints later and I know from past experience that primer and airbrushing create a surface that can be a bit too smooth for high flow paints like washes. As a bonus this also takes the shine off any remaining areas of Espresso Brown, which is a gloss paint.
Backdrop by Jon Hodgson Backdrops
The next step was to lay down some base colours. I started by painting any metallic details with Army Painter Speedpaint Broadsword Silver and the trees with Wyldwood. There are a lot of skulls and bones on the models, which is not surprising, and most of them are embedded in something. Therefore, to better blend them in with the surroundings I opted to drybrush them with Tyrant Skull.
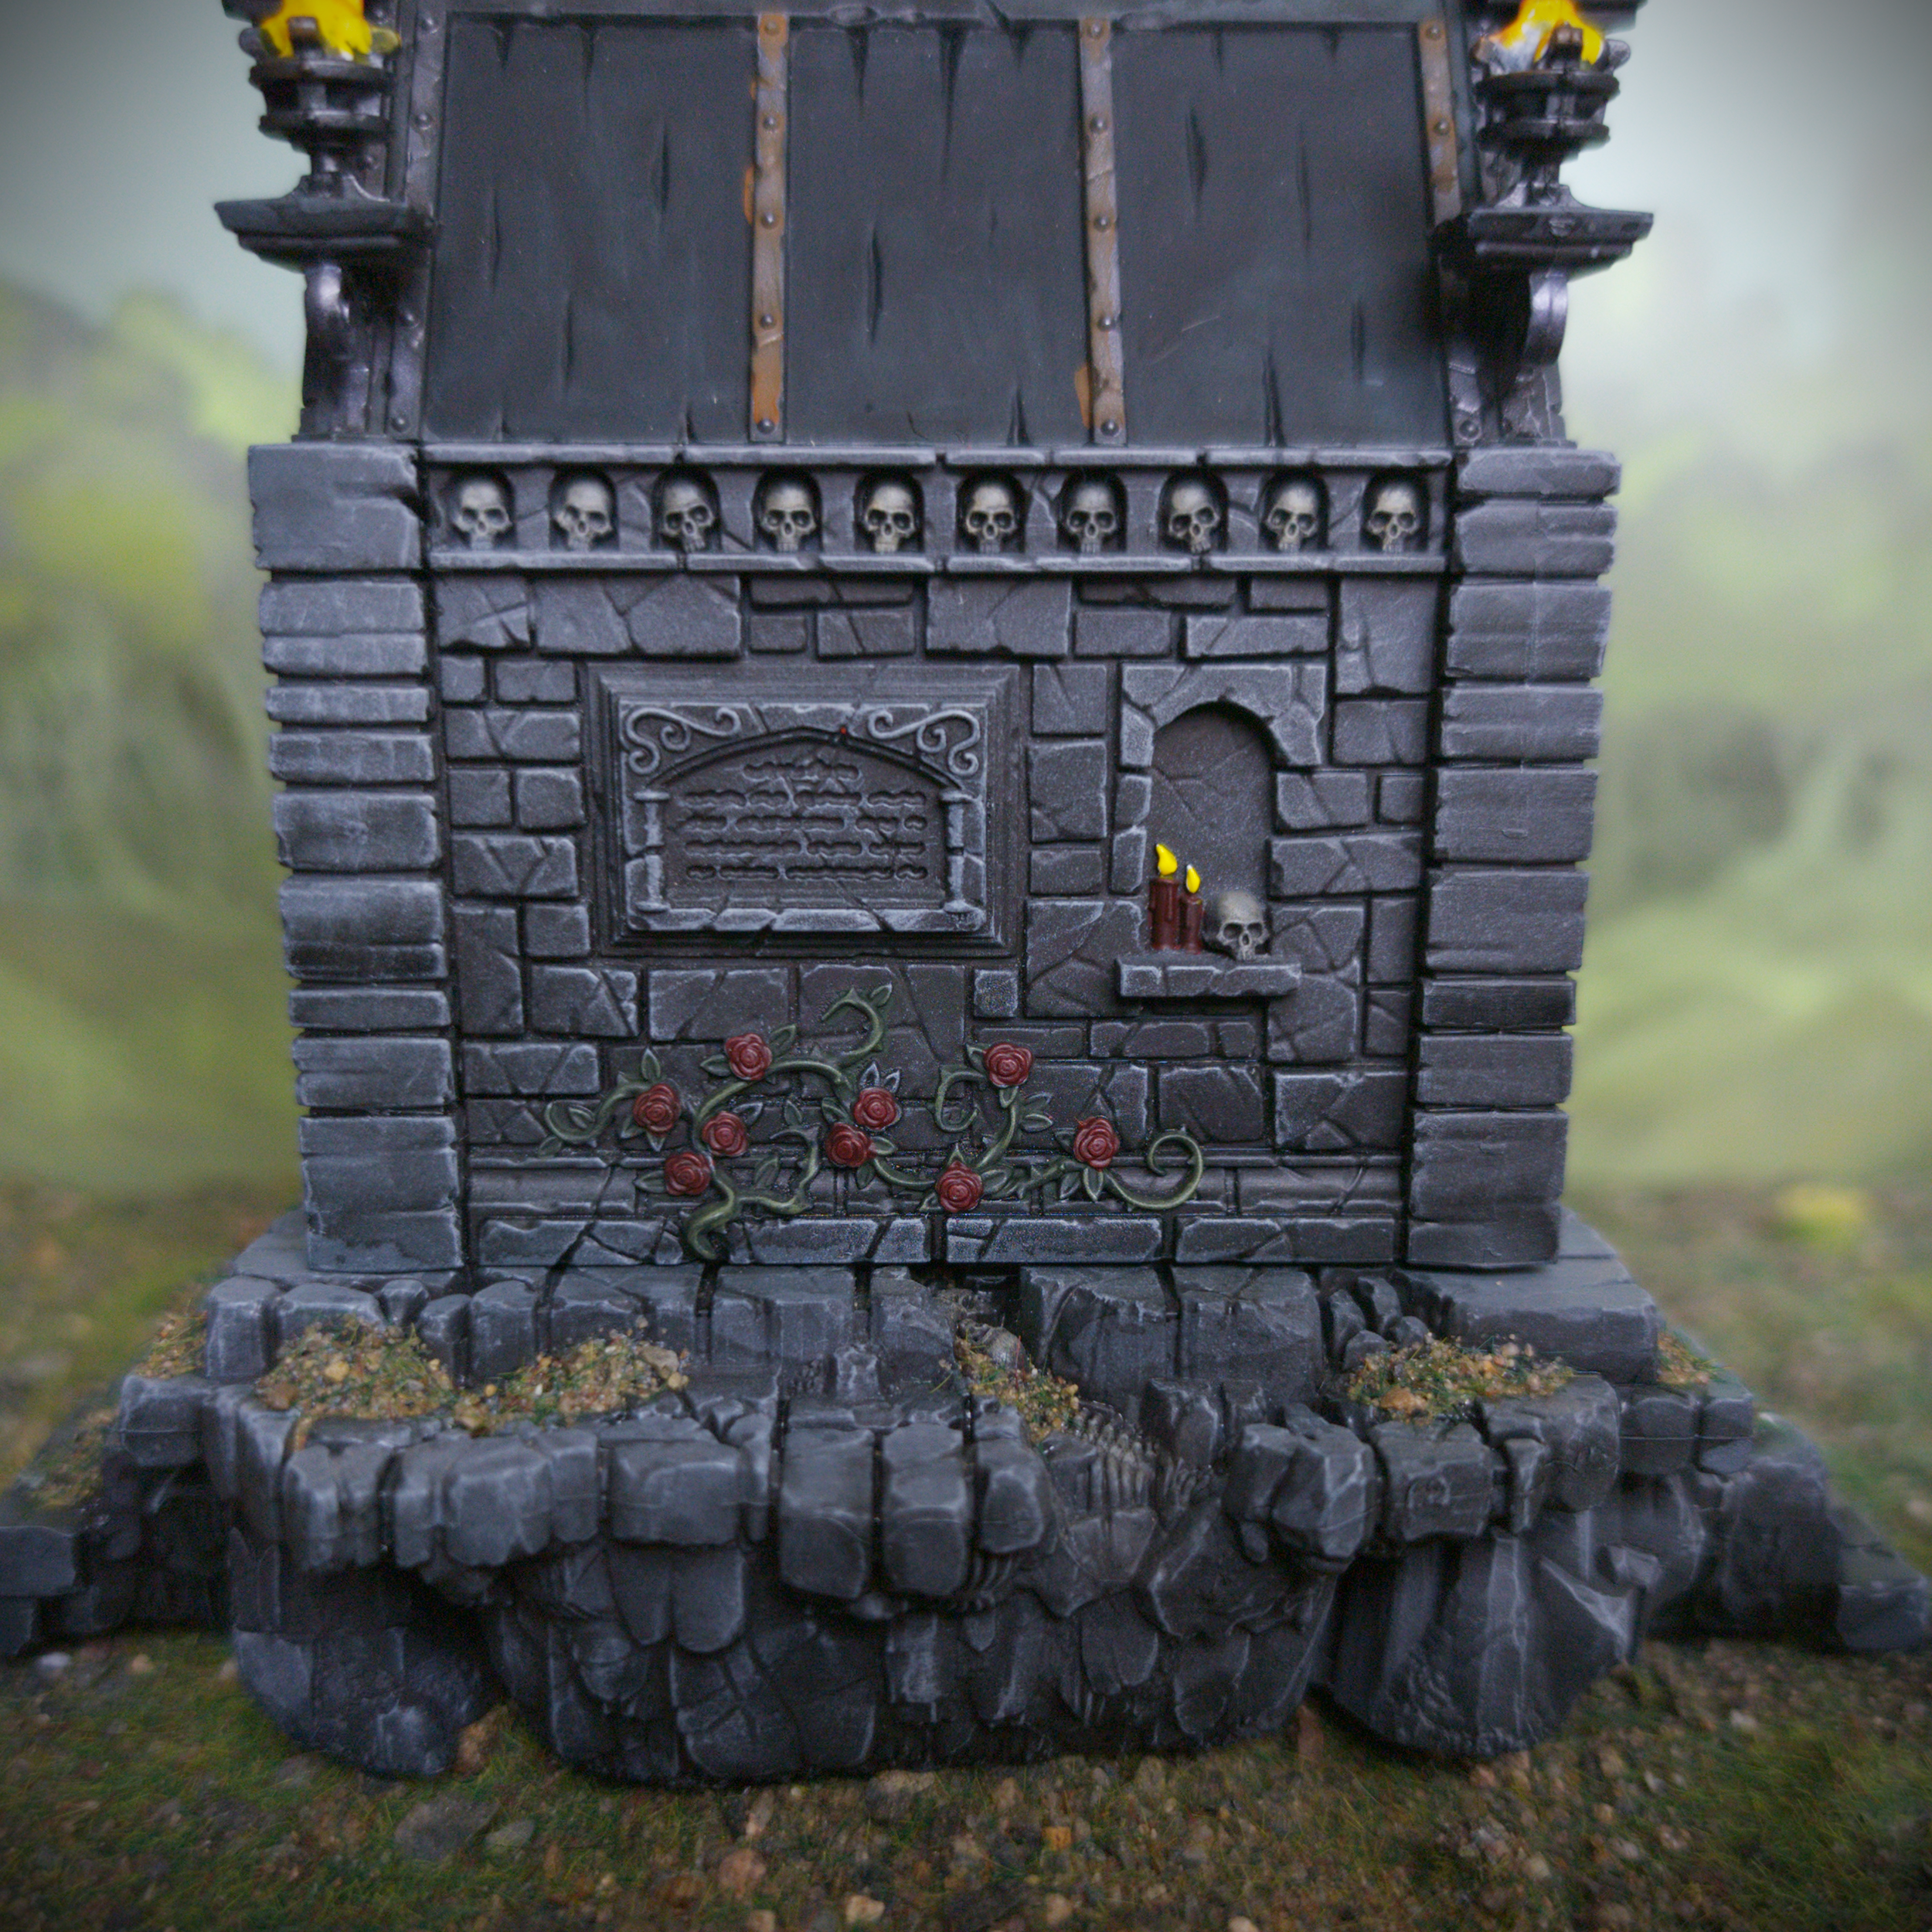
To tie everything together and to bring out all the textures I wanted to give the models a black wash. As I had a lot of area to cover, I decided it would be best to make my own wash rather than burn through an entire bottle of Army Painter Dark Tone. For my wash I mixed Liquitex Carbon Black acrylic ink with some Winsor & Newton Matt Medium, which I then tinned to a wash consistency with water. To help break the surface tension of the wash, so that it flows better and doesn’t bead together I added a drop of Winsor & Newton Flow Improver. These art supplies can be a little pricey to buy upfront but they will last far longer than any premade wash. In any case, I slathered the models from top to bottom with the wash and left it a day to fully dry. Once it was dry I gave the stone a drybrush of Two Thin Coats Carcharodon Grey and the trees a drybrush of Army Painter Urban Buff.
Backdrop by Jon Hodgson Backdrops
For the remaining details, I picked out the vines with Militarum Green and the flowers with Flesh Tearers Red. Whilst they aren’t the boldest colours in the world, they did contrast nicely with the grey-brown stone of the rest of the buildings. For the metal details, I painted them with Garaghak’s Sewer before giving them a drybrush of Necron Compound before adding some very heavily thinned Two Thin Coats Dry Rust Brown around rivets and into recesses. In hindsight, I could have skipped the Broadsword Silver step from earlier and I’m not too sure why I used Garaghak’s Sewer over Ratling Grime for my old and worn metals. Oh well, it ended up looking fine anyway. The last detail I needed to paint were the flames on the braziers. I first gave them a basecoat of Army Painter Matt White, before giving them a coat of Imperial Fist contrast paint. I then drybrushed the tips of the flames first with Troll Slayer Orange and then with Archive-X Caboose Red.
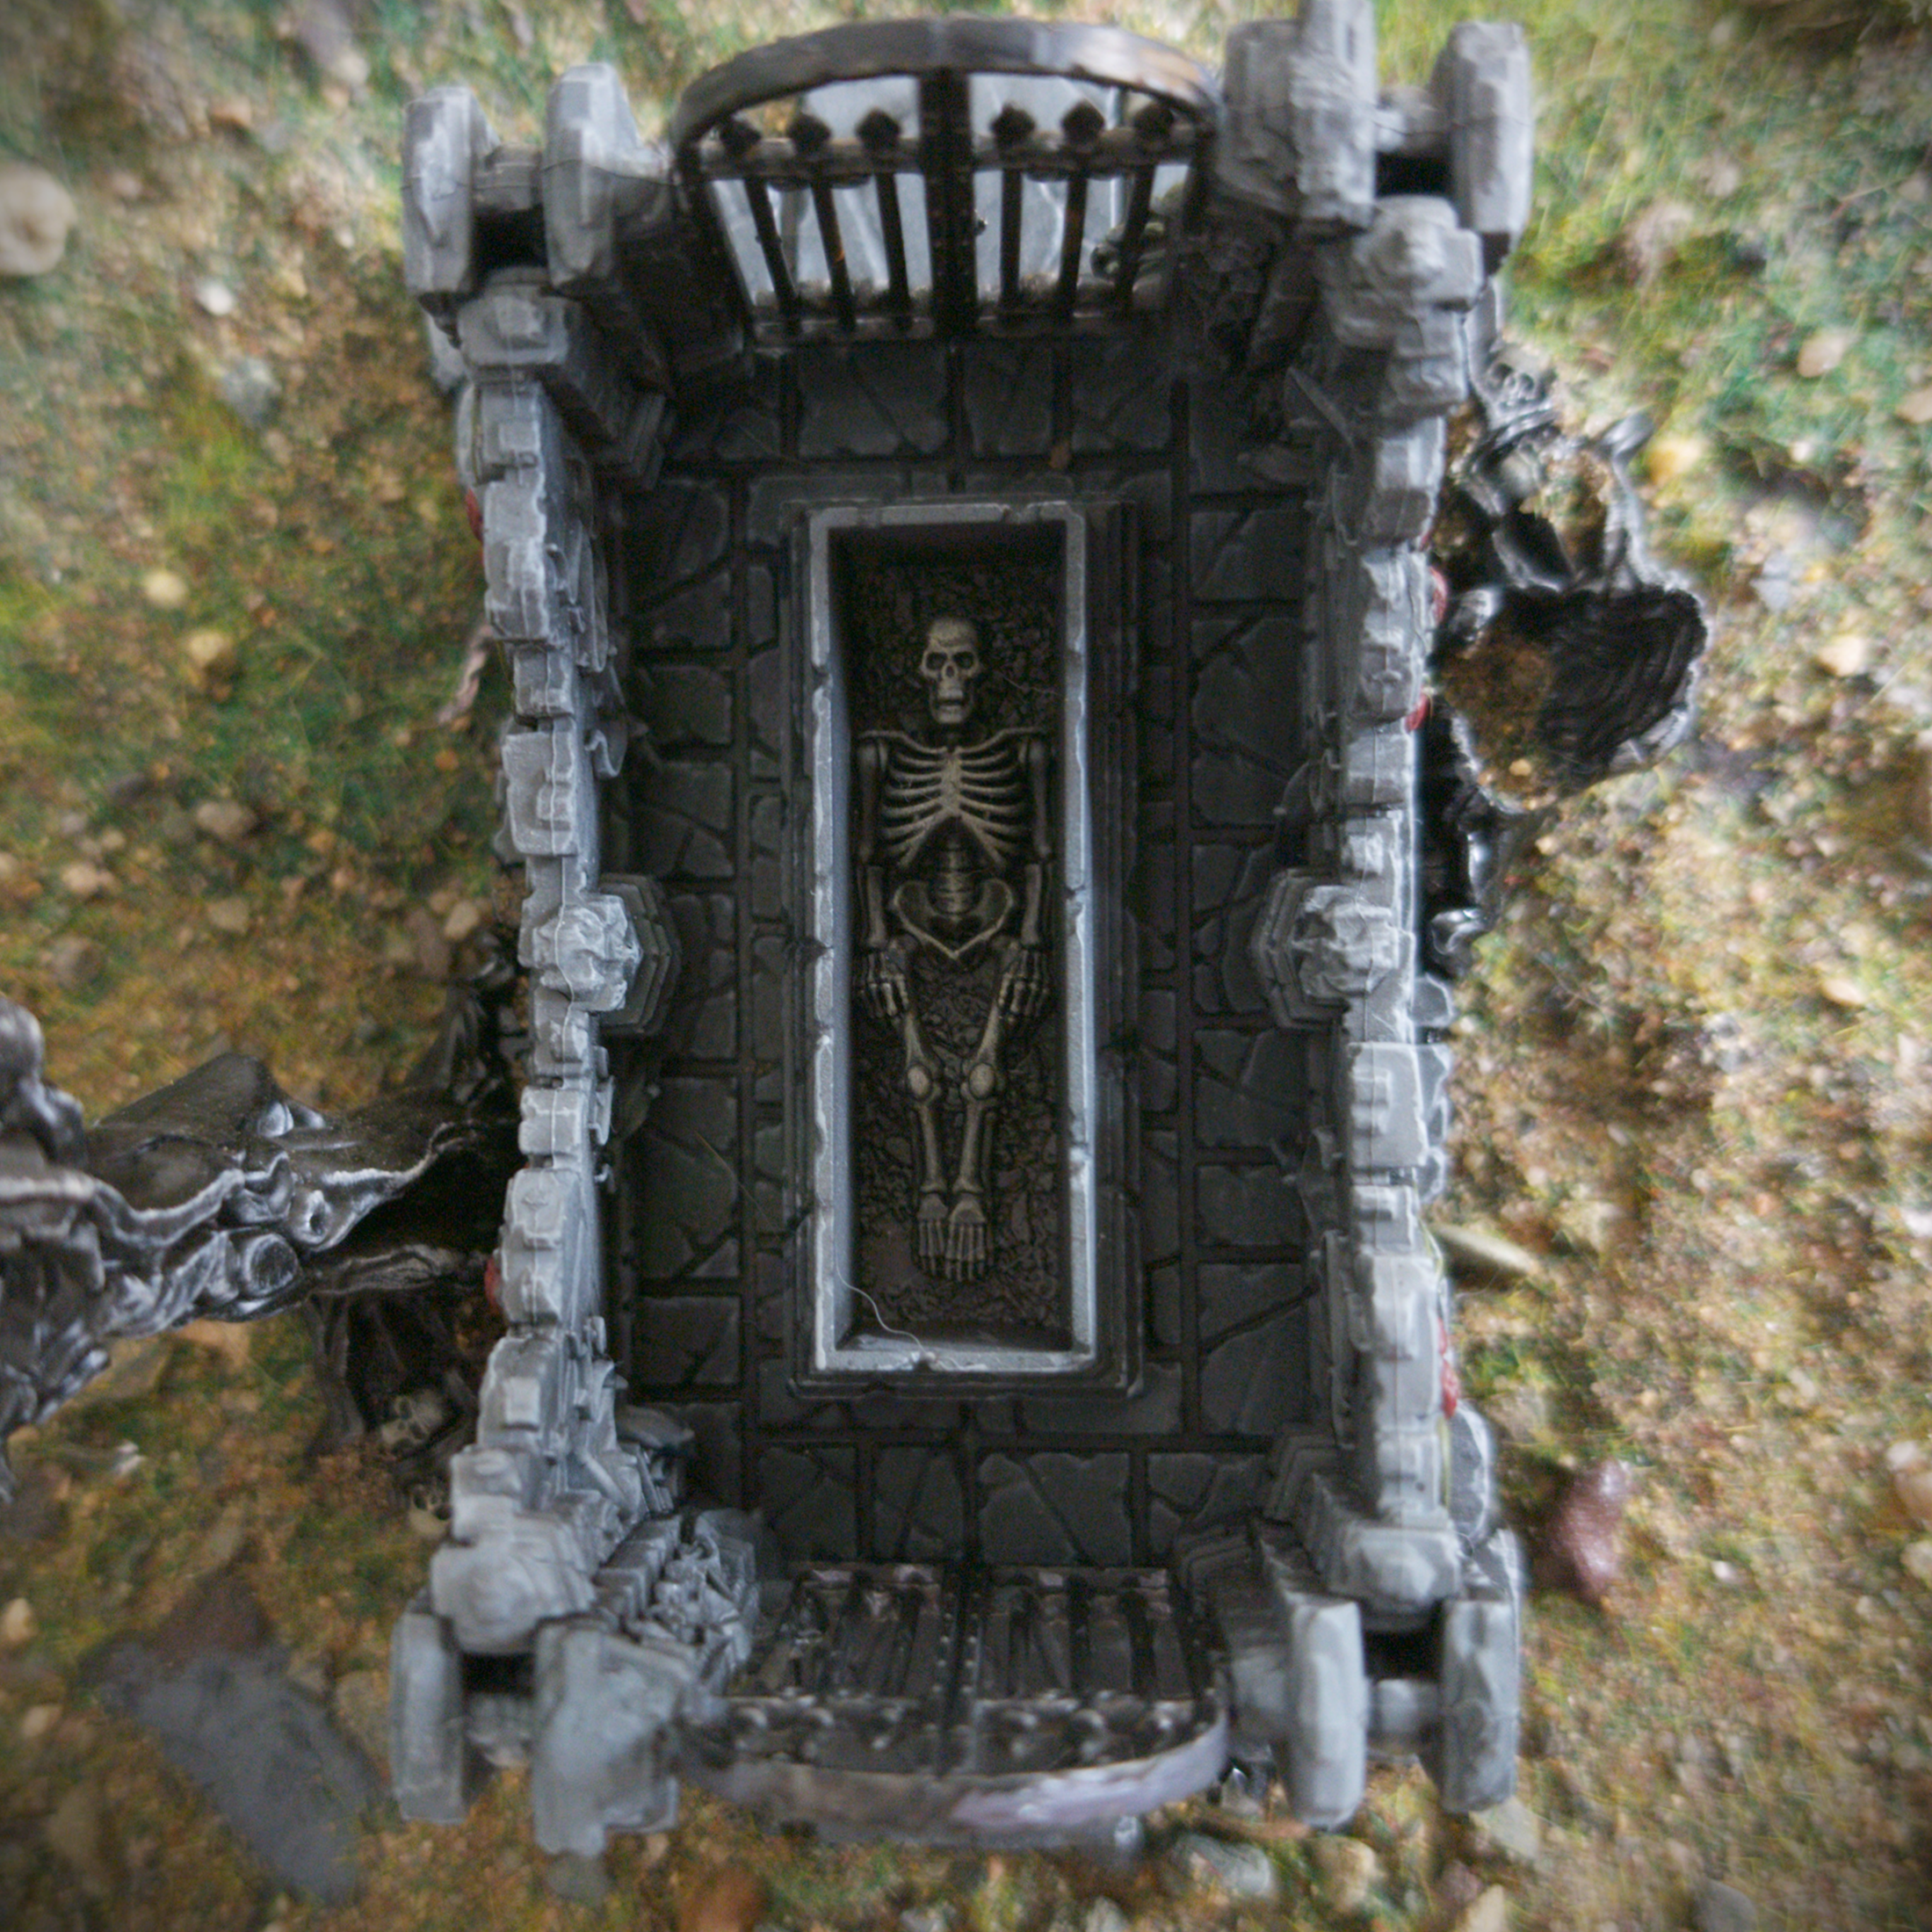
Backdrop by Jon Hodgson Backdrops
Now I know I said I didn’t want to mount the models on a plywood base so that I could use them in a variety of locations, but I didn’t realise how much sculpted earth there was on the models. Nothing against it, I’m just not a fan of how it looks. I therefore carefully painted in some PVA glue on the earth areas before sprinkling on some Geek Gaming Scenics Base Ready Patchy Plains. This was particularly helpful in hiding the seamline between the two halves of the baseplates. Once the glue was dry, I sealed the scatter in place with some Geek Gaming Scenics Matt Sealant.