
Warhammer Quest: Darkwater - Blight Templars
Working my way through the various enemies in the Darkwater box, we at last come to the Blight Templars. I had been apprehensive about these as I planned to test out a new paint. I had alluded to this in the Pox-Wretched article but now it was time to face the music. I was planning on using the same chipping method I had used for my Blightkings. However, the paint I used for that, Scale75 Peridot Alchemy, is an absolute pain to get through an airbrush. So, when Vallejo came out with their new True Metallic Metal range, I knew I had to try it. As per the Pox-wretched article I had selected Amber Green, and while it worked nicely for them, I was a little worried about it being too vibrant for the Blight Templars. But we won’t know, unless we try.
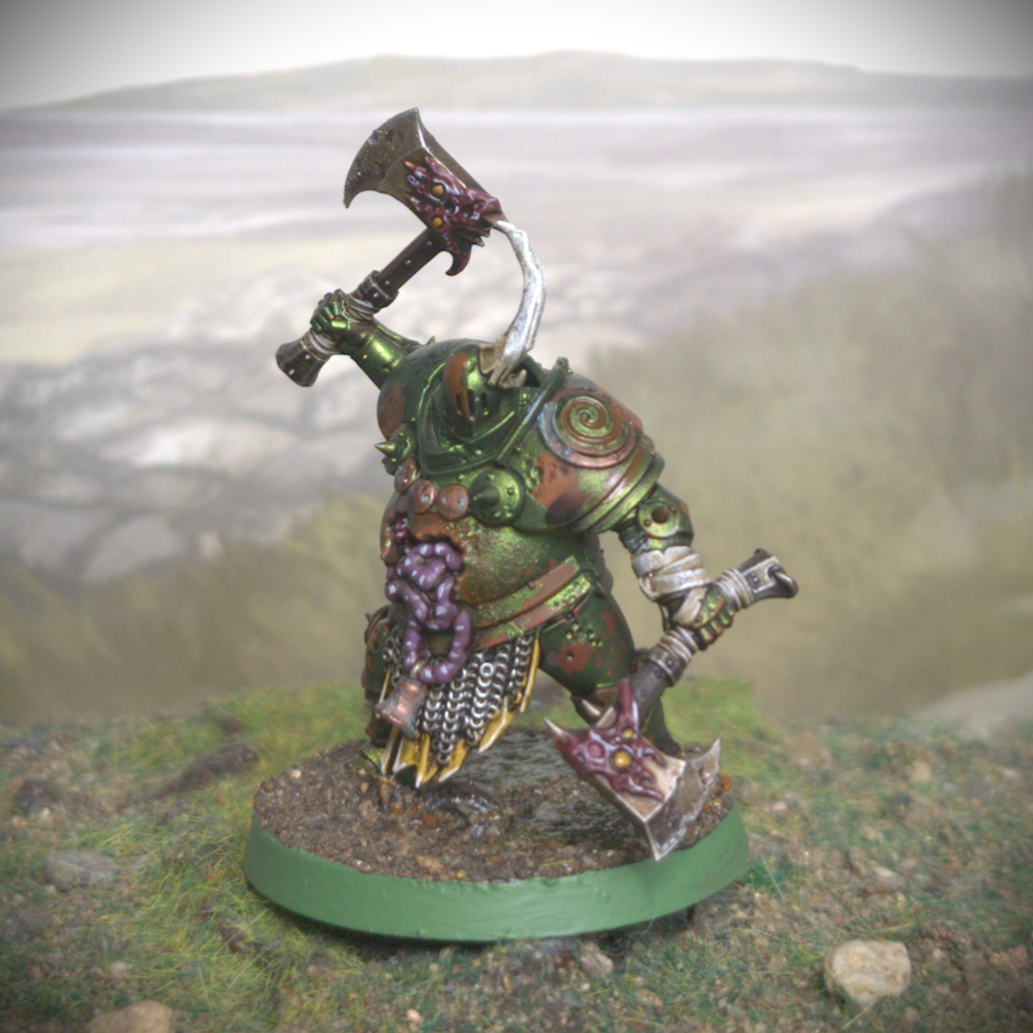
First things first, I needed to get them assembled. There’s only three of them and there aren’t any options to choose from, so they came together pretty quickly. With that done I dabbed on some patches of Typhus Corrosion to add some texture to the armour. I could have done this after the priming stage but it’s something I’ve picked up from Marco Frisoni and now it’s just a habit to do the texturing first. With that done I primed them all with Rust-oleum Red primer. It’s kind of a brown-red that’s ideal for rust colours. To provide some variety in the rust layer I used Vallejo Air Medium Camouflage Brown to provide some shading in the recesses. And then provided further contrast by drybrushing the models with Troll Slayer Orange (my pot of Ryza Rust has died on me).
Backdrop by Jon Hodgson Backdrops
Once the rust layer was done it was time to move onto the chipping. Which, unsurprisingly, starts with a generous coat of Vallejo Chipping Fluid, which I applied using my airbrush. Aware that chipping fluid will have a set working time, usually a couple of hours, I left it dry while I readied my airbrush for the next layer. One of the reasons I had wanted to try the Vallejo True Metallic Metal range was that each of the basic colours comes in both airbrush and base formulations. I had used the base one for the Pox-wretched and now it was time to try out the airbrush version on these Blight Templars. So, it was with some trepidation that I carefully applied my layer of Vallejo True Metallic Metal Airbrush Amber Green to the armour of my Blight Templars. It was therefore a relief when the paint both airbrushed and covered nicely. Once I had a solid layer, I gave the models about thirty minutes to dry. Then comes the fun part, I got a clean brush and some fresh water, using the former to apply the latter to the model. I gave it a few seconds for the water to reactivate the chipping medium, and I could then use a stiff brush to chip away at the Amber Green and expose the rust layer underneath. Once I was happy with the results I sealed everything in place with a layer of AK Interactive Ultra Matt Varnish, which as an added effect dulled down some of the vibrancy of the Amber Green.
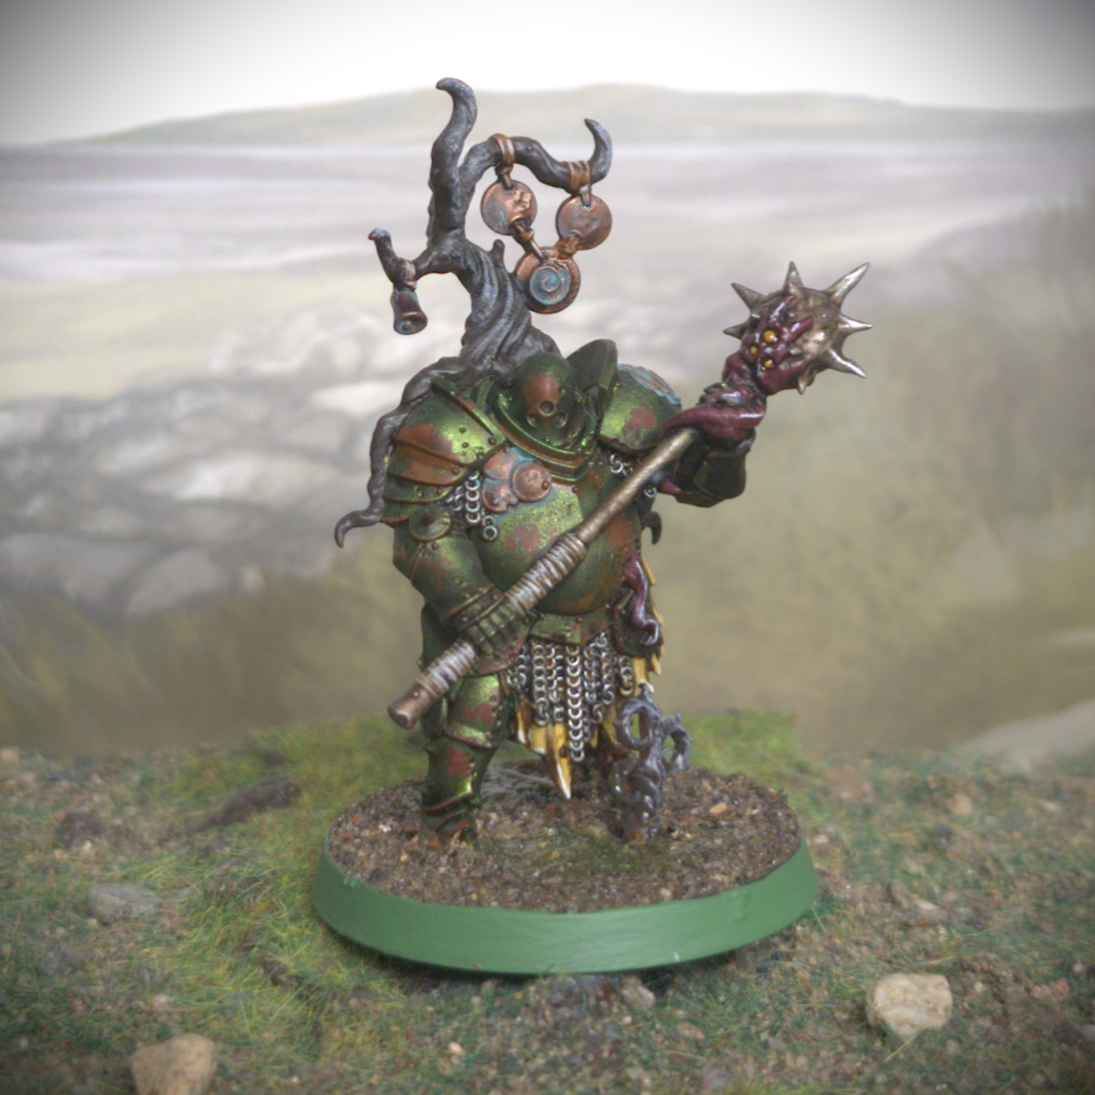
With the armour done I could move onto the rest of the base coats. As I have with my Blightkings I painted the tabards and loincloths with Vallejo Yellow Ochre. Any wooden details, like the weapon handles and various tree branches, I painted with Two Thin Coats Scorched Earth. Any tentacles, meanwhile, I painted with Two Thin Coats Sword Hilt Burgundy. For the leather details, like the gloves and any straps, I painted them with Two Thin Coats Dry Rust Brown. For the metallic details, armour notwithstanding, I painted the chainmail and weapons with Scale75 Thrash Metal. To add a bit more variety I picked out the discs and any bells with Balthasar Gold.
Backdrop by Jon Hodgson Backdrops
Moving onto the washes I started by giving the tentacles, guts and weapon blades a coat of Reikland Fleshshade. I had previously used the Fleshshade wash on silver on the treasure tokens not so long ago and liked how it turned out. It gave the silver a warm and almost rusted look, which is perfect for the knights of Nurgle. Other metallic details like, the chainmail I washed with the usual Army Painter Dark Tone. To tie everyone together I then gave the models an all over wash of Army Painter Strong Tone.
First step was to pick out the boils on the tentacles with Vallejo Heavy Goldbrown before giving them a coat of Guilliman Flesh. The next step was to layer the cloth with Vallejo Yellow Ochre, as the washes had darkened them down quite a lot. I then highlighted the edges of the cloth with Army Painter Pale Sand. While I had it out, I also used Pale Sand to drybrush the horns and wood details to bring out their textures. Continuing with the drybrushing, I used Necron Compound on the silver details to bring back a little bit of shine. Lastly for the highlights, I highlighted the edges of the leather with Army Painter Urban Buff.
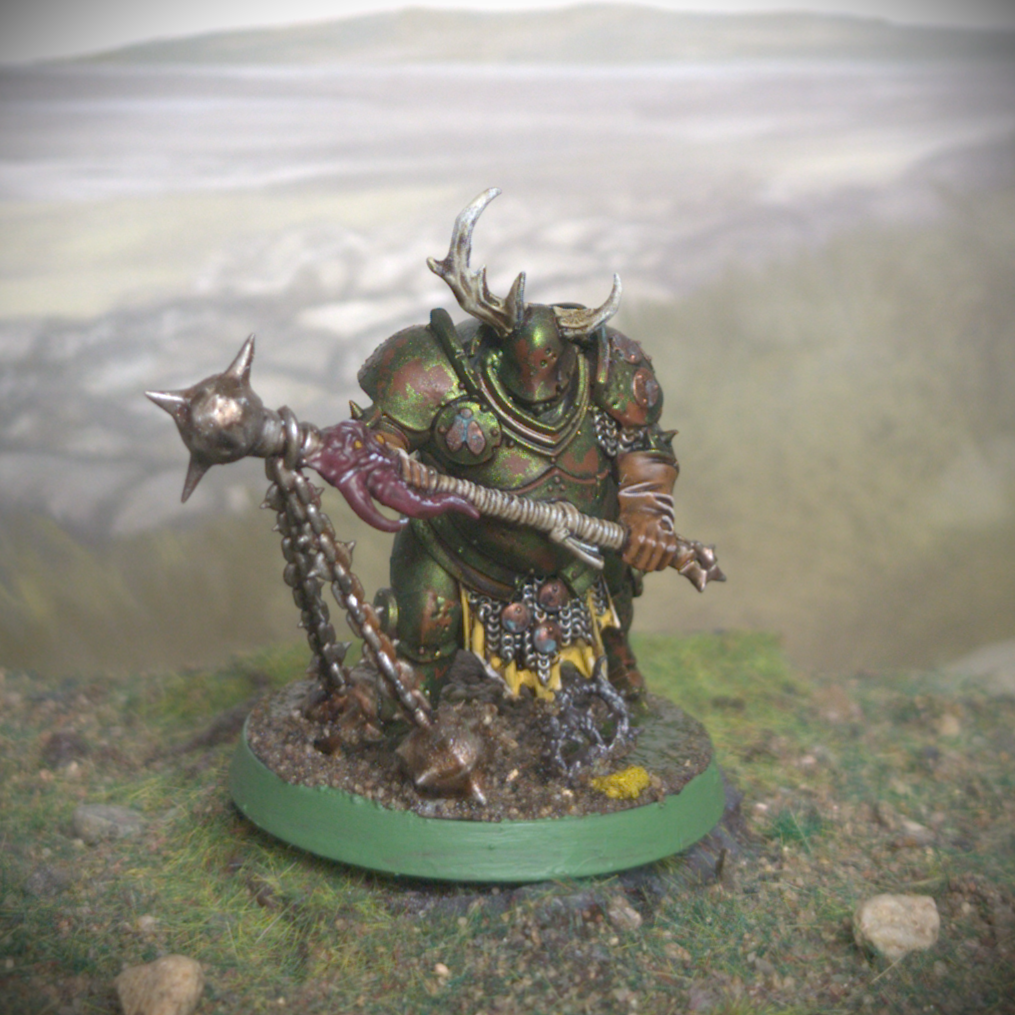
The last details were some minor weathering effects. As the armour was already heavily chipped, I didn’t go overboard with rust effects, just running some Greenstuff World Liquid Pigment Light Rust into recesses and feathering it out around holes in the armour. I did a similar process with Nihilakh Oxide on the bronze details. I would apply a good layer of it then immediately wipe it away, leaving it in the recesses and tinting the surface slightly.
Backdrop by Jon Hodgson Backdrops
From there I moved onto the bases, which would be the same simplified scheme as the rest of the Darkwater models. To start with I painted the flat areas of the base with Caliban Green. Once that was dry, I covered the bases in PVA glue and dunked them in a tub of Geek Gaming Scenics Base Ready Forest Floor. I then sealed this in place with some Geek Gaming Scenics Matt Sealant. I then added some puddles of toxic goo by dabbing on some patches of AK Interactive Swamp Water Gel. Lastly, I painted the rims of the bases with Warboss Green.