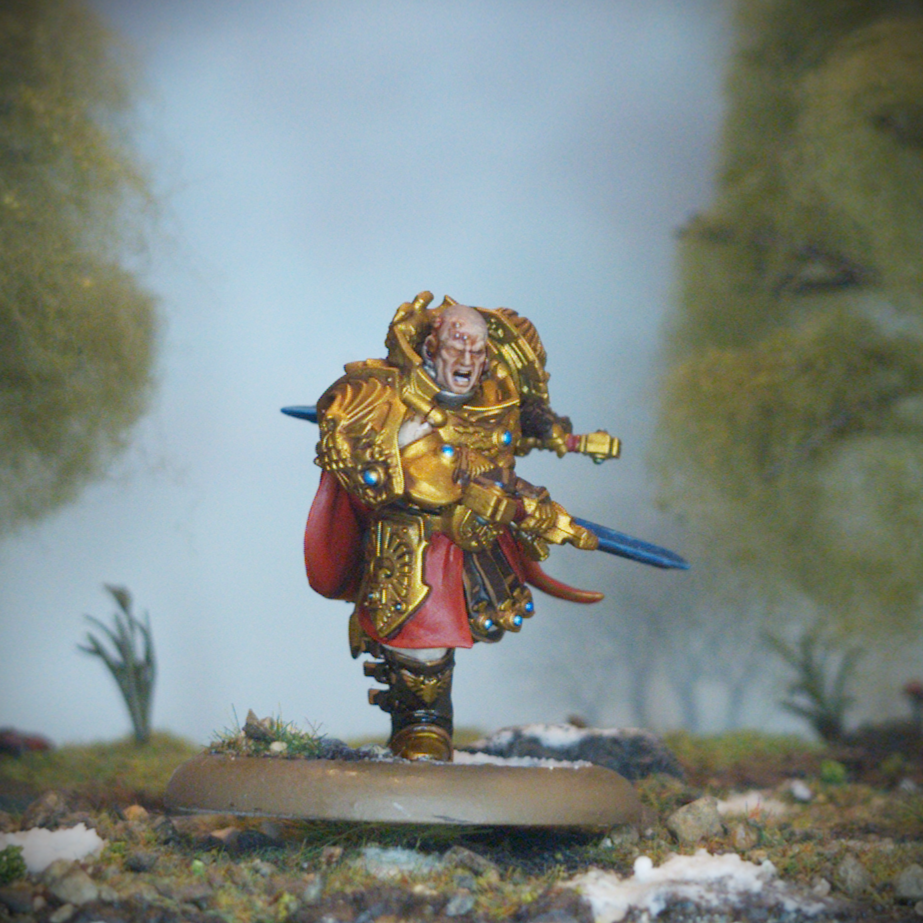
Warhammer 40,000 - Blade Champion
Before I started this blog, I had a small collection of Adeptus Custodes. And I do mean small; it’s a squad of Custodian Guard and a squad of Allarus Terminators. Since then, the Custodes have had a trickle of releases, one of which being the Blade Champion. And the other being the Shield Captain. So, at the store anniversary for my local Warhammer store I took the opportunity to pick them both up and round out my little strike force. For no particular reason I started with the Blade Champion.
Backdrop by Jon Hodgson Backdrops
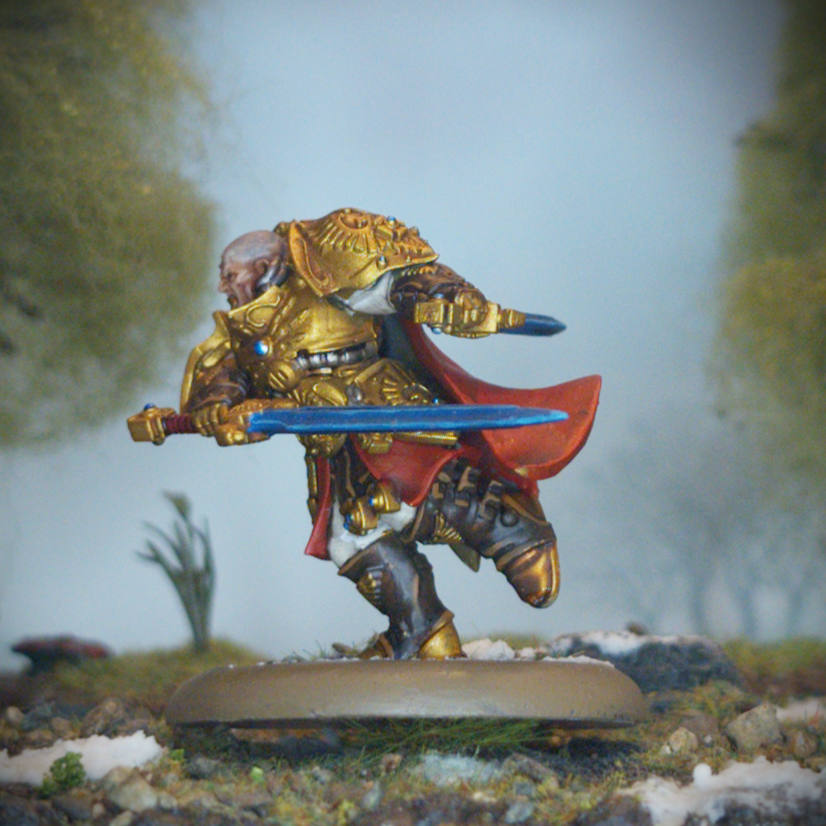
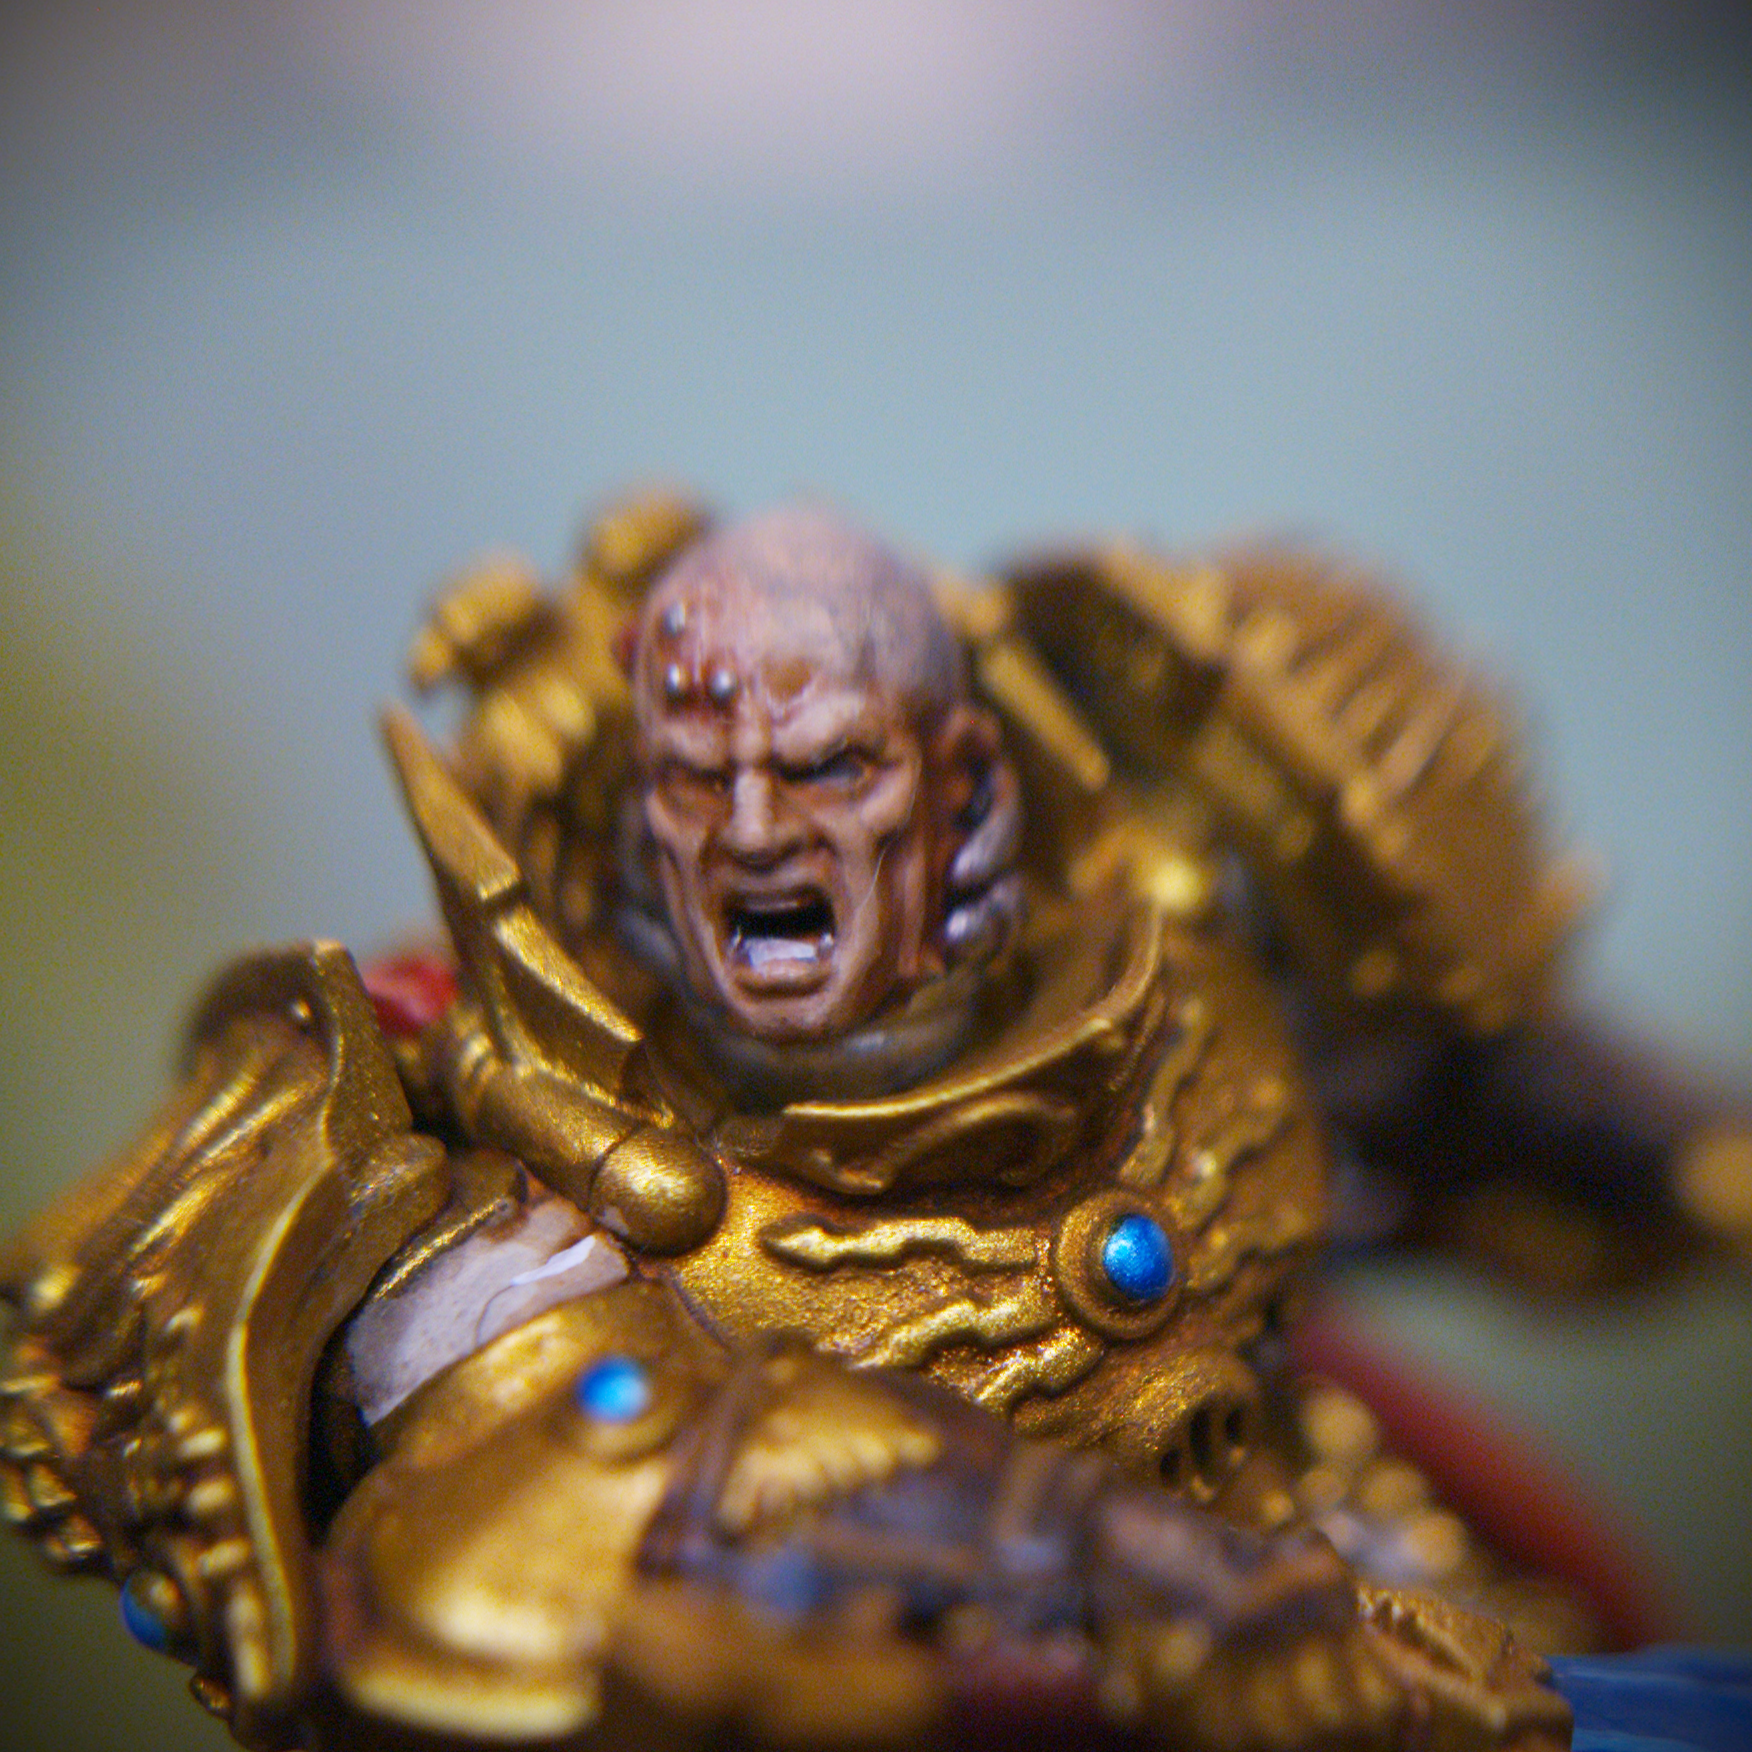
Assembling the miniature there is the option to either have him swinging his sword with two hands or have an additional sword in his offhand. As far as I know this has no in-game effect, so I decided to give him an extra blade, it made access to his chest a little bit easier and two swords are always better than one. Obviously. For the head I actually didn’t use any of the options in the kit, I had secret plans for them and instead used a bare head from the Custodian Guard kit. I left the head separate for ease of painting and the model itself separate from the base, which as you can see from the photos is decidedly non-standard. But more on that later. For now, I primed the main body with Retributor Armour spray and the head with Colour Forge Matt Black.
Backdrop by Jon Hodgson Backdrops
The first step in the painting was to tidy up any areas the spray had missed with Scale75 Dwarven Gold. Next, I painted the cloak any skirt with a couple thin coats of Archive-X Caboose Red. I had almost certainly used Mephiston Red back in the day, but Caboose Red was an acceptable substitute. Presumably for more freedom of movement the Blade Champion isn’t as heavily armoured as his Guard brethren. As such instead of the usual ribbed joints between the armour, the Blade Champion has some sort of fabric undersuit. There isn’t much of it visible on the model, mostly just on the thighs and upper arms. I didn’t really want to paint these black as I felt it would look too much like said ribbed joints so instead, I gave these areas a couple thin coats of Pro Acryl Ivory. For the leather details like the gloves and boots I painted them with Two Thin Coats Cuirass Leather. Lastly for the main basecoats I painted the grips of the swords with Vallejo Scarlet Red and the tubing on the chest with Scale75 Thrash Metal.
Backdrop by Jon Hodgson Backdrops
Moving onto the washes I gave the armour a coat of Reikland Fleshshade which turned into a nice rosy gold. For the cape and the undersuit, I didn’t want to darken them too much, so I gave them a wash of Sonic Sledgehammer’s Marine Juice, this nicely shaded the recesses without changing the overall tone. Particularly important for the near white ivory of the undersuit. The pipes and grips meanwhile I was happy to be darkened by the wash, so I gave these areas a coat of Army Painter Dark Tone. Similarly, I washed the leather areas with Army Painter Strong Tone.
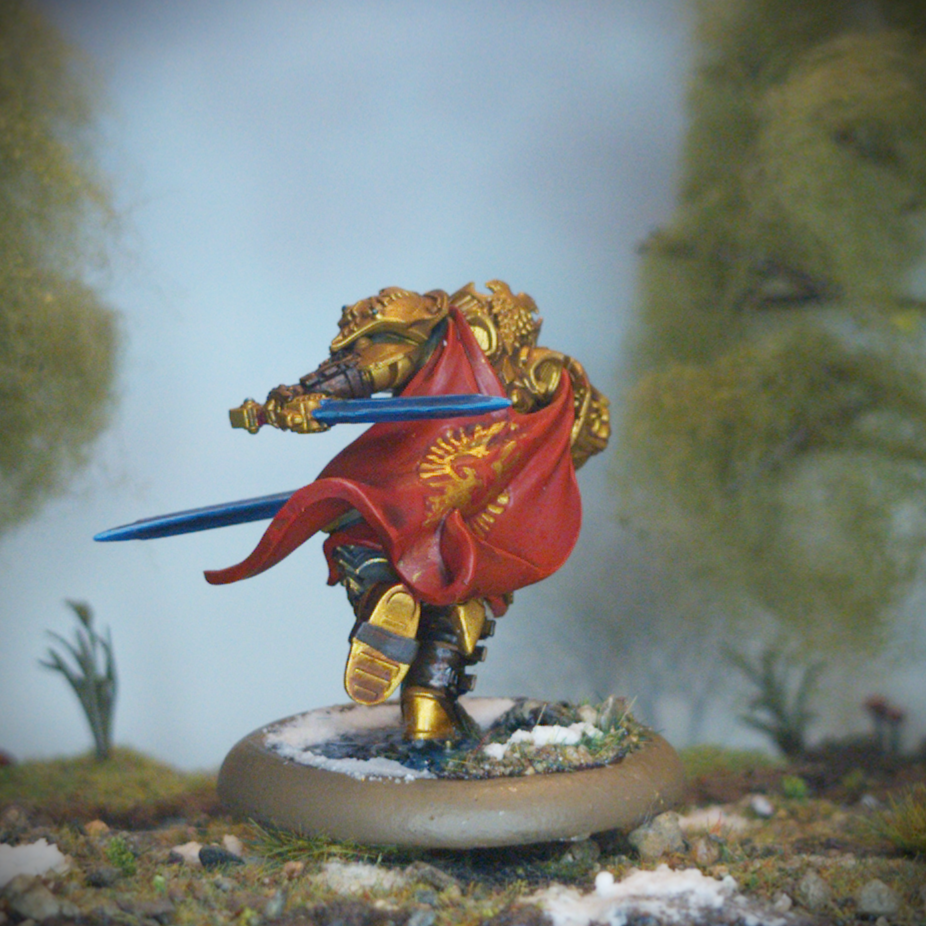
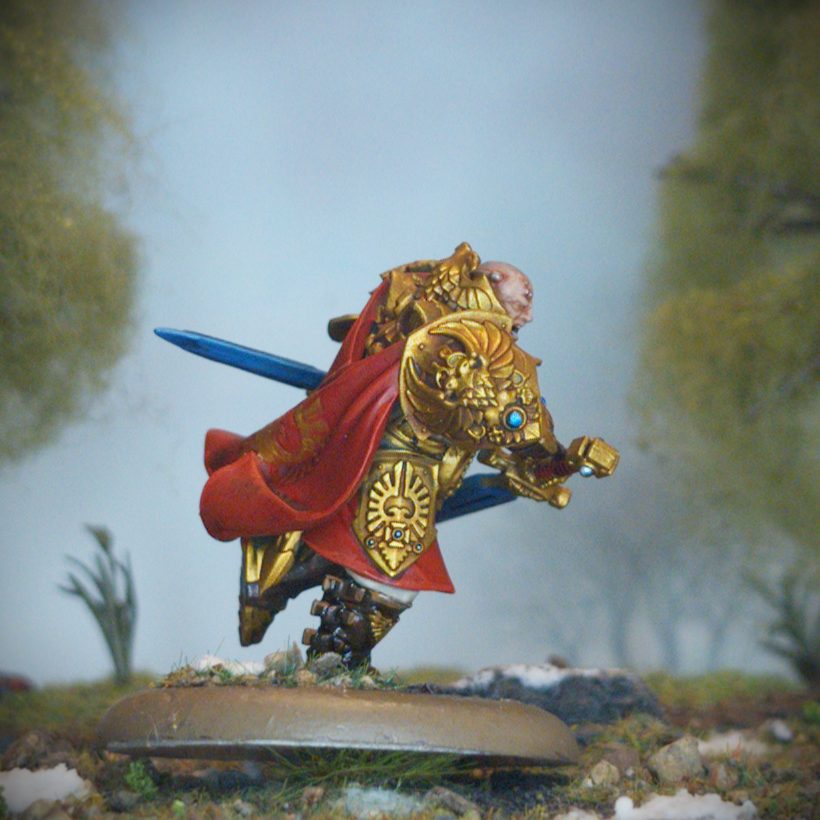
With the washes done I could move onto the highlights and other details. Once I started with the armour, highlighting all the raised details and edges with Scale75 Elven Gold. For the cape I managed to coax a few more seconds of life out of my ailing pot of Evil Sunz Scarlet to highlight the edges and folds. I likewise highlighted the folds in the undersuit with a small amount of Army Painter Matt White. The leather details I highlighted the edges with Two Thin Coats Dry Rust Brown. Lastly for the details, I needed to do the design on the cape and the numerous gems dotted around the miniature. For the cape it was just a case of very carefully painting within the lines with Scale75 Dwarven Gold and adding a touch of Elven Gold where it went over the folds. I painted each of the gems first with Scale75 Speed Metal and then gave them a coat of Talassar Blue contrast paint.
Backdrop by Jon Hodgson Backdrops
The only thing I had left to paint on the main assembly were the blades on the swords. And only because I genuinely forgot how I painted them for my initial batch of Custodes. My shocking memory is honestly half the reason I started this blog, and I reckon a good chunk of my pageviews are just me not remembering how I painted something. I’m pretty sure I got the original recipe from an old Duncan Rhodes video when he still worked for Games Workshop, but I couldn’t find it for love nor money. Thankfully, being an obsessive planner I found the recipe buried in a very old document. So, to get started I basecoated the blades with a couple thin coats of Thousand Suns Blue. From there I gave the blades a wash of Drakenhof Nightshade before layering the flat areas with Thousand Suns Blue. Lastly, I carefully highlighted the edges with Temple Guard Blue.
Backdrop by Jon Hodgson Backdrops
As I tend to work on a few things at once I was in a position where I had to paint a whole bunch of faces at once. So, I decided to crack out the wet palette and put in a bit of effort. To be fair, I started by keeping things simple: a basecoat of Two Thin Coats Dwarven Skin followed by a wash of Reikland Fleshshade and then layered back up with Dwarven Skin. From there I mixed in progressively more Scale75 Light Skin to build up the highlights. Once I was happy with that, I then mixed in some Scale75 Pale Skin to further reinforce these highlights, eventually using near pure Pale Skin for the point highlights on the brow and nose. To deepen the recesses a little more I ran a small amount of Guilliman Flesh into the shadows. For the eyes, rather than attempt to paint them properly I instead ran a line of Two Thin Coats Cuirass Leather into the recesses. I did, however, carefully pick out the teeth with a thin line of Army Painter Skeleton Bone. For some final details on the head, I heavily thinned some Two Thin Coats Dungeon Stone and painted a couple of very thin coats over the scalp to give the impression of stubble. The service studs on the forehead I painted with a dot of Scale75 Thrash Metal and then added some Army Painter Red Tone around them to make the skin look sore.
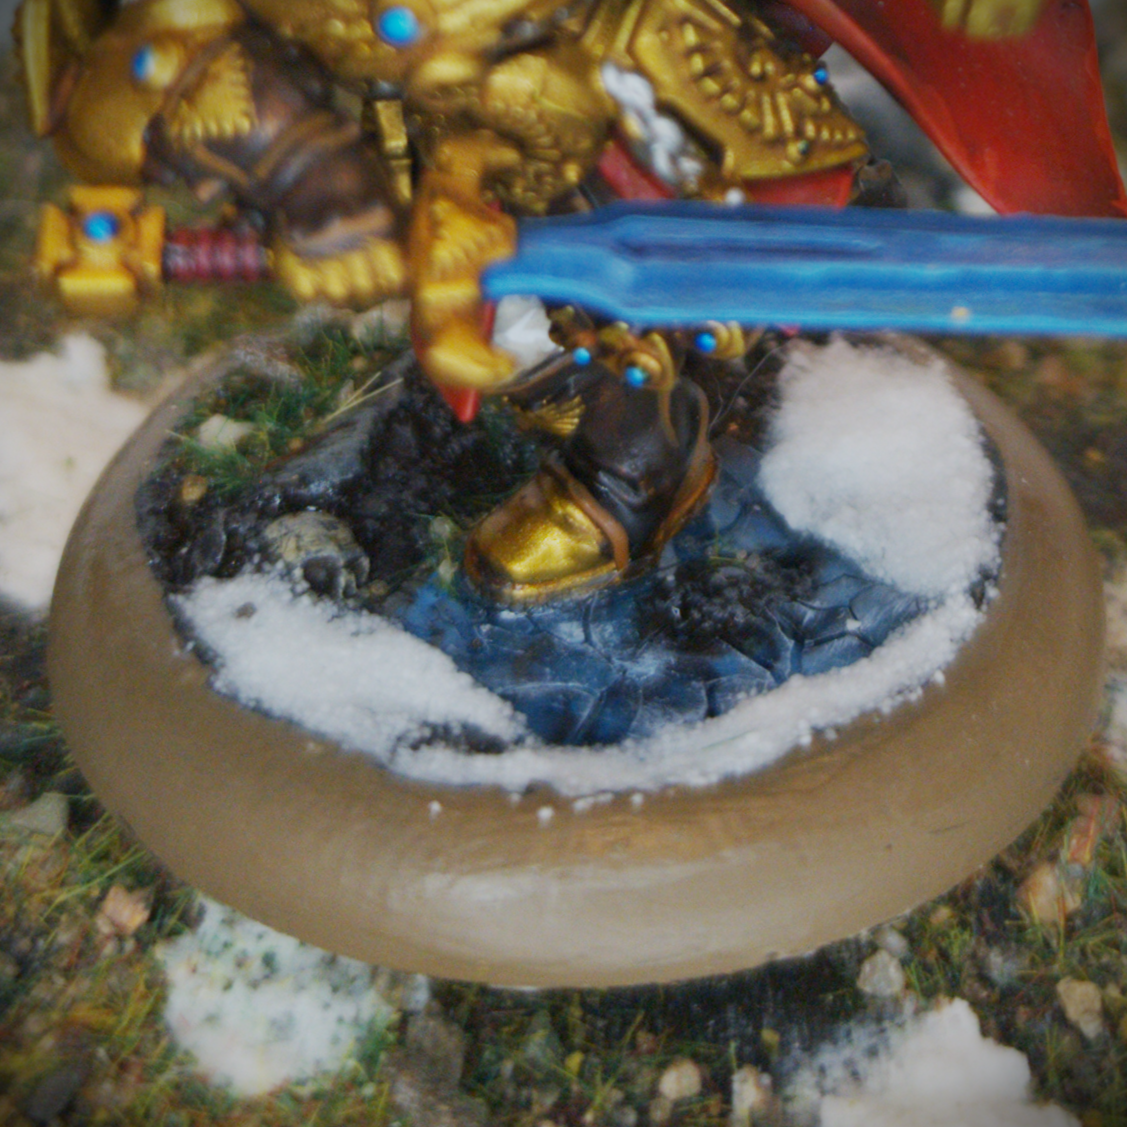
Last but by no means least is the base. For my initial batch of Custodes, I wanted them to stand out a little and do something a bit special for their bases, they are Guardians of the God-Emperor of Mankind after all. I picked up some 40mm round lipped bases from Tiny Worlds as I felt I could make them work for the tundra scheme that I use for my Imperial forces. To get things started I primed the bases with Colour Forge Hyrax Brown, a deep brown similar to Rhinox Hide or Two Thin Coats Cuirass Leather. From there I picked out the skull with Army Painter Skeleton Bone and the rocks with Two Thin Coats Dungeon Stone. I then gave the base a wash of Army Painter Strong Tone followed by a drybrush of Tyrant Skull. For the recess where the water will go, I thinned down some Army Painter Matt White and roughly painted that in the base. I then gave it a wash of thinned down Talassar Blue. Once I was sure everything was fully dry, I filled in the hollow with a thin layer of UV resin and cured it with a UV torch. It was at this point that I fixed the model to the base, I drilled a small hole in the base of the foot and into the resin and then used a brass rod and a very conservative amount of superglue to stick him down. I went very light on the glue as I didn’t want to risk that cloudy/chalky effect you sometimes get with superglue fumes. Once the model was in place it was time to break out my secret weapon: clear crackle medium. As you might expect this stuff is basically the same as other crackle paints like Martian Ironearth or Agrellan Badland, except it is crystal clear. I spread a generous amount of it over the UV resin and left it to fully dry over a day or so. As the clear texture is a little hard to see, I then gave the crackle medium a wash of Drakenhof Nightshade followed by a drybrush of Army Painter Matt White. The end result was a cracked ice appearance that I was rather pleased with. I then dabbed on some PVA glue in a couple of patches and sprinkled on Geek Gaming Scenics Base Ready Patchy Plains, which once dry I sealed down with Geek Gaming Scenics Matt Sealant spray. To complete the tundra look, I mixed some Army Painter Snow powder with matt medium and added it in a few patches. Lastly I painted the rim with Steel Legion Drab and my Blade Champion was complete!