
Testing Painting Techniques - Non-Metallic Metal Steel II
While I was putting together and painting the Mörderin models, I realised that one of them would provide the opportunity to once again practice at some non-metallic metal steel. I have practiced steel non-metallic metal a couple of times before: here, here and most recently on a Kingdom Death Monster model. While I would say that I have shown improvement, I still have a lot to learn. That’s why we practice after all.
The Osterhilt is armoured from head to toe and wields an axe that also somehow incorporates a gun into its handle. Badass. I got the model assembled, leaving the head separate as the mass of hair would make painting the face and shoulders more difficult. Particularly as the miniature is modelled to have their arms drawn up in and overhead swing. I primed both with Colour Forge Raven Black.
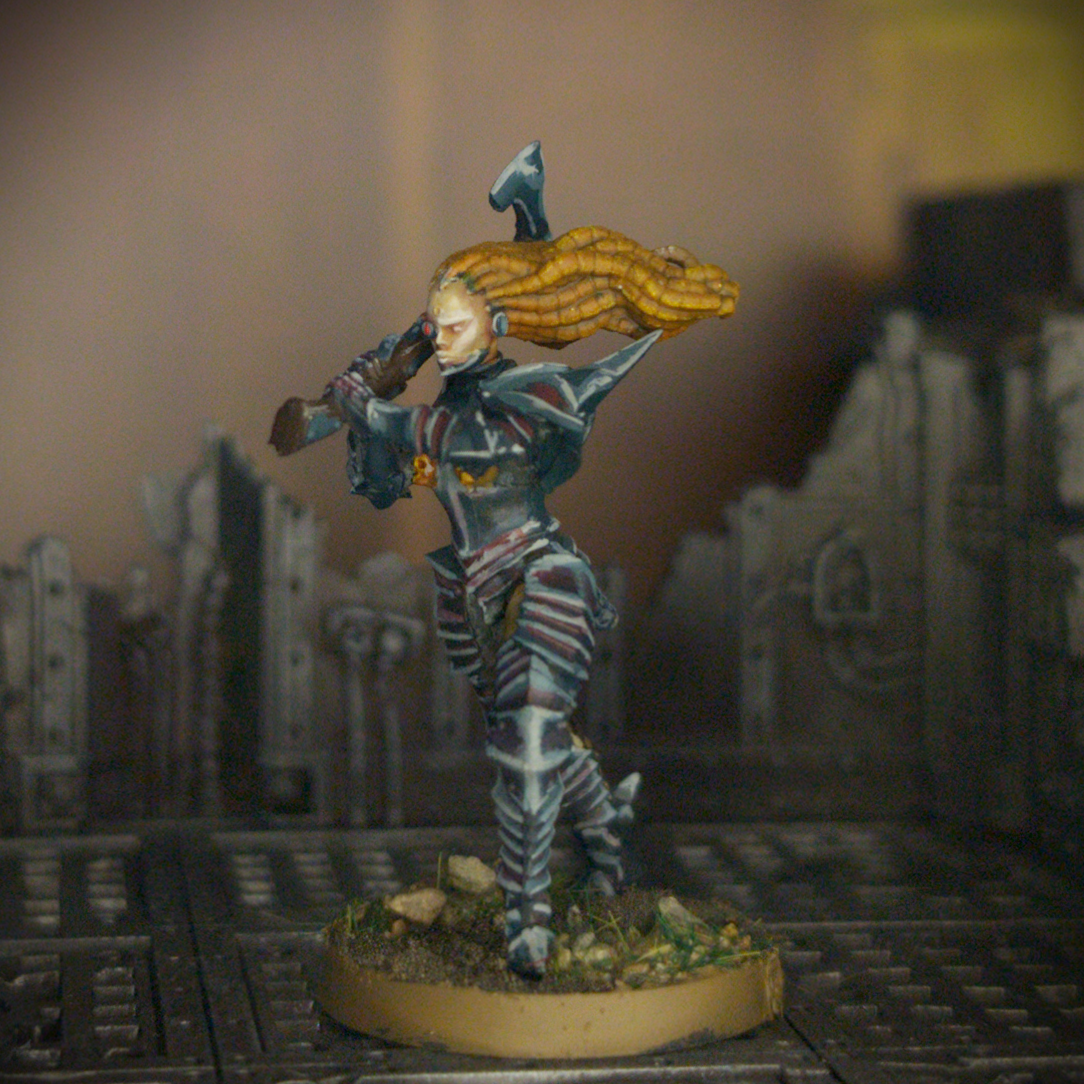
Backdrop by Jon Hodgson Backdrops
The key to this particular attempt at NMM was a paint that I had picked up recently: Dark Sea Ben from Pro Acryl. A paint from Ben Komet’s Signature Series, a series I very nearly picked up but instead opted for this one paint. I normally start from a pure black so my thinking was that by starting from a deep blue-green and building up from there the result would pop a little more. Working in sections, I would basecoat the area with Deep Sea Ben and then mix in progressively more and more Two Thin Coats Carcharodon Grey to built up the highlights. I chose the light grey because from experience using a pure white the mix ends up turning chalky and looking horrible. The end result, at this point, looked pretty good. My colour placement still needs work for it to be convincing non-metallic metal but I’m reasonably happy with the colour choices, certainly with Dark Sea Ben at any rate. The next time I try this I might try something a little bit bluer than Carcharodon Grey. Whilst the grey and green did look good, I felt I could take things a little further. Often when I see others paint non-metallic metal steel there are a lot of purple tones. With this in mind, I thinned down some Army Painter Blanched Berry and glazed this over the deepest recesses to darken them a little further.
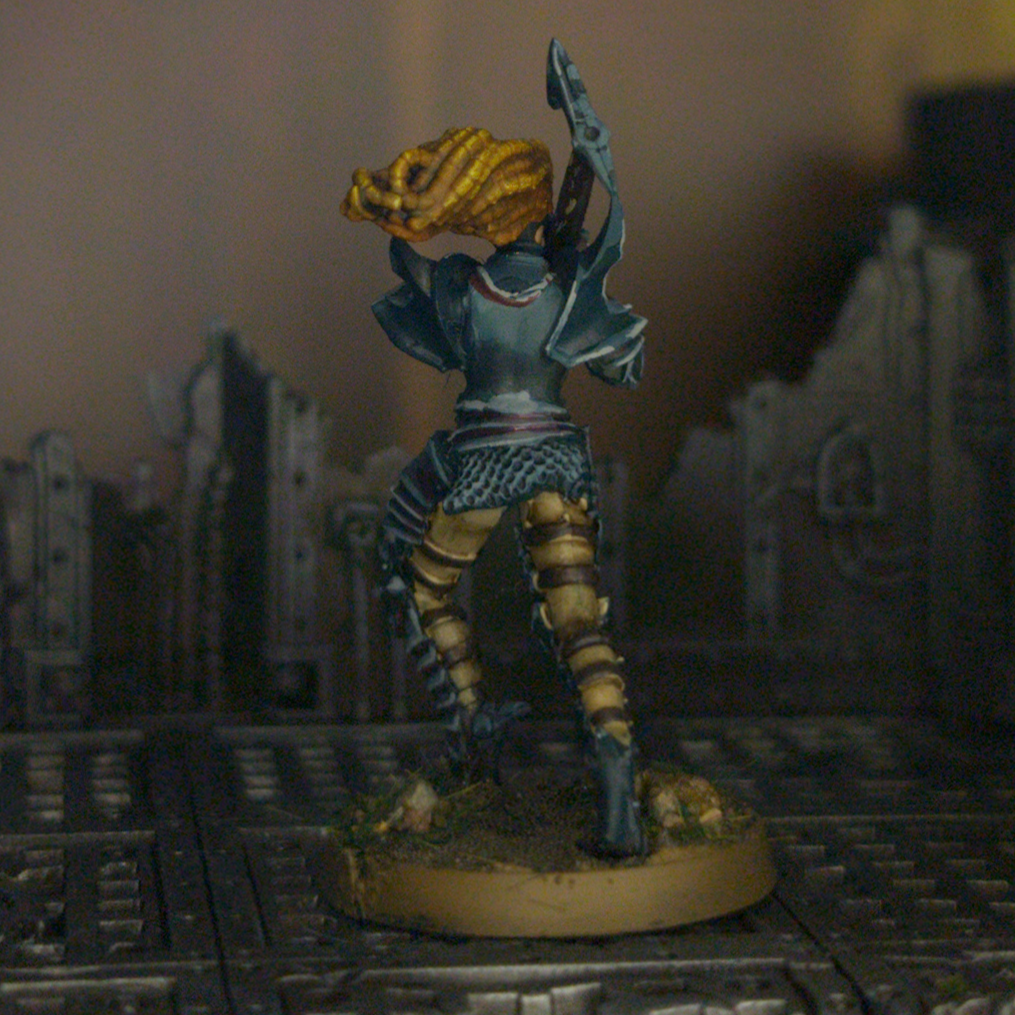
Backdrop by Jon Hodgson Backdrops
With the armour done I moved onto the remaining small details. Whilst the legs do look like the armour fully encompasses them, I wanted to paint the backs of the thighs as though they were a fabric undersuit. This was fairly simple to do, I base coated them with Vallejo Khaki and picked out the straps with Two Thin Coats Cuirass Leather, I then washed the area with Army Painter Strong Tone. Likewise, I painted the shaft of the gun-axe with Cuirass Leather and then painted a series of thin lines of Army Painter Urban Buff along its length to mimic woodgrain. Wyldwood? I liked how these warm brown tones contrasted with the cooler blues and greens of the armour.
For the hair, Blanche sure does love metal dreadlocks, and the skulls on the chest I decided to use the quick gold non-metallic metal recipe I had tested on the Hussars. I base coated both areas with Army Painter Sunburst Ochre before giving them a wash of Army Painter Voodoo Shade to bring out the texture. From there I drybrushed them with a mix of Sunburst Ochre and Matt White, followed by a lighter drybrush of pure Matt White. To then turn it the characteristic gold colour, I gave these areas a coat of Iyanden Yellow contrast paint.
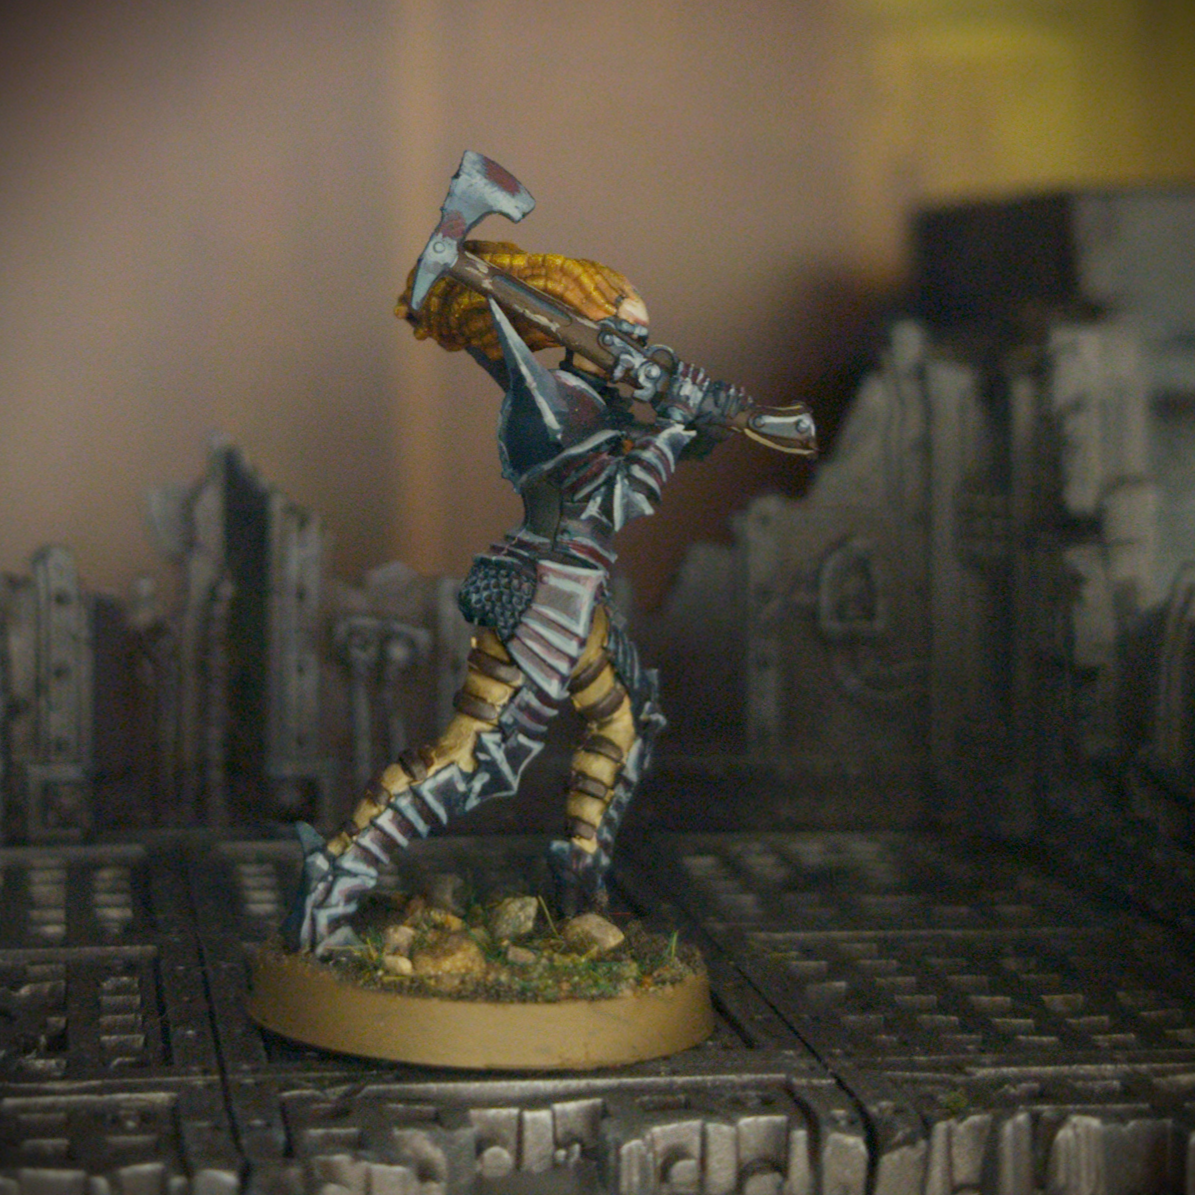
Backdrop by Jon Hodgson Backdrops
The last thing I needed to paint was the face. To get things started I paint the skin with a couple thin coats of Vallejo Pale Flesh, and to bring out the texture I then gave it a wash of Reikland Fleshshade. I then built up the layers, initially with Pale Flesh and then a mix of Pale Flesh and Vallejo White Flesh. As it has some green tones to it, I then painted in some Voodoo Shade into some of the recesses, like the hollows of the cheeks. I then followed this up with a final highlight of pure White Flesh. With that done I glued the head in place and she was complete.
With the model done I could move onto the base. And whilst I did paint this one separately from the rest of the Mörderin models, I kept the basing scheme the same. To get things started I applied a generous amount of Vallejo Dark Earth texture paste to the base, mostly to fill in any gaps. I then gave it a wash of Army Painter Strong Tone to bring out the texture. I then dabbed on some PVA glue and sprinkled on some Geek Gaming Scenics Base Ready Patchy Plains, which I then locked in place with some Geek Gaming Scenics Matt Sealant. To finish them off I stuck down some tufts and painted the rims with Steel Legion Drab.