Bandai - 1/72 scale X-Wing
Introduction
At long last I have finally made a start on the 1/72 scale X-Wing Bandai kit that I got a few Christmases ago. I have been equally excited and scared to start this project. I love Star Wars and the X-Wing is my favourite starship from the franchise. Having some of my expectations of scale modelling humbled by the Mary Rose ship that I painted, it was important to go into this with both the right mindset and a plan. The mindset that I wanted to go in with was that above all I want to have fun with this project. And the plan is to make a generic member of Red Squadron rather than specifically Luke Skywalker’s X-Wing “Red 5” during the Battle of Yavin. I made this decision for a couple of reasons. Firstly, I didn’t want to stress about painting it “correctly” or as movie-prop accurate as possible. Secondly, I love to create my own characters. Star Wars may have started as a trilogy but it has ballooned into an entire universe of possibility. Why limit myself to a few named characters when I could invent whoever I wanted? I haven’t thought up who my pilot will be just yet, but hopefully I will have by the end of this article.
Assembly
With the bare bones of a plan, I dove right into assembly. Following the instructions I put together the two S-Foils first. The main body effectively comes in three sections: top, middle and bottom. With the rear sections of the top and bottom panels enclosing the middle of the S-Foils. I was tempted to leave the S-Foils separate for ease of painting but that would mean leaving the hull in innumerable bits as well. And I figured that as long as I didn’t have to paint any squad markings on the inside of the S-Foils I should be fine.
It was also during assembly of the hull that I discovered that the kit comes with an alternate nose cone and astromech head if, like me, you are not building Luke Skywalker’s X-wing. With the alternate options in place the rest of the build came together nicely, I really can’t fault Bandai on the quality of the kit they have made. In the end I left the pilot, astromech, flight console, canopy and the laser cannons separate from the hull. I had to leave the flight console separate because once it’s in place you can’t get the pilot in and out of the cockpit.
Once everything was together I gave the model a once over to see if there were any gaps that needed filling. Historically, I have been really bad with doing this to my models. Partly because I never really had a good method to do it. Mixing up some sculpting putty, either milliput or greenstuff, and attempting to squash it into gaps was a tedious pain. Which is why for this project, I got myself some Mig Ammo Acrylic Arming Putty. As it’s water soluble the putty is easy to thin to a nice sticky consistency that flows into the gaps. Then just wait 24 hours for it to cure and sand it flat.
The last thing I needed to do before priming was to carefully mask off the windows on the canopy. It took a steady hand with a craft knife and some Tamiya masking tape to cover the windows. And even then I was a little paranoid that paint might get under the tape. After all, I really only have one shot at this. You can’t really cover up any seepages on transparent plastic.

Painting
I started the painting process by priming the model with Vallejo Black Surface Primer. I chose black because Vallejo Grey Primer is very close to the colour that the model already is, so by using black I easily see which parts of the model have been primed and which have not. So with that in mind I gave everything a nice even coat until it resembled Poe Dameron’s X-wing from The Force Awakens. Once everything was primed I left it for at least 24 hours for the primer to cure properly.
I was pretty excited to move onto the basecoats because it meant I got to try out my new Archive-X paints. I’m a sucker for a gimmick and Archive-X’s particular gimmick that their paints are colour matched to the actual props used in the Star Wars films. Or so they claim at any rate. In any case, they were literally made for what I’m doing.
I started with AX-001 1975 Reefer White, using the airbrush once again to spray an even coat over most of the hull. The only areas that didn’t paint with Reefer White were the pilot (obviously), the cockpit, and the engine blocks that sit on the rear of the model and just behind the astromech. Once the Reefer White was dry, I masked off the areas around the engine blocks and cockpit with Tamiya masking tape. I then basecoated said areas with Vallejo Model Air Dark Grey. In the film, I believe the engine blocks are the same white as the rest of the hull but I wanted to break up all that white. The pieces of the Death Star that form the base I basecoated with Vallejo Game Air Light Grey.
With the basecoats on the hull complete, I could make a start on the markings. I used Tamiya masking tape again to mark off the areas, then spraying on a thin coat of Vallejo Chipping Medium. Once the chipping medium was dry I could then spray on my marking colour of choice. I left it a few minutes to dry then wet the area with pure and used a stiff-ish brush to chip the paint.
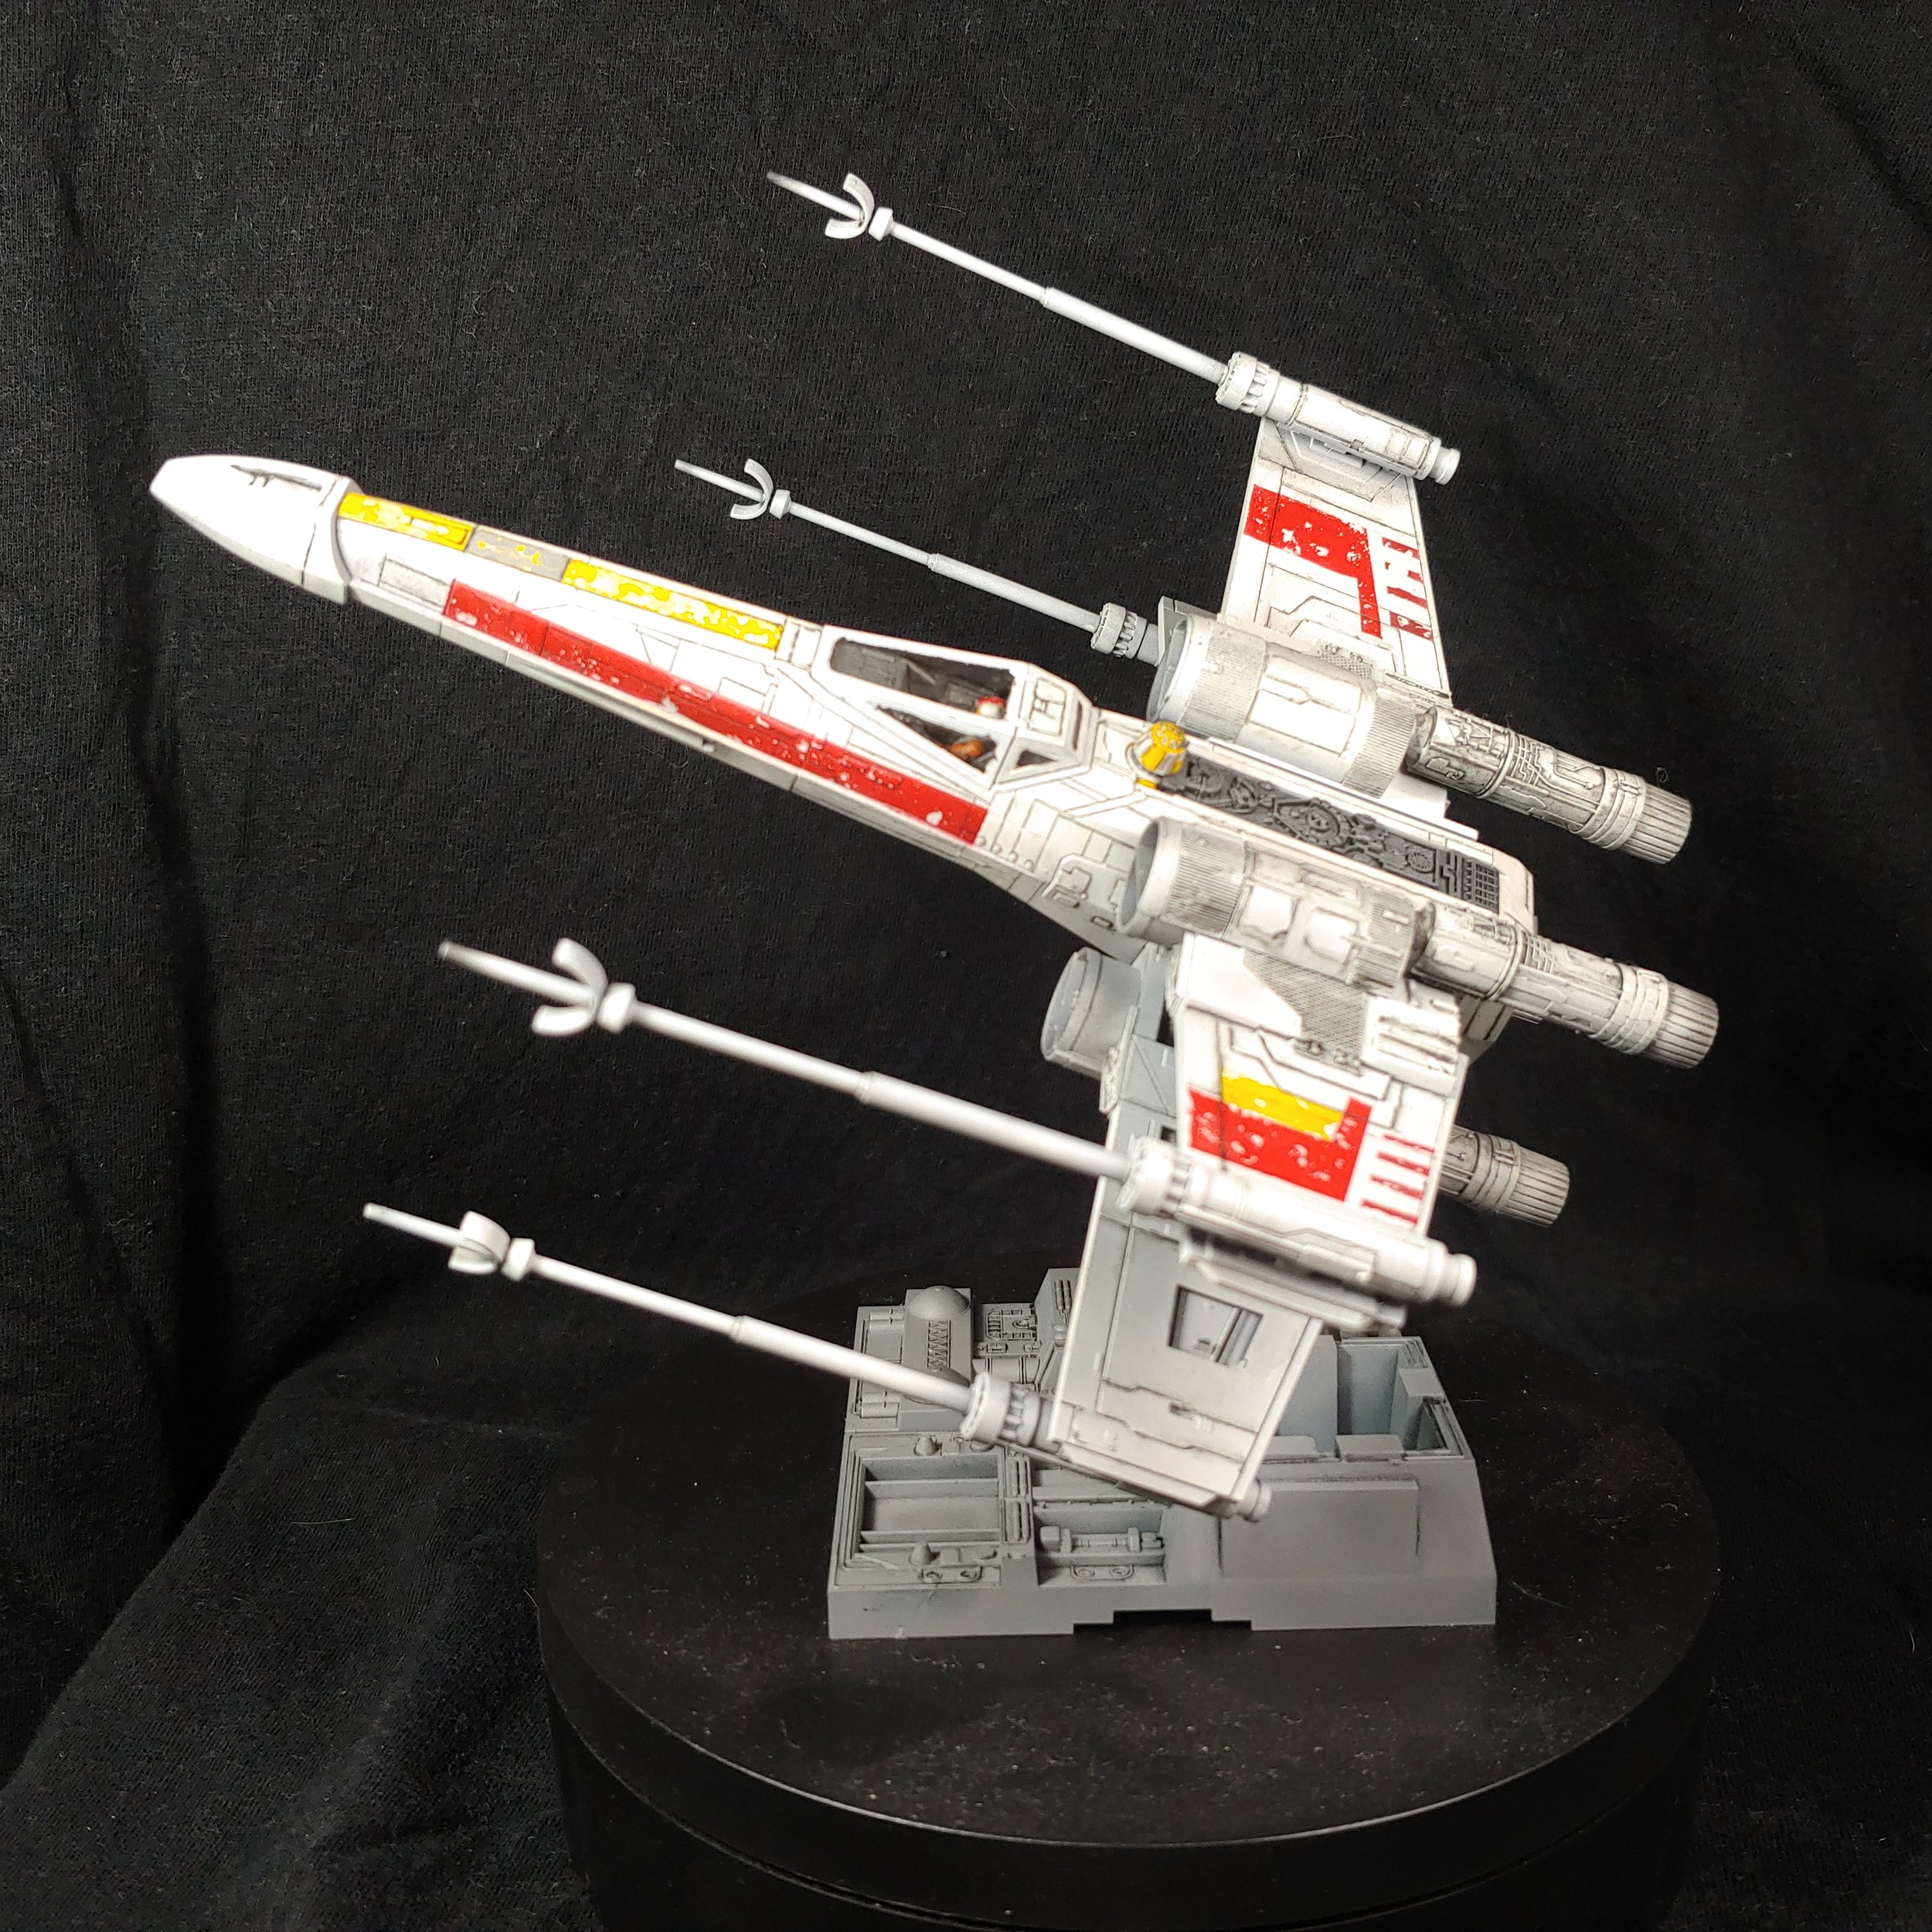
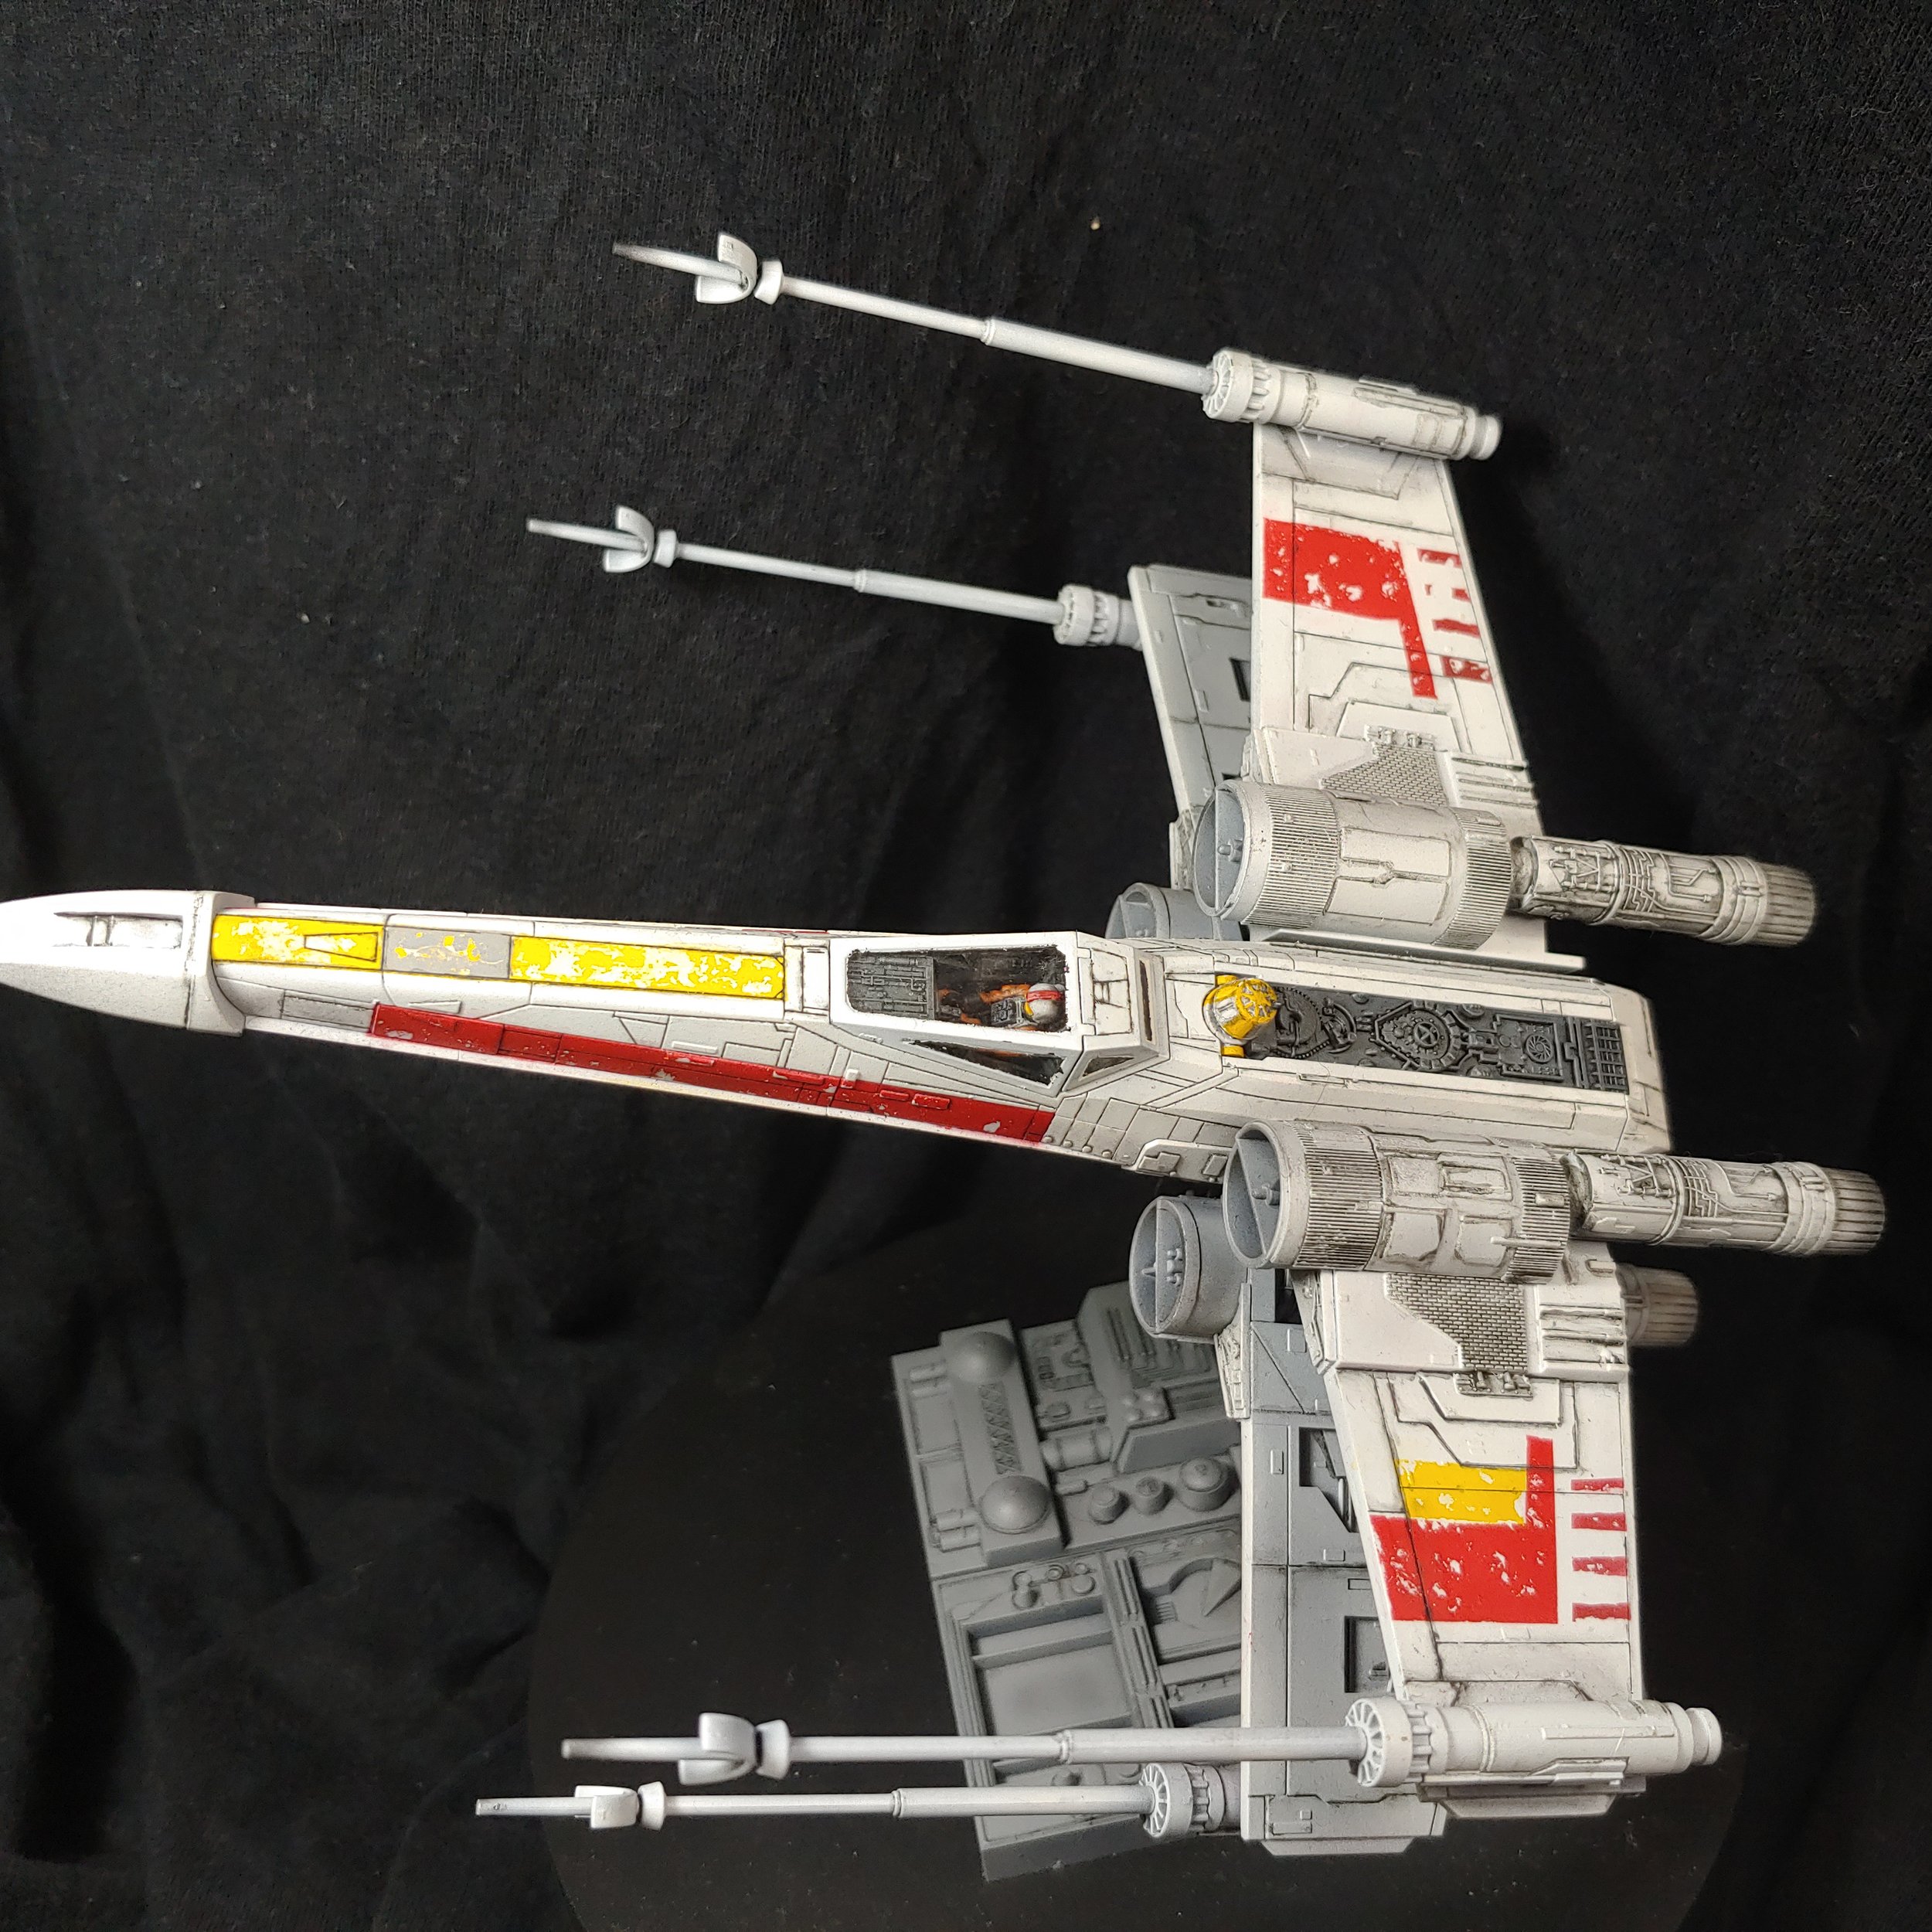
Said colours were one of Archive-X AX-022 1975 Reefer Yellow, AX-025 1975 Caboose Red, or Vallejo Game Air Light Grey. I did take some inspiration from Luke Skywalker’s Red 5 markings like the line of Reefer Yellow down the nose of the hull and the lines of Caboose Red along the sides, but in the end I just had fun with and put markings wherever I felt they should go. In some areas I used some Matt Varnish to seal the chipping medium then layer markings on top of each other.
For the pilot I kept with that classic Rebel Alliance look. I painted the flight suit with Jokaero Orange, the boots and gloves with Corvus Black and their face with Cadian Fleshtone. The helmet and chest straps I painted with Ulthuan Grey, and the button-box on their chest I painted with Mechanicus Standard Grey. With that done I washed him head to foot with Nuln Oil. I then layered the flight suit and helmet with their original colours. Then, to make it really pop, I highlighted the flight suit with Troll Slayer Orange. To finish off the pilot I painted a couple of buttons on his chest with Macragge Blue and his visor with Iyanden Yellow. For the rest of the cockpit, I simply gave it a drybrush with Citadel Necron Compound to bring out the raised details.
For the astromech I decided to go with yellow and white markings as I felt that blue would look too much like R2-D2 and the two R5 units seen in A New Hope both have red markings. I picked out the buttons with Caboose Red and the aerial with Scale75 Black Metal. At this point I didn’t have a name for my pilot yet, but with their bright yellow markings I knew my R5 droid had the nickname “Sunny”.

Washes and details
As I was going to use enamel washes I first sealed the model with a coat of matt varnish. I could then use some Ammo Black Wash to do a pin wash across the model. And it was at this point that I regretted using a matt varnish rather than a gloss or satin varnish. The matt finish meant that I was getting next to no capillary action with the wash so all the panel lining took forever. Lesson learnt I suppose, a matt varnish might work fine for panel lining Warhammer models where the details are chunky and deep. But for the comparatively shallower and crisper details on a Bandai kit, a gloss varnish is definitely required. In any case I soldiered on, using a brush damp with white spirit to clean up any overspill. Additionally, I also used the white spirit to blend the wash across the panels, turning them to a dirty-white befitting a ragtag group of freedom fighters.
To further enhance this effect, I used some Ammo Starship Filth Shader through the airbrush to carefully add some areas of…well… starship filth. In particular I added the filth to areas around the engines and weapons. I then repeated this process, in even more select areas, with some Greenstuff World Black Soot Liquid Pigment.
And with that I called it done, I was tempted to put some decals on the pilots helmet but decided against it in the end.

Final Thoughts
Ada Yndell. That shall be the name of my pilot. I decided on a female pilot because why not? And to be honest, that tiny pilot model could easily represent male or female. Or anything in between. So, Ada and Sunny it is. Flying missions under the callsign Red Four.
Overall though I am really pleased with how this turned out. I definitely have to get myself some more of the Bandai Star Wars kits, and I’ll need to make a start on the TIE fighter kit that I have sooner rather than later. Although that one does look a bit more complicated than the X-wing with all its windows on the cockpit.