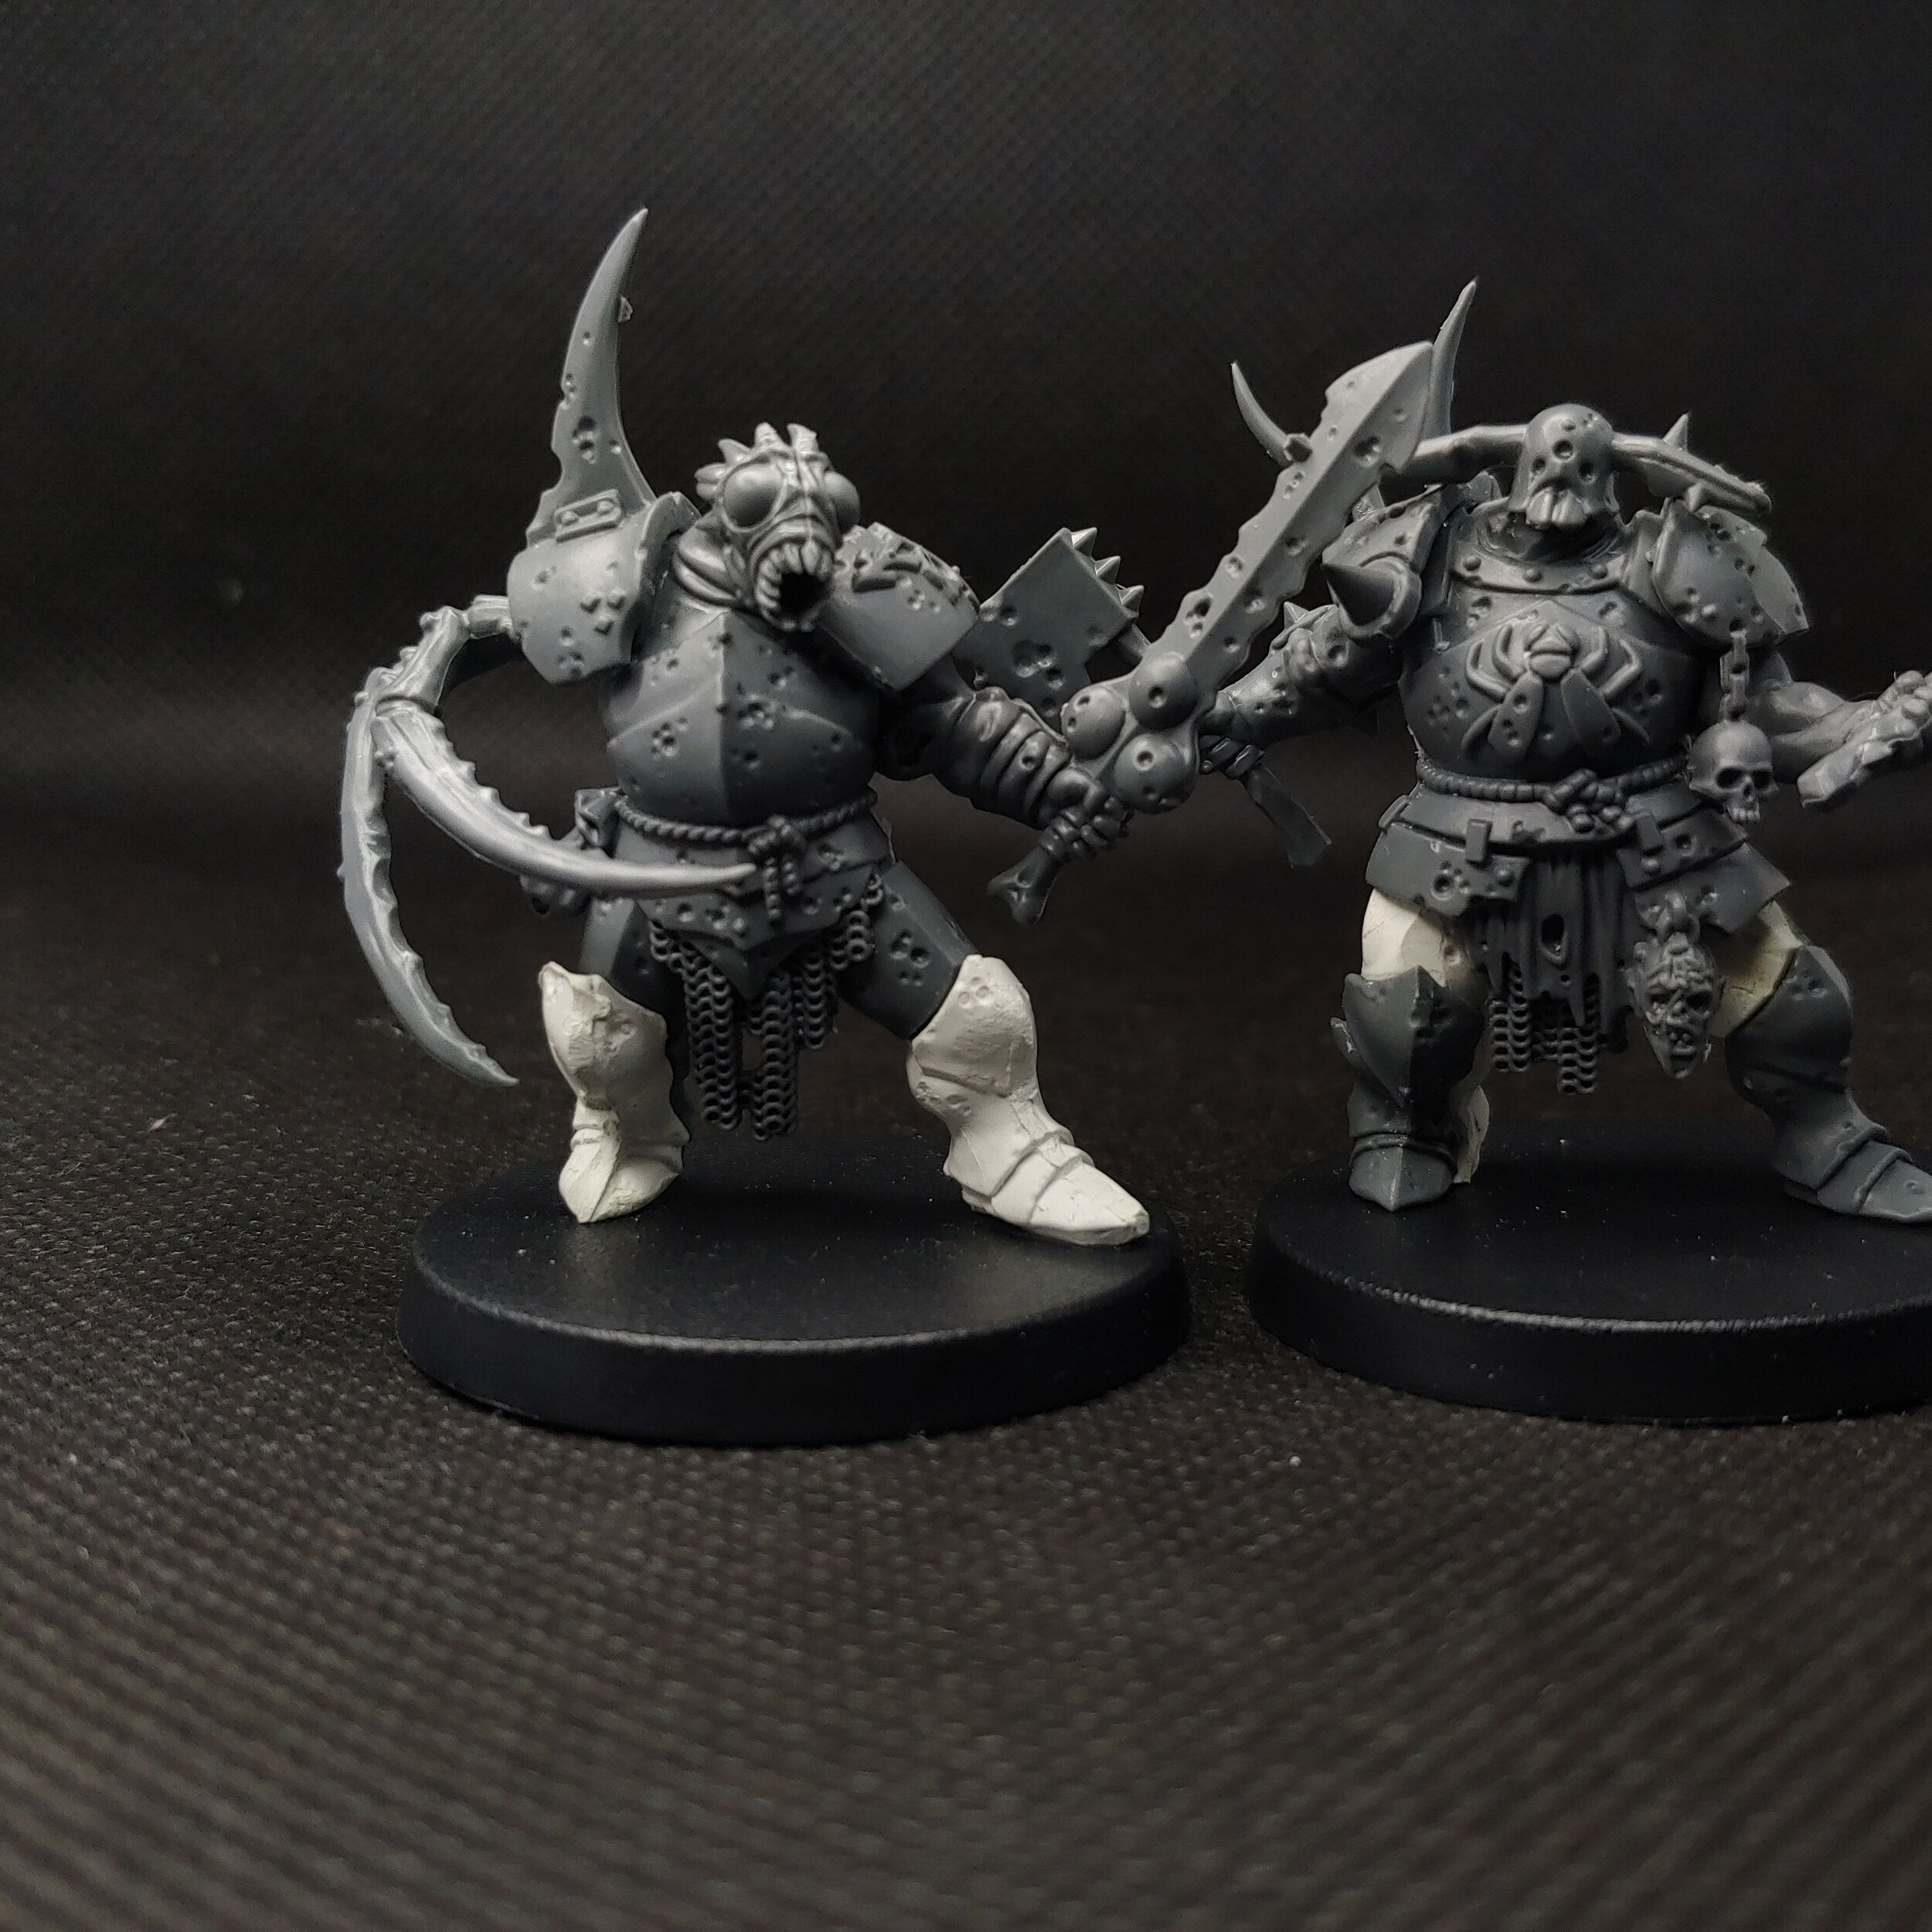
Age of Sigmar - Putrid Blightkings Assembly

Not bad for the ugliest guys in the Mortal Realms
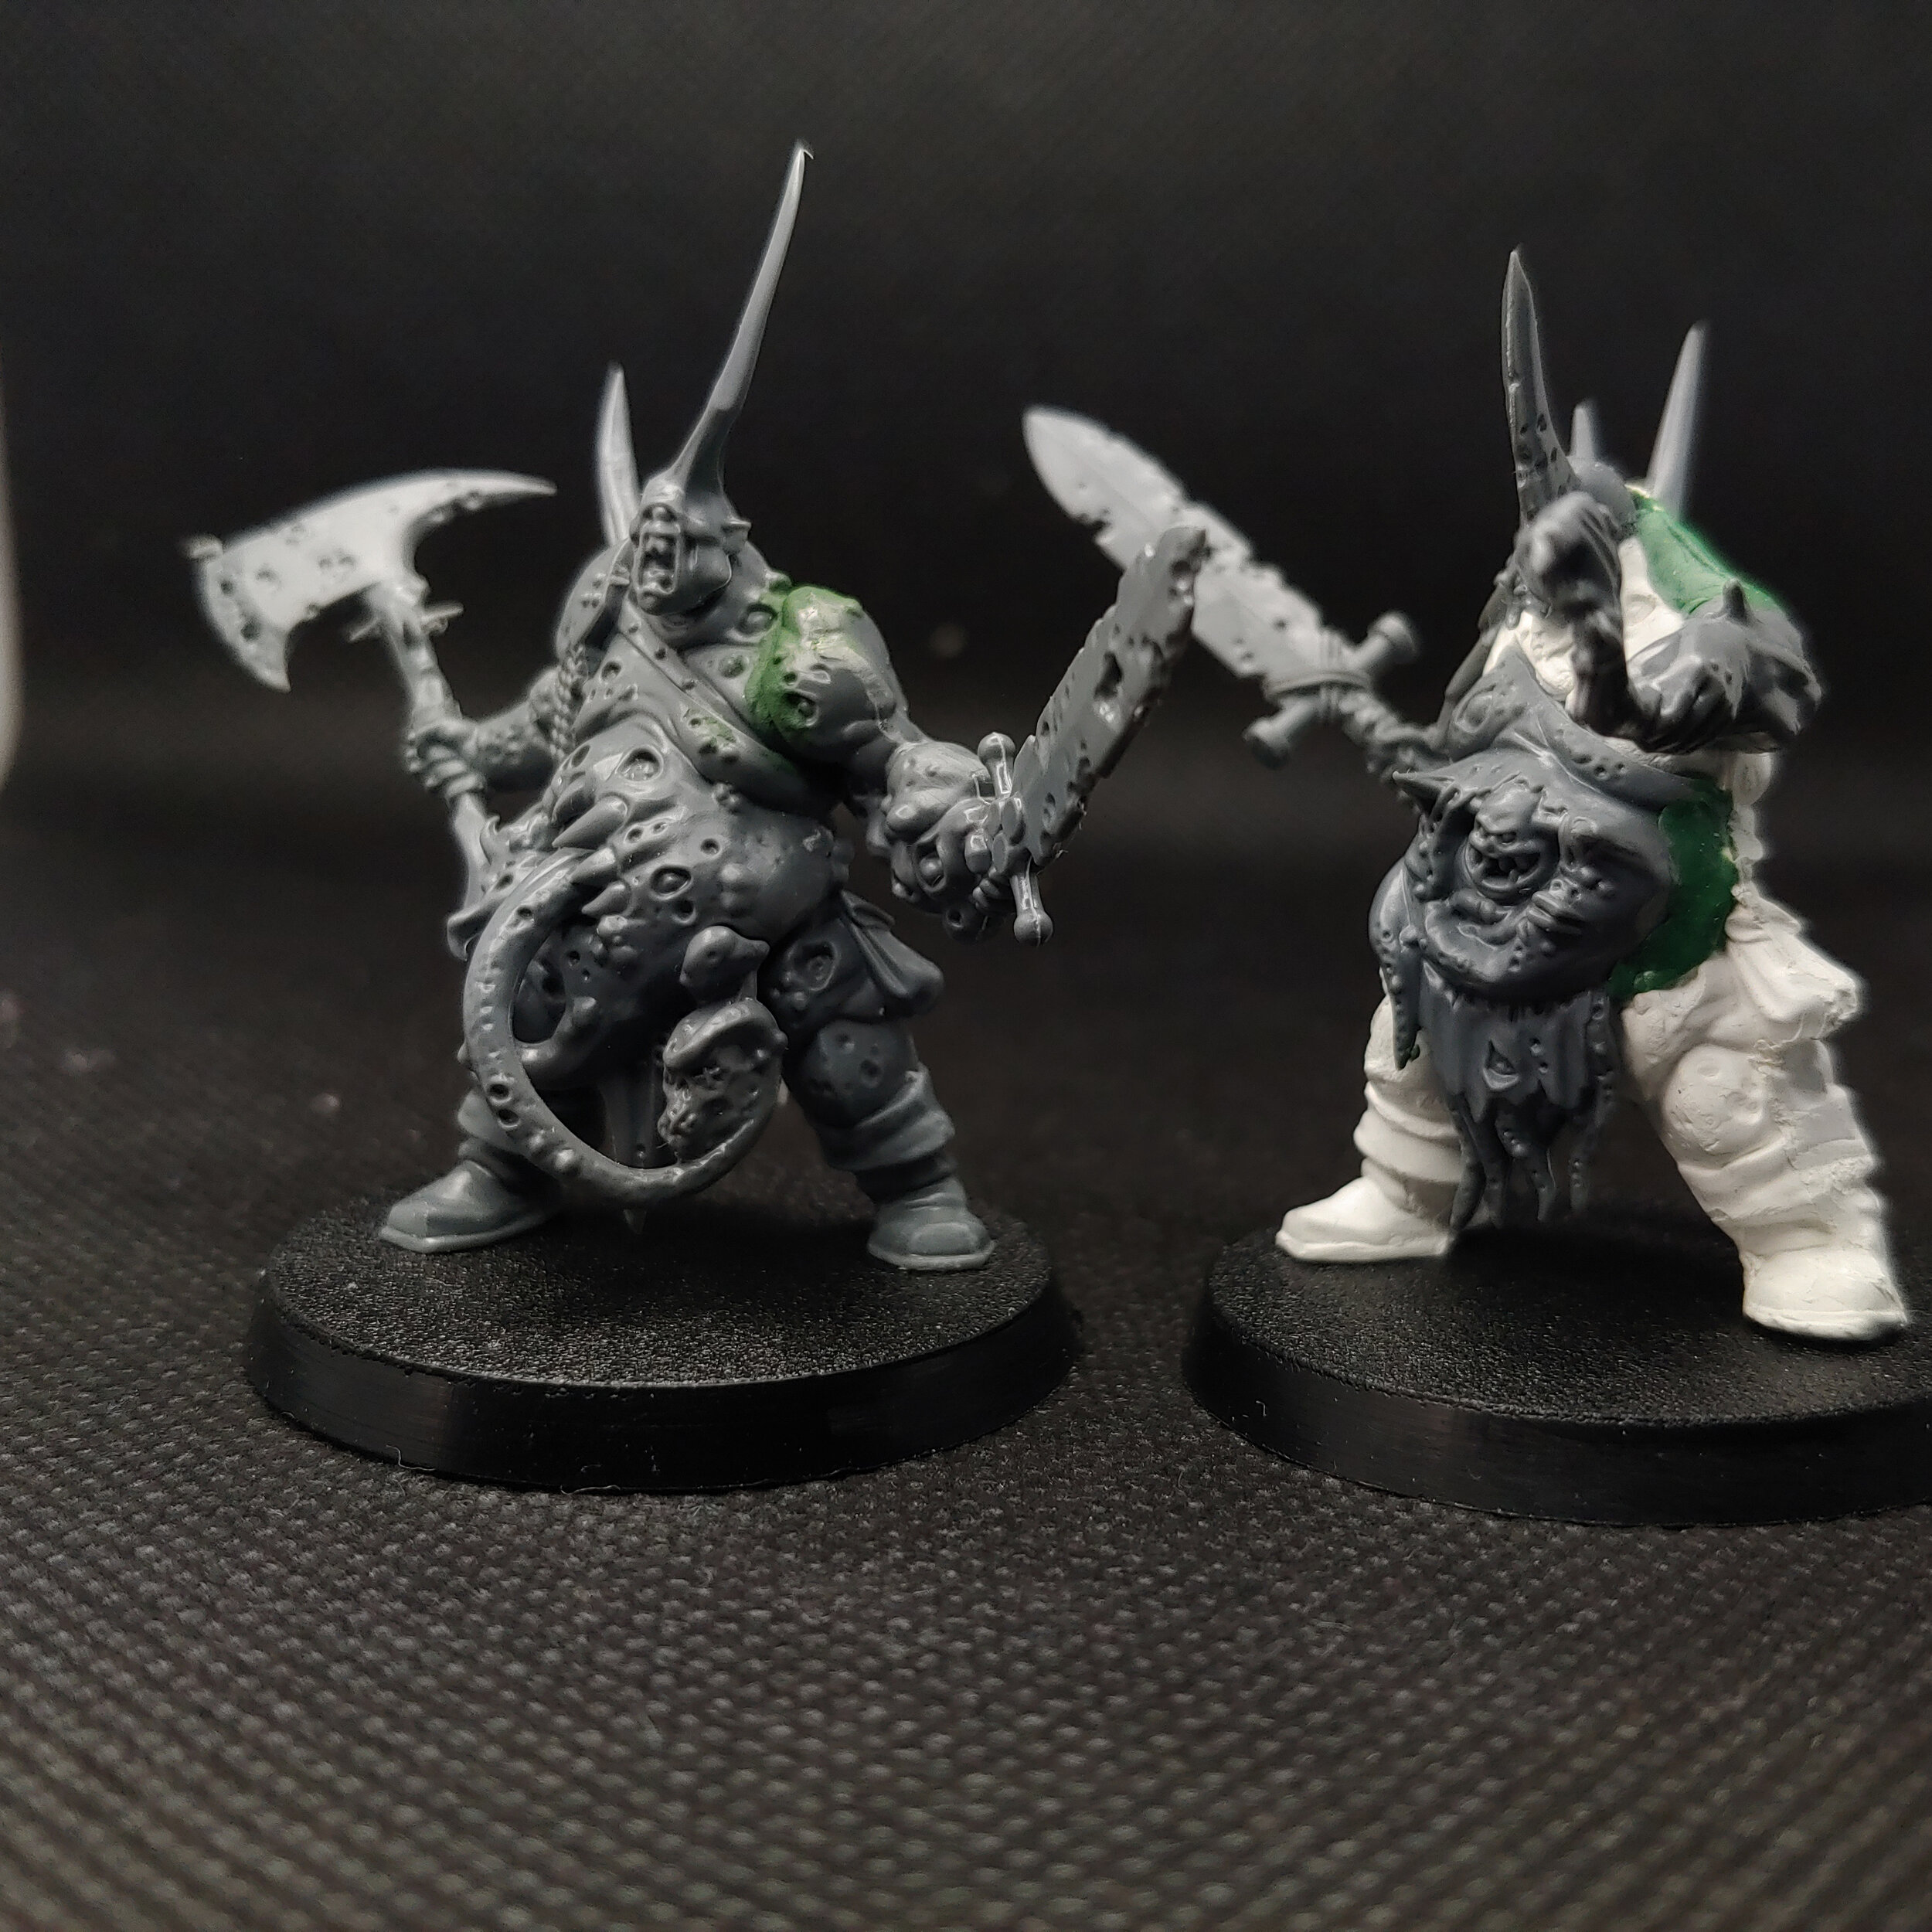
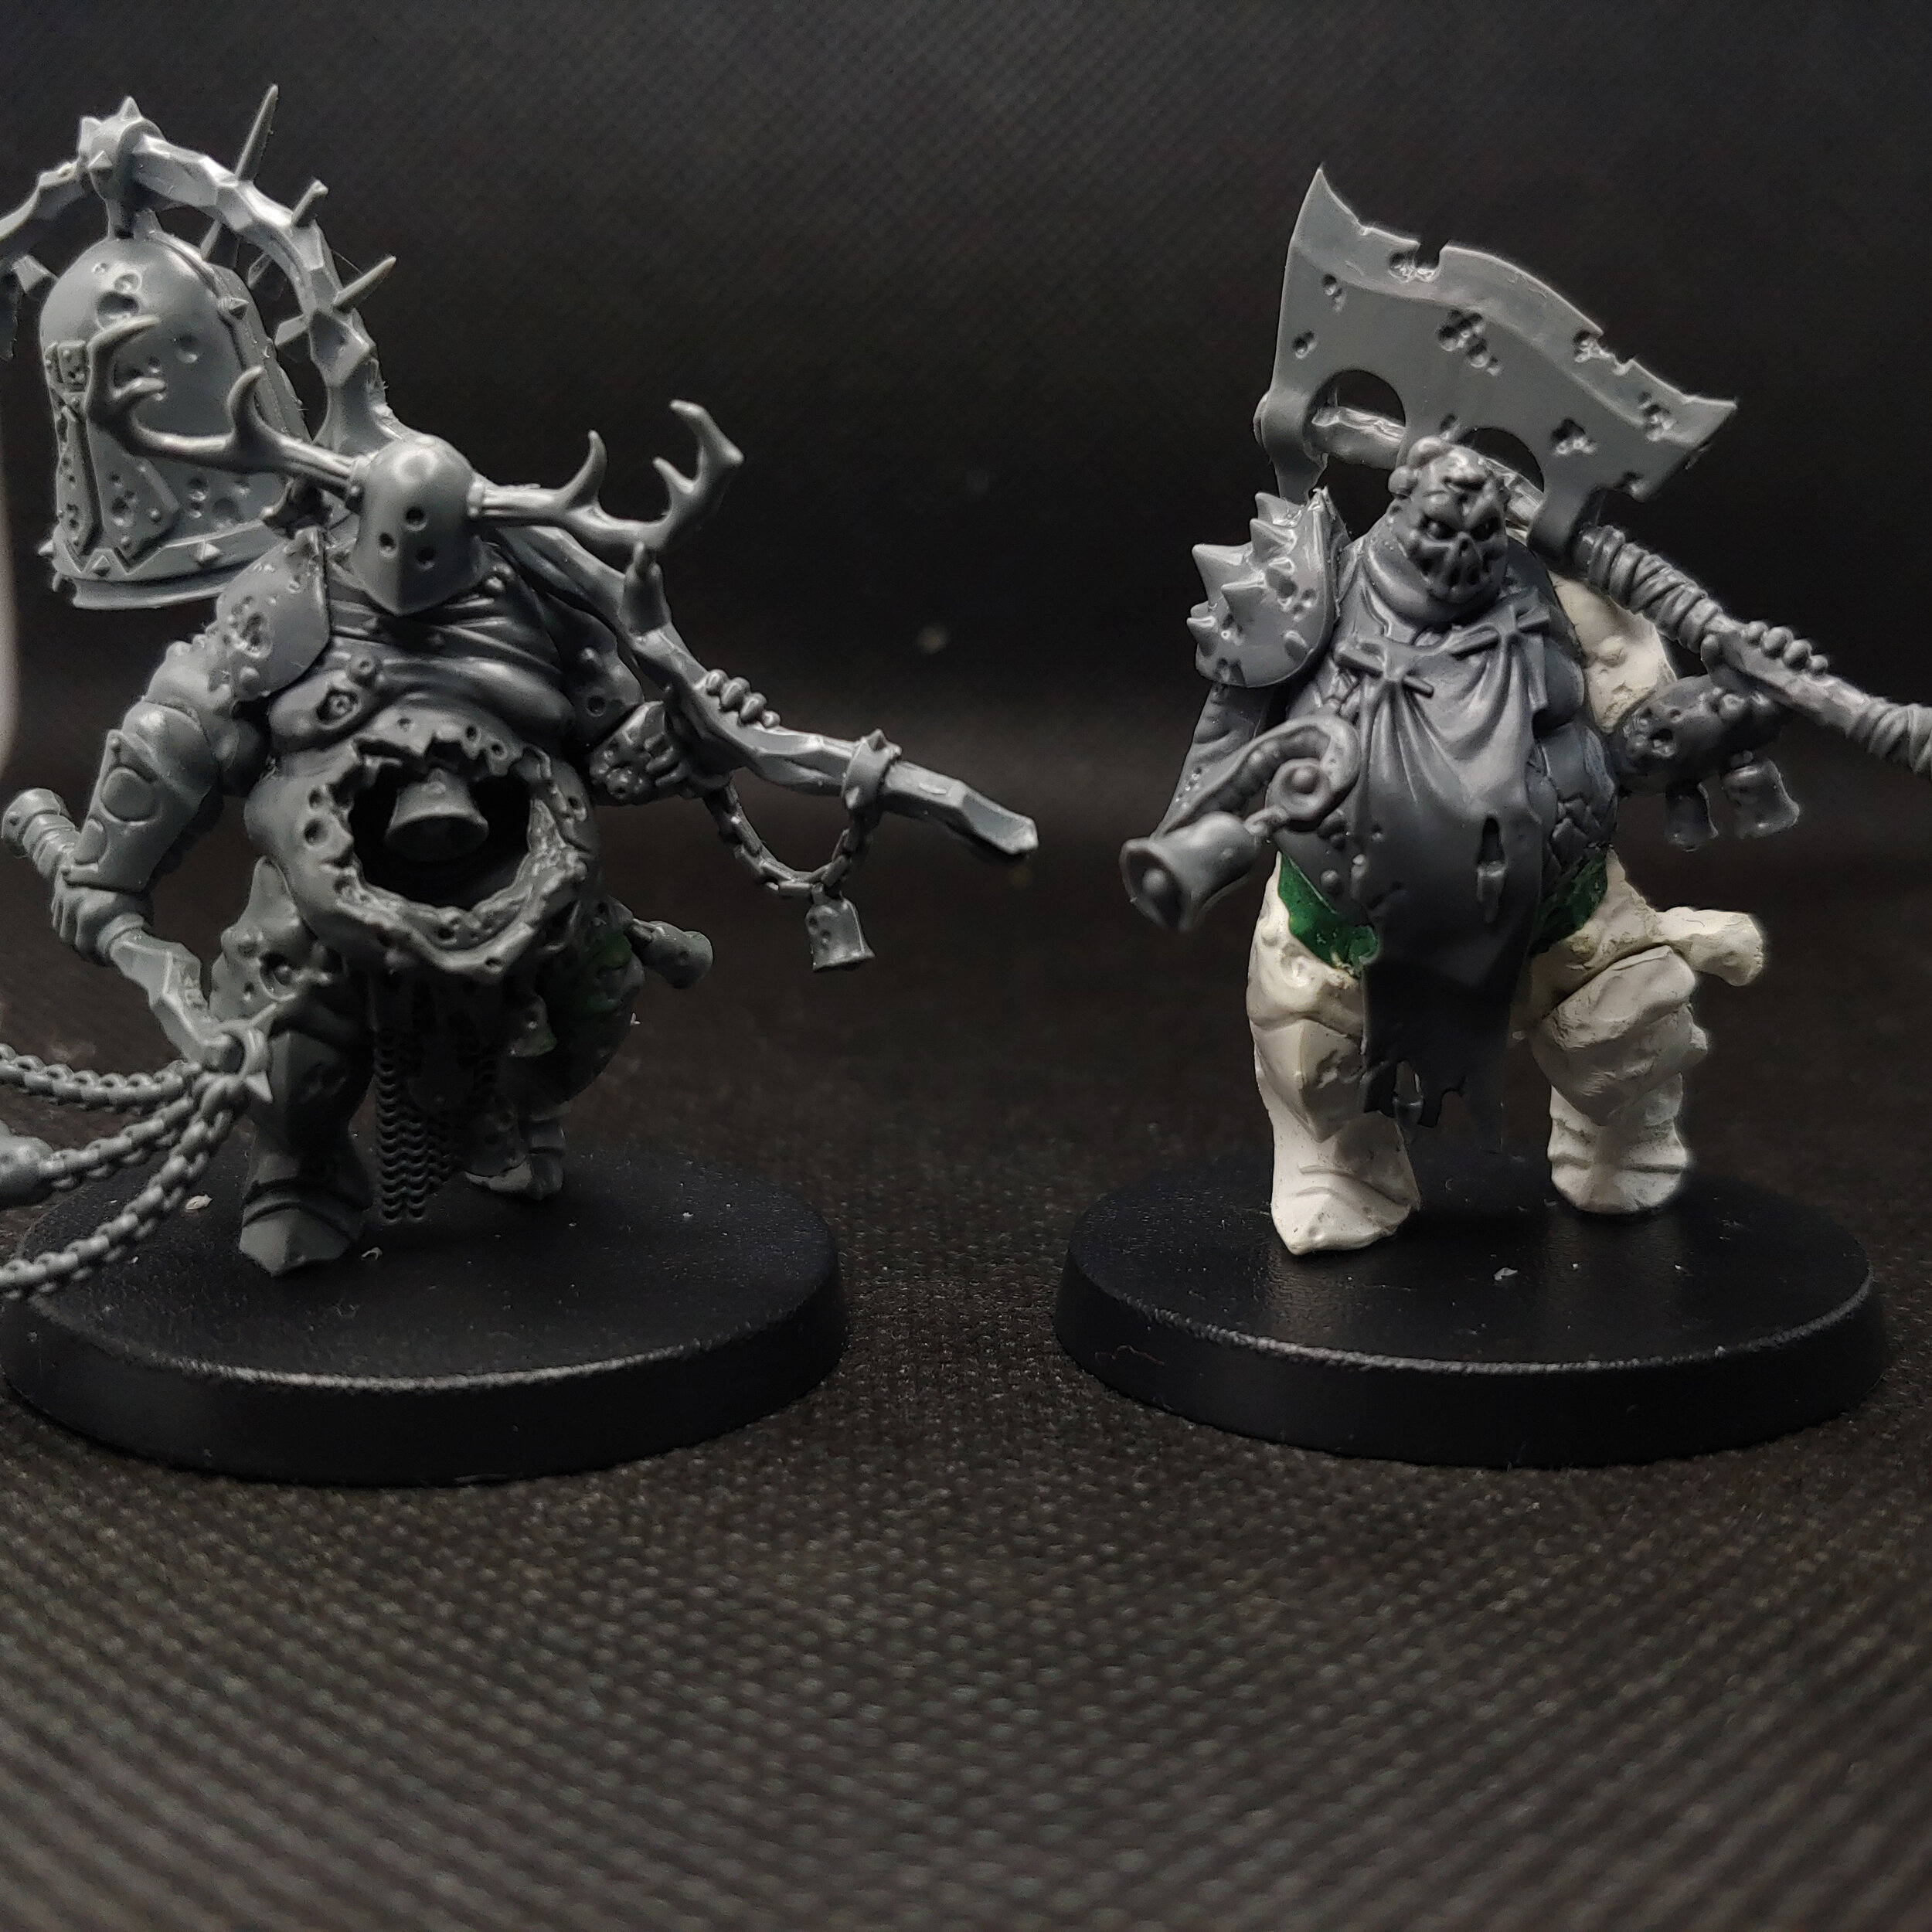
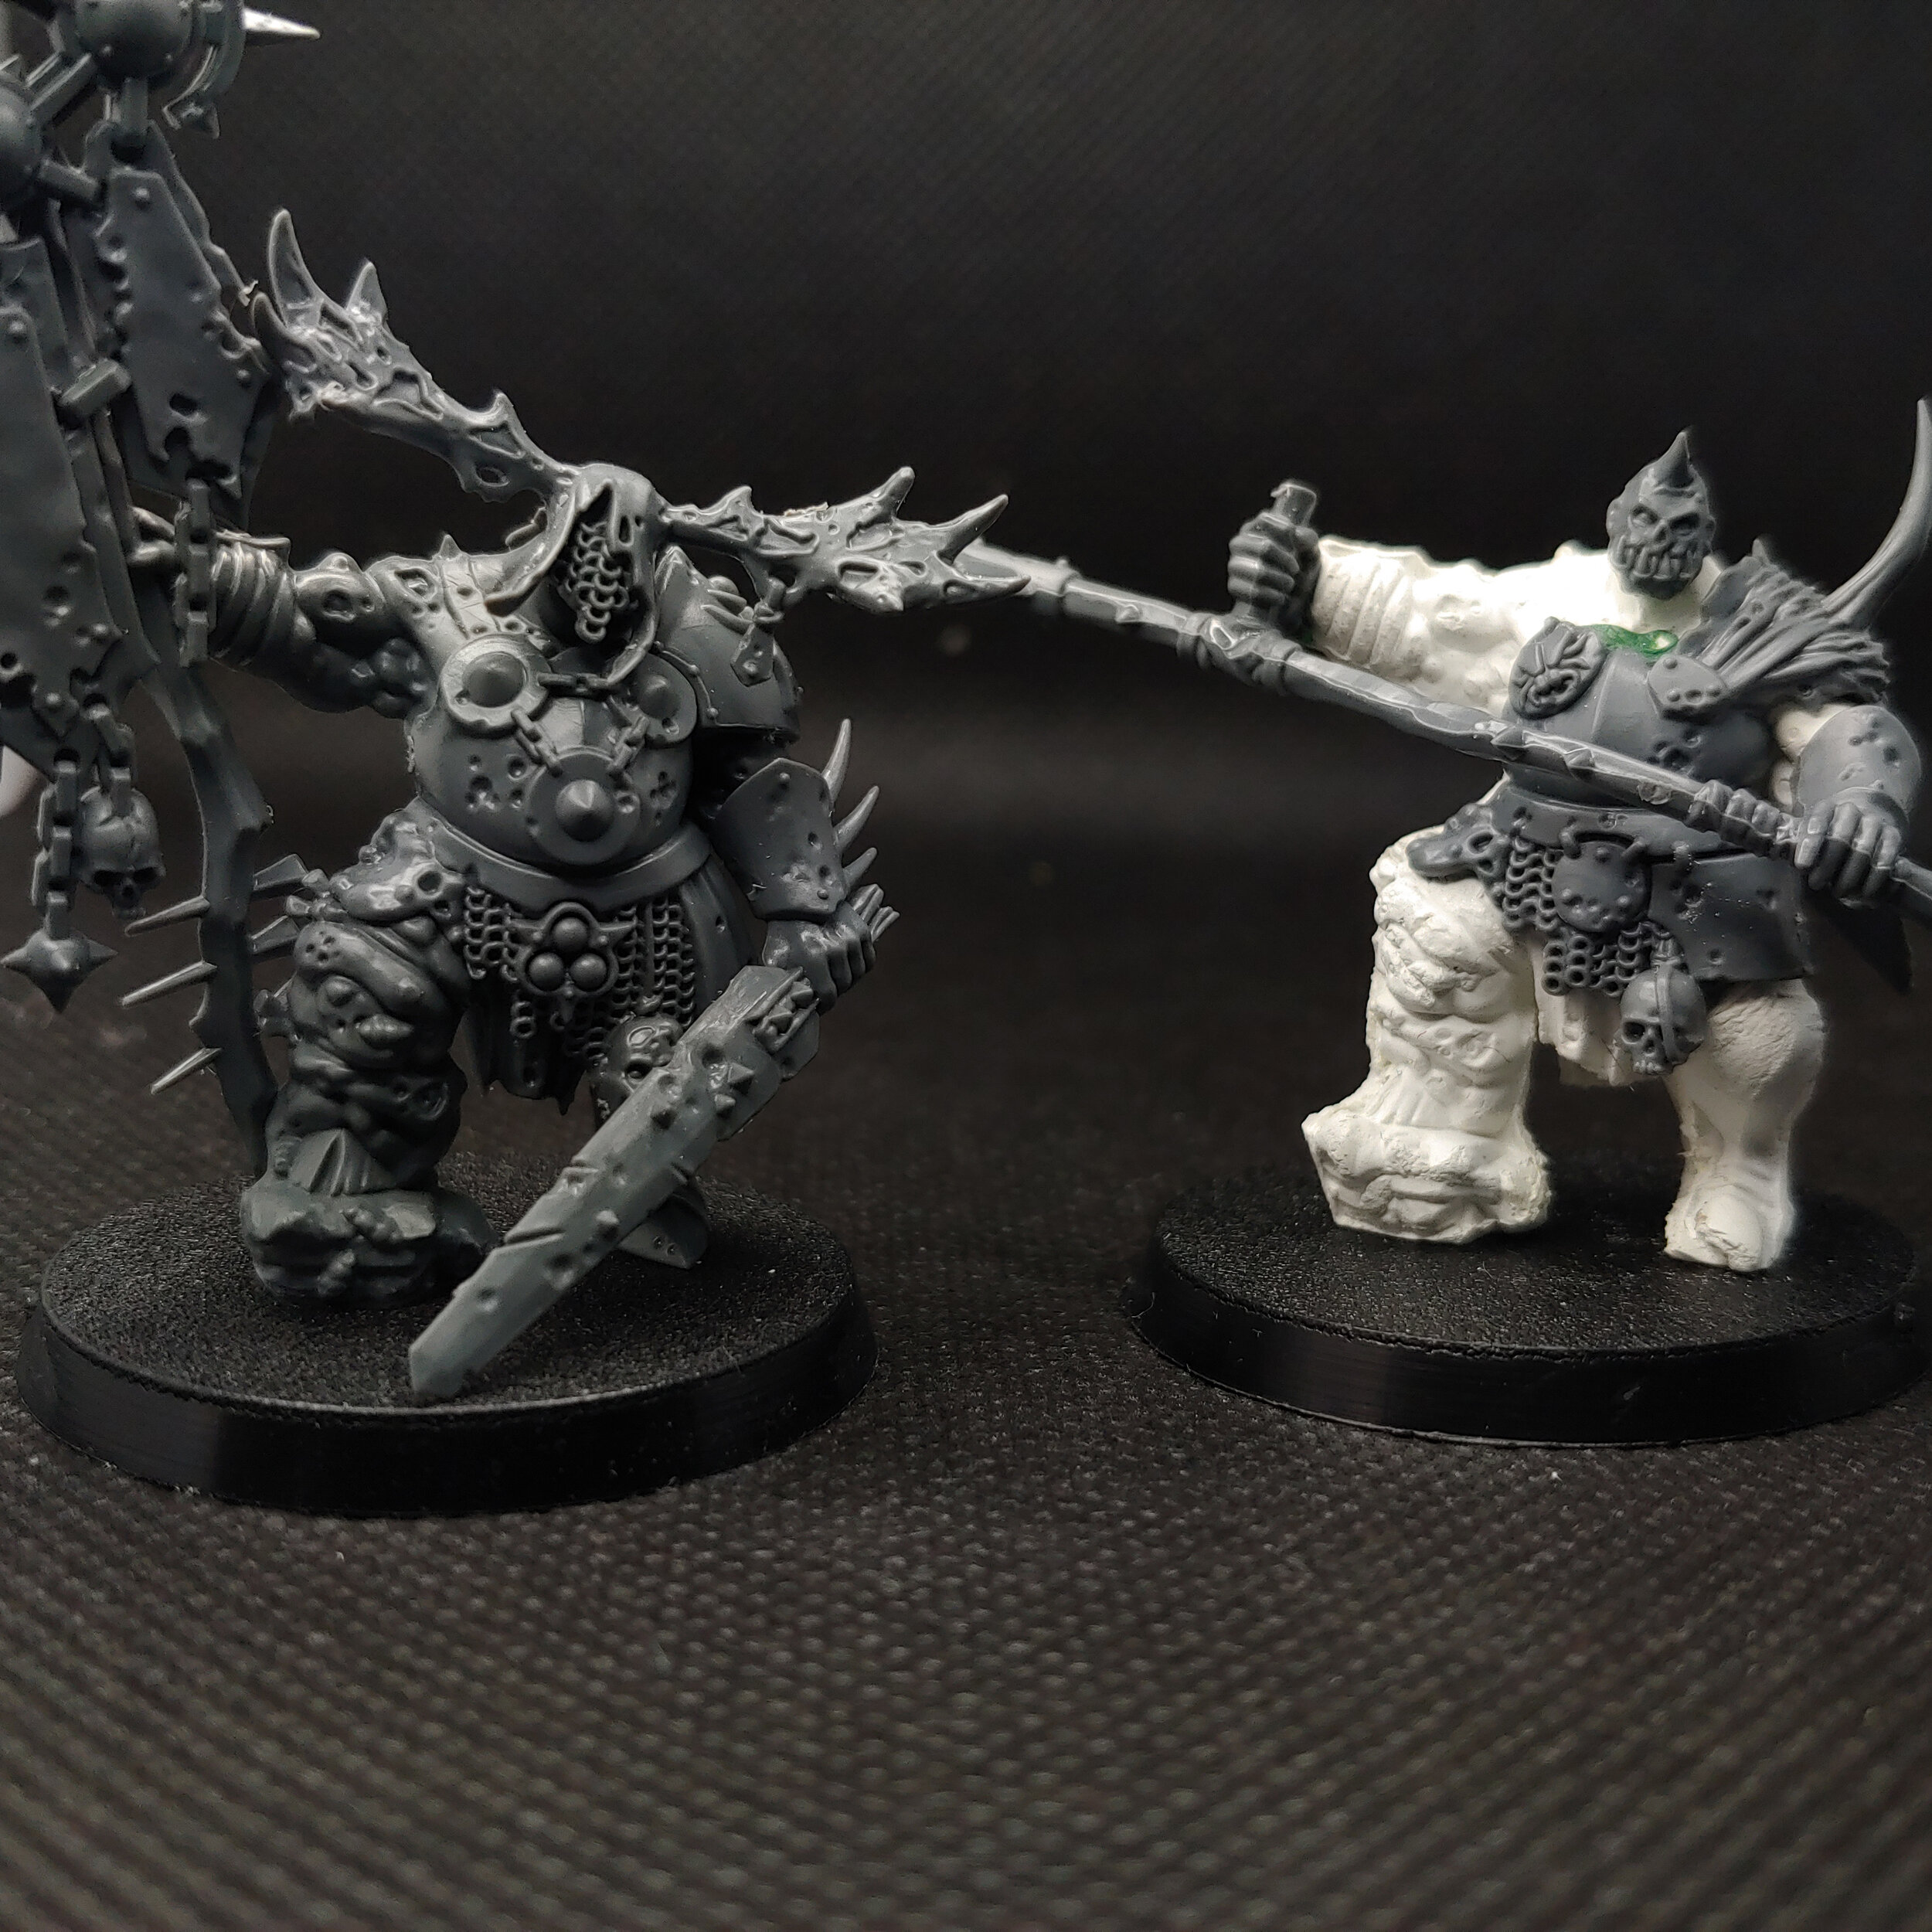
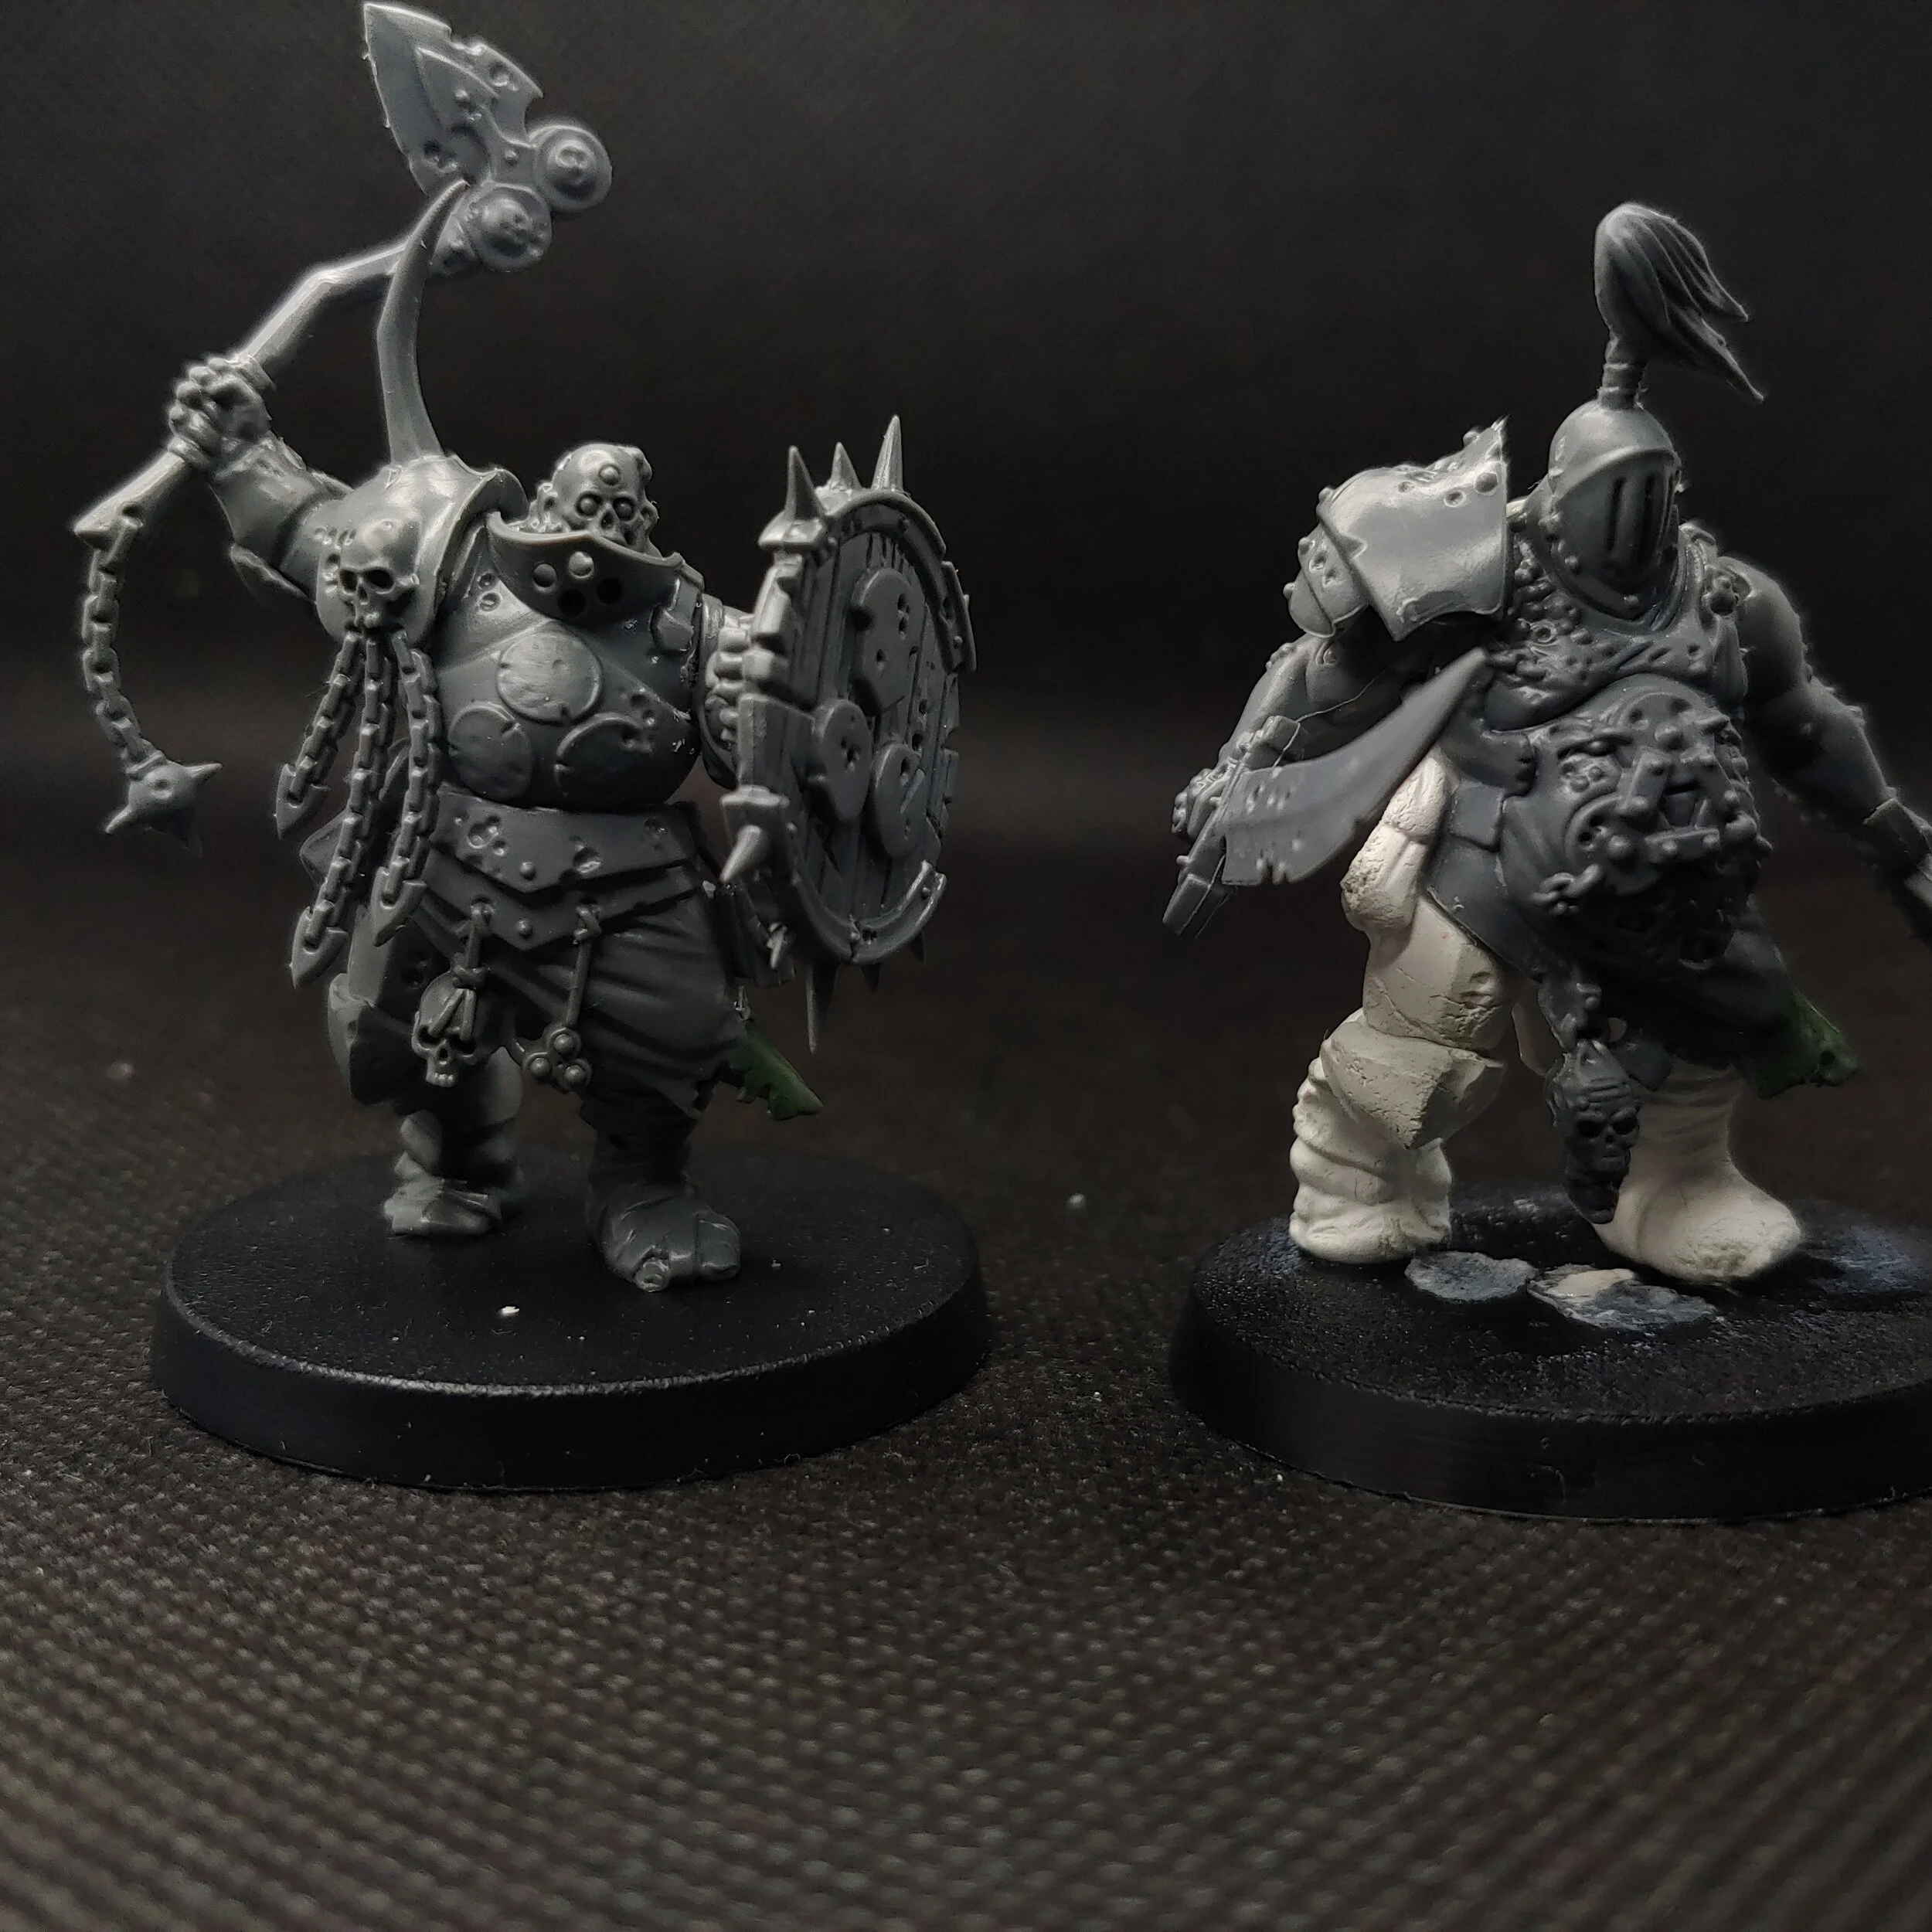
The Blightkings kit comes with literally a million options. Indeed from the description on the Games Workshop webstore it says that each model in the kit has at least two ways it can be assembled with the additional option of building a Blightlord, Icon Bear, and a Sonorous Tocsin. Pretty clever by Games Workshop, they only need to manufacture one kit and if you want all the options then you just need to keep buying the same box. Unfortunately for the likes of you and me this is firstly, expensive and secondly, leaves you with a truck load of leftover bits. Looking through the instruction booklet it dawned on me that each variation uses very few parts in common, often just the main body and a loincloth. For example, to make a Blightlord you start with the main body then stick on a belly, arms and a head and then for a regular Blightking you start with that same main body and stick on a different belly, arms and head. So if I had two copies of that main body I could make both variations. Obviously Games Workshop would want me to buy a second box of Putrid Blightkings but I figured there must be an easier/cheaper way. I could trawl the second hand bits market but that could get expensive given how popular the main body Blightking bits probably are. Eventually, I found an old Reddit post in which someone had used blue stuff and milliput to clone bits of the Blightking set.
What?
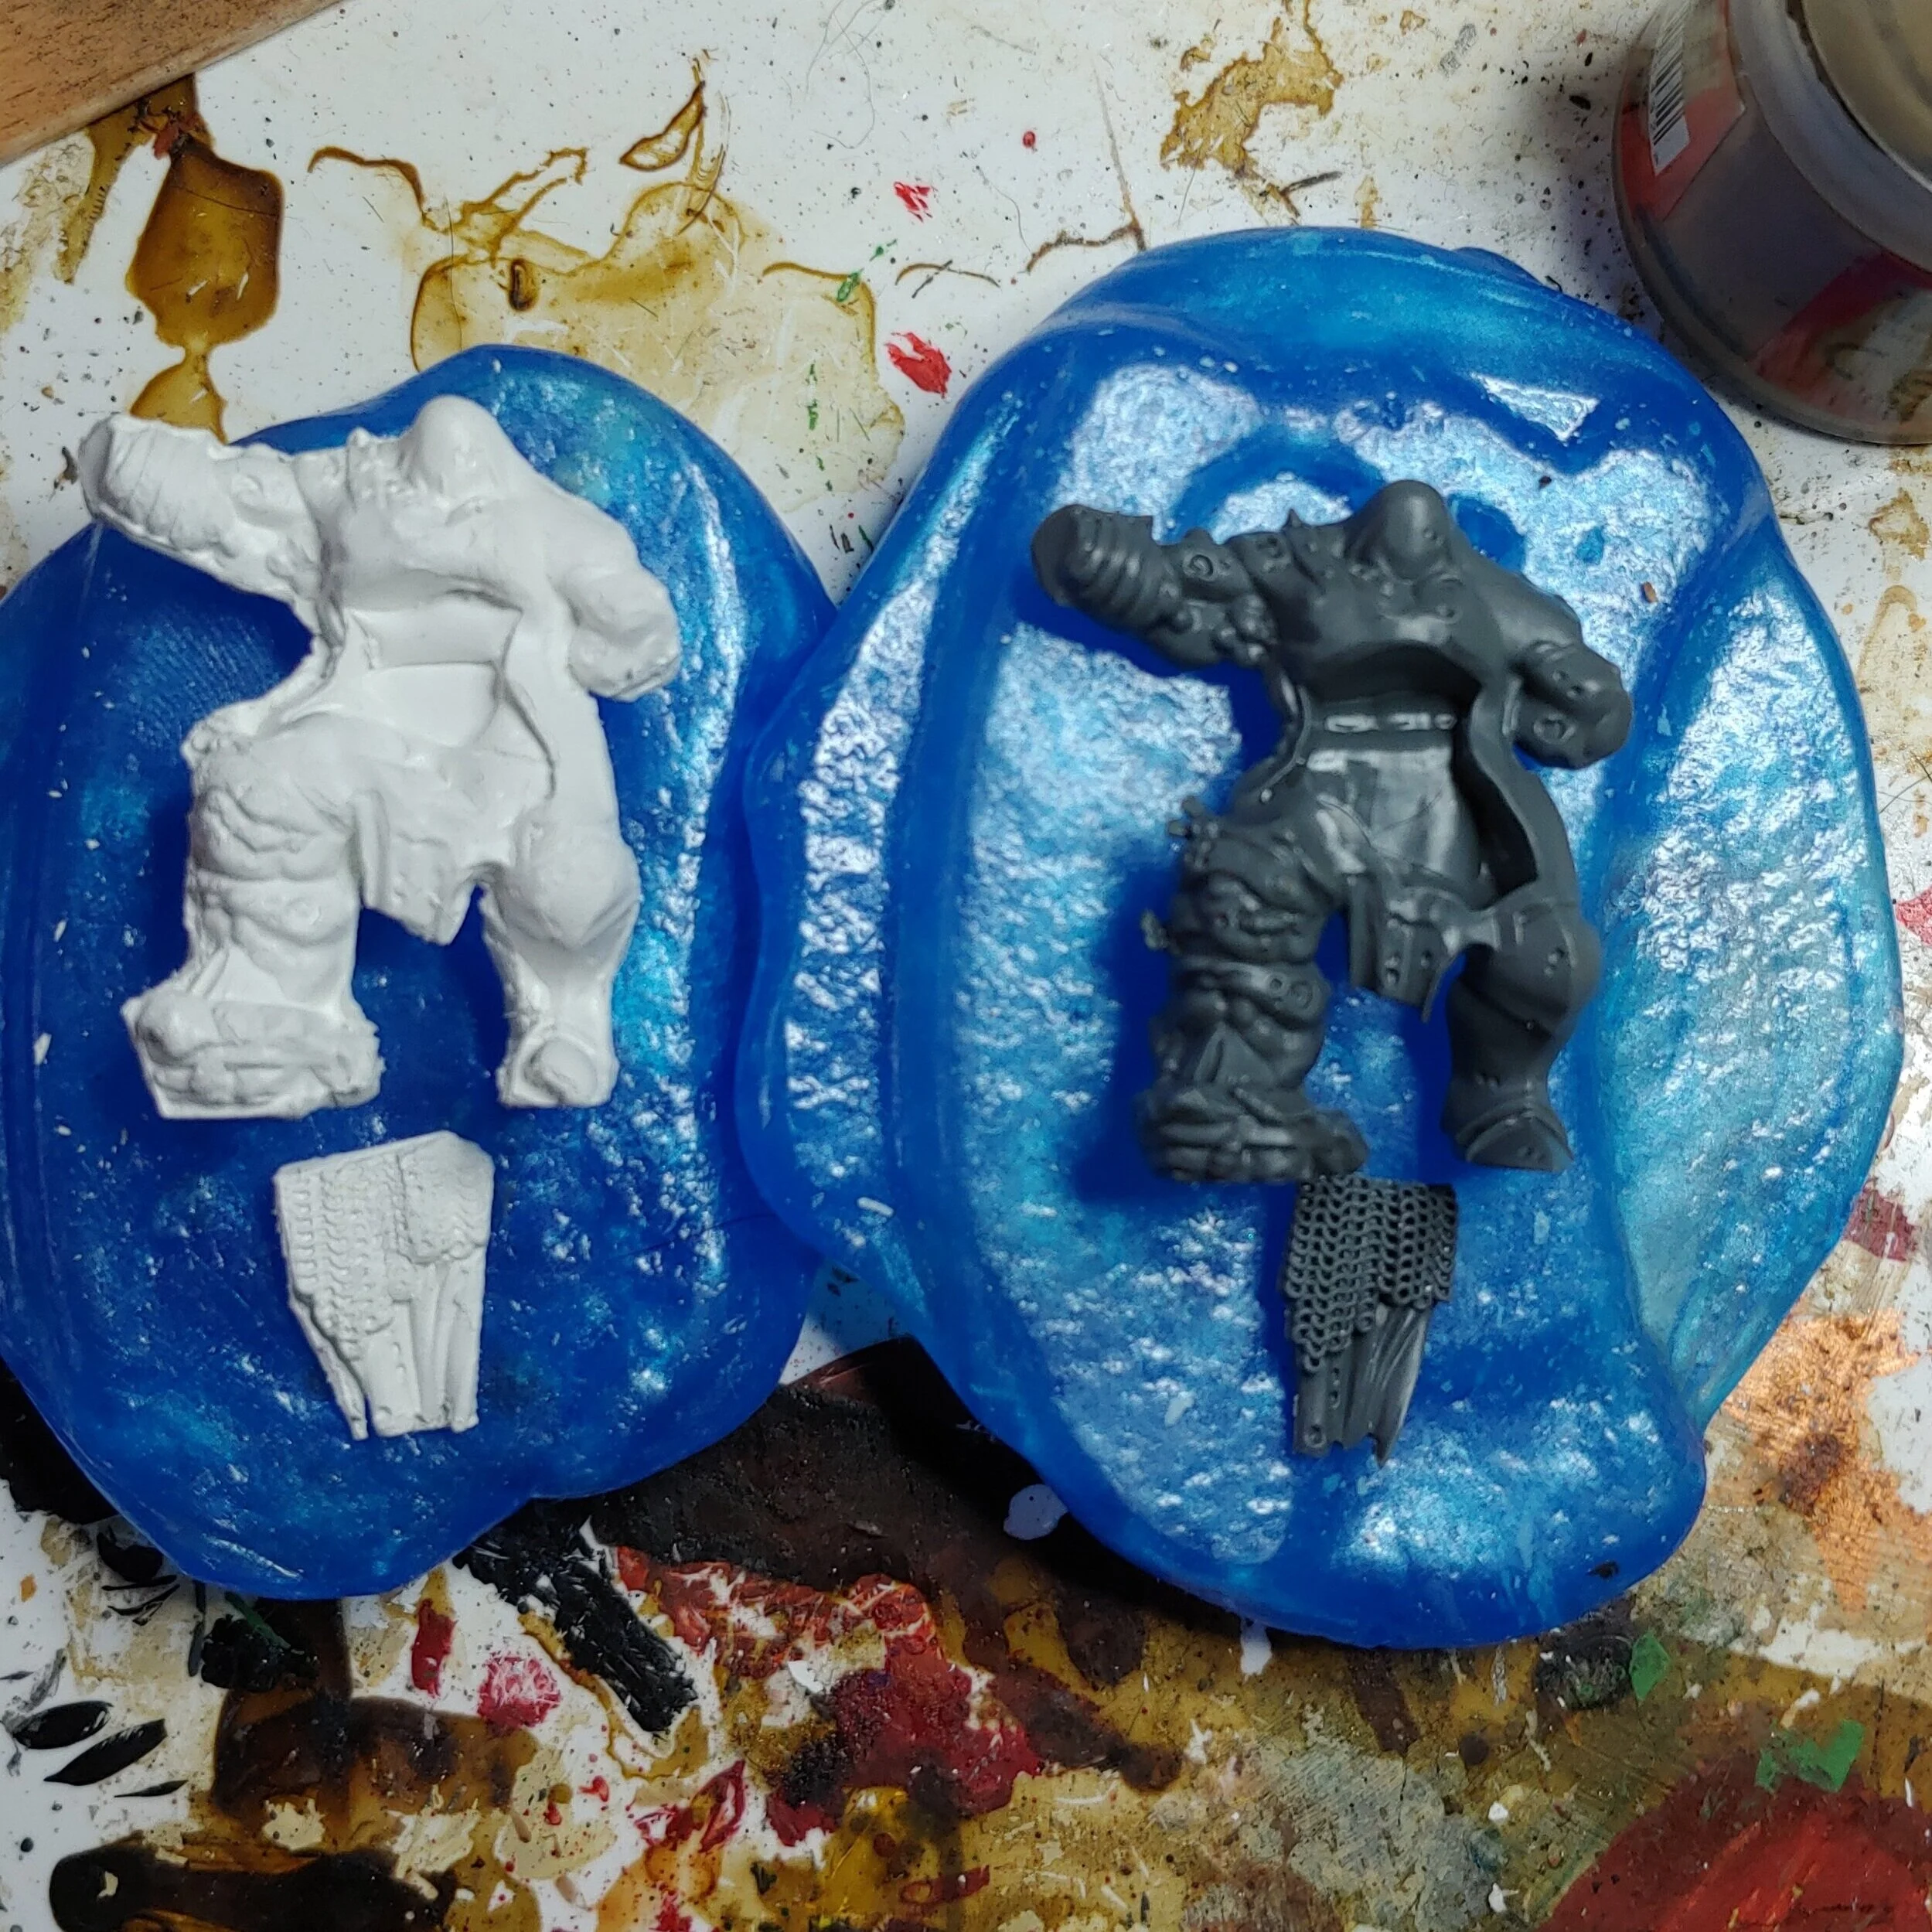
Milliput is the easy one, it’s a two-part epoxy that can be used for sculpting. It’s similar to greenstuff but milliput has the advantage of being water soluble. Bluestuff is a thermoplastic molding material, which means that it becomes soft when it gets hot and can be used to make molds. The process is diabolically simple:
Use a cup of hot water to soften the bluestuff. I found that three “sticks” of bluestuff was sufficient for each half of the mold.
Once it becomes malleable press the part into the bluestuff. Use the handle of a paint brush to press into the bluestuff around the part, this will help to get a better mold and so that the other half of the mold is more easy to line up.

3. Leave the mold to cool so that the bluestuff hardens. If you don’t, when you press the other half of the mold together they might end up fusing together. I found that around thirty minutes was more than sufficient time for the bluestuff to cool completely.
4. Again using hot water soften another piece of bluestuff and press it down on top of the mold as hard as you can. Once it’s cool, prize the two sides apart.
5. Mix up some milliput and press it into both sides of the mold, and press the mold together. The key is to get the right amount of milliput; too much and the molds won’t press close enough together, too little and you will have gaps in your cast. I found that about a half a centimeter of each of the milliput logs mixed together was enough.
6. Apply weight while the milliput cures, the more weight applied the better the details will be. But not too much weight, otherwise it might distort the mold. I found that 15kg of weight produces some crisp details without any distortion.

7. Peel apart the mold and remove the cast, clean up any flash with a hobby knife and voila! There will be some loss of detail but it should be good enough for tabletop standards. If you want to use the mold again, you can rinse it out with cold water.
With the above process I slowly made my way through the Blightkings kit, as I could only make one mold at a time. Once I nailed the process and amounts of milliput down I was able to make some good progress doing a couple of casts each day.
Brutally honestly, although the process is simple it is really hard to get right. I honestly had more failures than successes and I almost needed to buy a second packet of milliput to get through the whole squad.
However, I soldiered on and soon enough I had enough spare bits to build everything I wanted and I could start assembly. As mentioned above, these will not be perfect replicas of the Games Workshop cast parts so be prepared to do a lot of filing, sanding and gap filling. Fortunately, a lot of the milliput bits end up being covered or obscured by actual plastic bits so it shouldn’t be too bad.
Final Thoughts
This was a lot of work, like a lot of work. And it took ages having to wait for things to finish curing. Despite that, it wasn’t a frustrating process and at no point was I thinking “man, I should have just bought a second box of Blightkings”. I may have lost a lot of time but this was definitely the cheaper way of doing it. I think I spent around twenty pounds on bluestuff and milliput, whereas a box of Blightkings is thirty-five pounds. Even taking into account postage and packaging, it was still cheaper. Plus, the bluestuff is pretty much infinitely reusable. Which begs the question: would I do this again? And the answer is: maybe, for the right kit. I’m not about to start cloning bits left right and center for every squad of Space Marines I get, but for some kits that I could squeeze a couple more models out of if I had a few extra bits? I would do that.